Rapid Dev Environment Creation With DevTest Labs
Last Updated :
11 Mar, 2024
Imagine, you are working on an application and it is in its final stage of development but you want to test your application in such a testing environment where it is easy to create and destroy servers for testing purposes in an easier way. In Microsoft Azure, we can anticipate such a testing environment with the help of Azure DevTest Labs.
Overview Of Azure DevTest Labs
Azure DevTests labs help developers and testers to test their applications by creating virtual machines each with different configurations as required. The users are also allowed to install various artifacts like Visual Studio code, Git, etc.
Key Characteristics Of Azure DevTest Labs
The characteristics of Azure DevTest labs are as follows:
- Service sandbox environment for developers/testers(PaaS)
- Quick setup for self-managed Virtual Machines
- Pre-configured templates for Virtual Machines
- Plenty of additional artifacts(tools, apps, custom actions)
- Lab policies(quotes, sizes, auto-shutdowns)
Let us understand how to use Azure DevTest Labs for development and testing environments in this article.
Creating Testing Environments Using Azure DevTest Labs: A Step-By-Step Guide
Step 1: Creating Lab Resource
- Login into the Azure portal which has an active subscription.
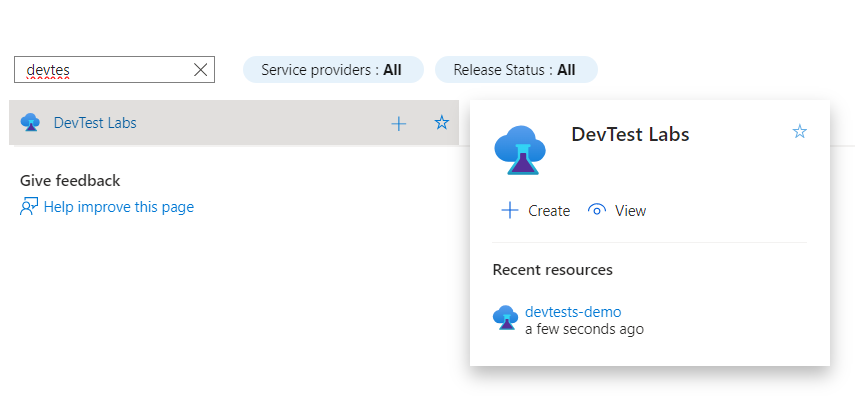
- Click “Create A Resource” navigate to the marketplace and search for “DevTest labs”
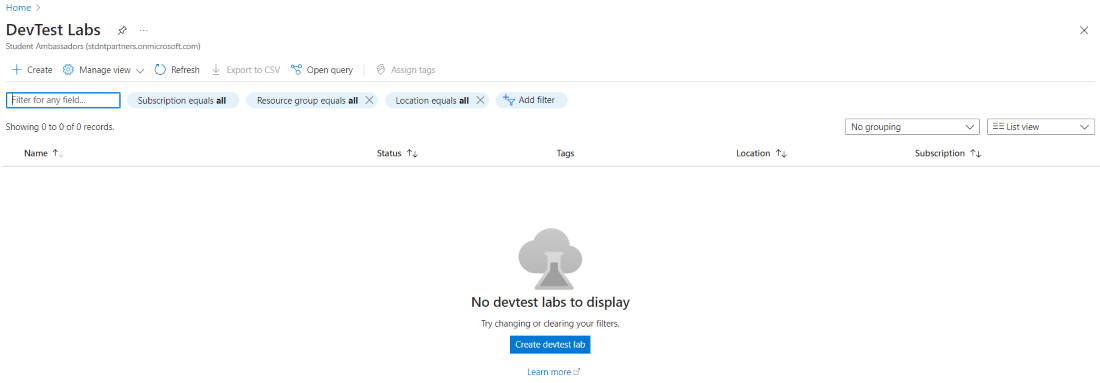
- Click “Create” to create your lab instance.
- After Navigating To DevTest Labs creating the resources.
- In the Basic settings, mention your subscription type and resource group name, It is recommended to create a new resource group for you development/testing environment.
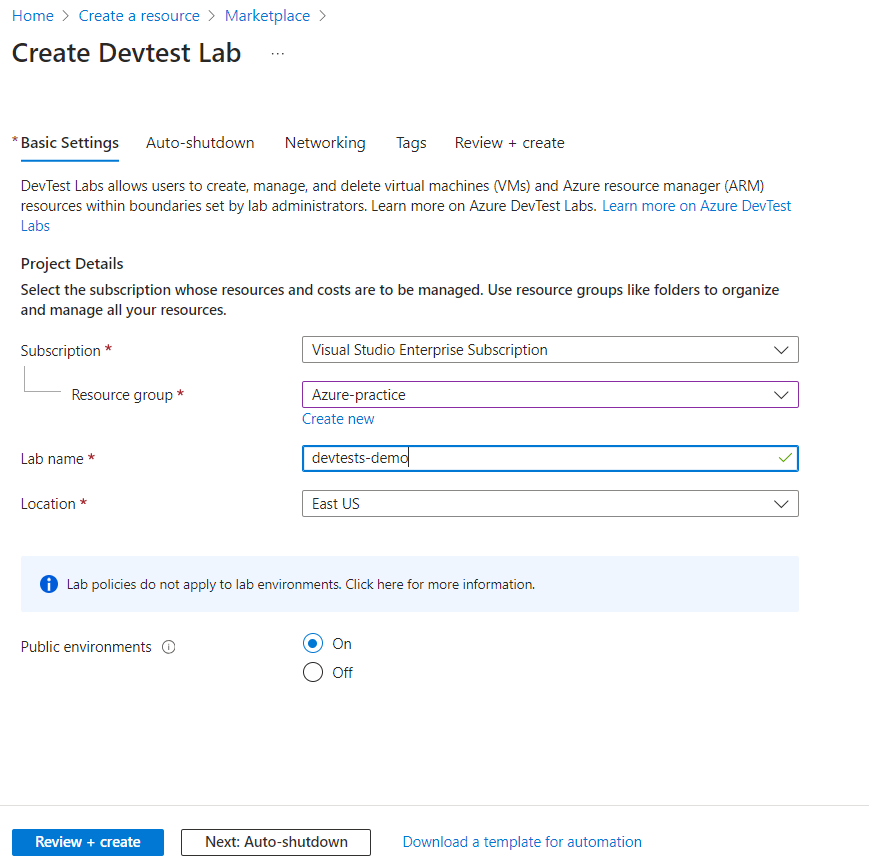
- Name your lab instance and location.
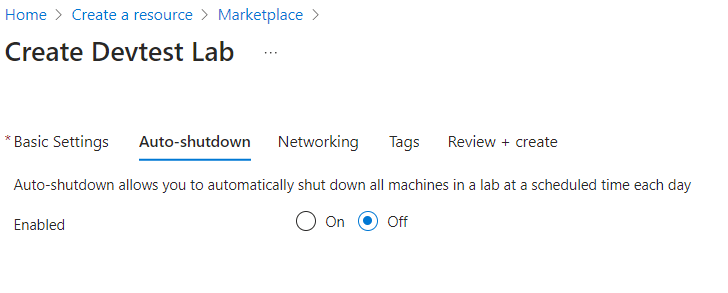
- You may leave the remaining options as default or customize them according to your requirement.
- Click “Review + create” followed by “create“. Now, your instance will start deploying and provisioning resources.
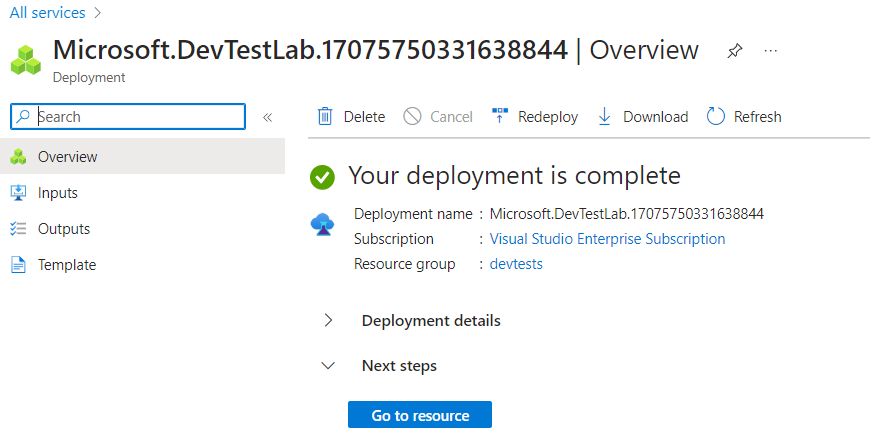
Step 2: Creating Virtual Machines In Your Lab Instance
- Click on the “Go to resource” button to navigate to your lab instance.
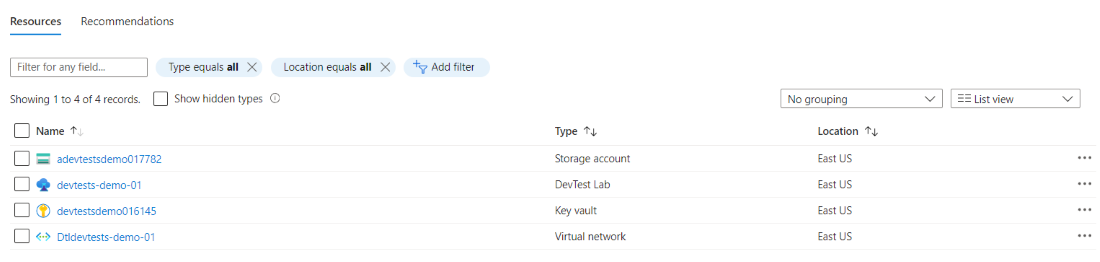
- Here, along with the lab instance you can see that various other services also provided inorder to use for your development/testing purposes.
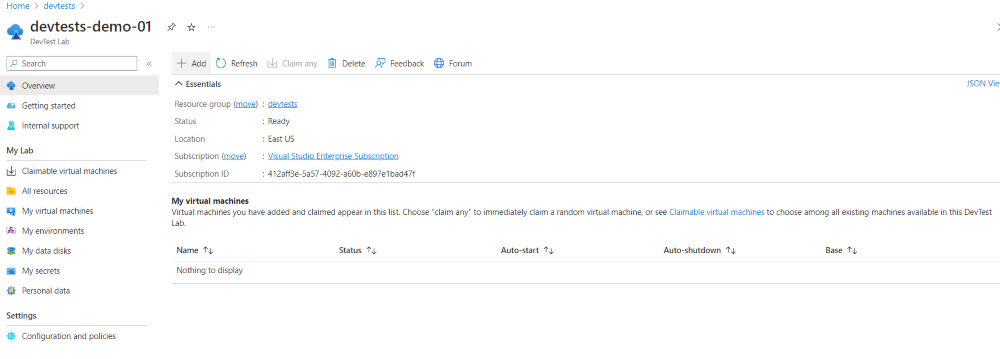
- Navigate to your devTest lab to create virtual machines.
- Click the “Add” option to add virtual machines in your lab instance for development/testing purposes.
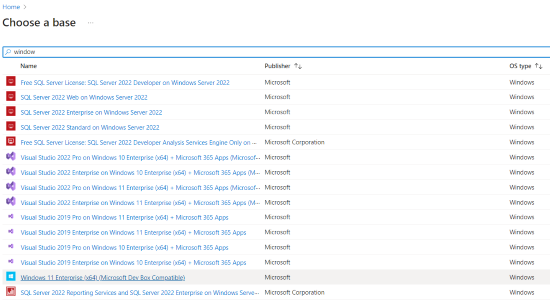
- Now, choose the base, which means the base image for your Virtual machine. This base image you selected contains the operating system and additional features like software configurations. Here, we are choosing Windows 11 as base image.
- Whenever you navigate to “Create lab resource”, some fields will be auto filled.
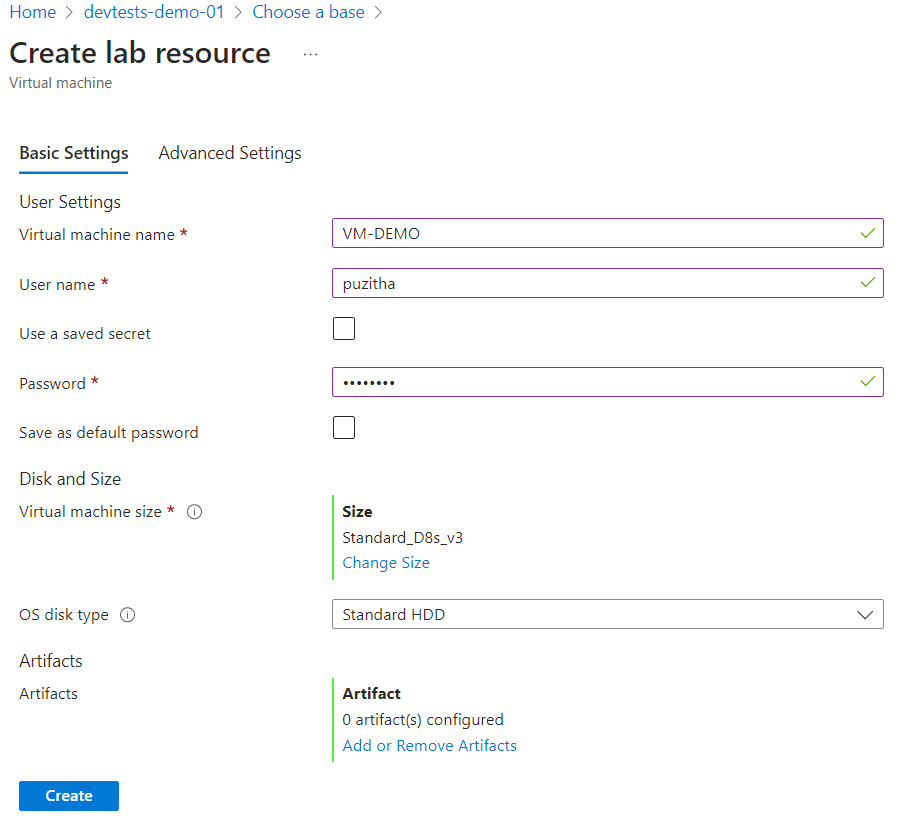
- You may customize the defaultly filled fields if you need. You need to name the virtual machine and mention the user name and password ( Remember the username and password since, you need to use these credentials to authenticate your virtual machine)
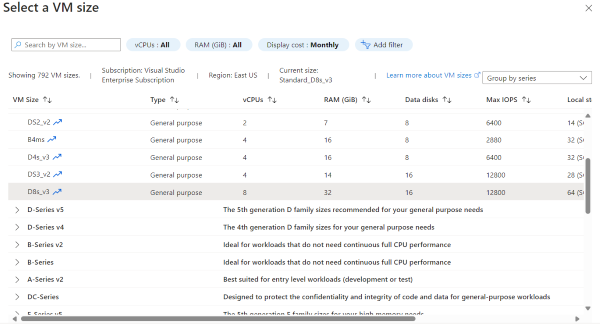
- choose the virtual machine size according to your requirement. If you are a beginner, there are some recommended size which are being widely used by most of the users.
- Add the artifacts. Artifacts can be any apps, environmental setups, SDK’s etc. Click “Ok”
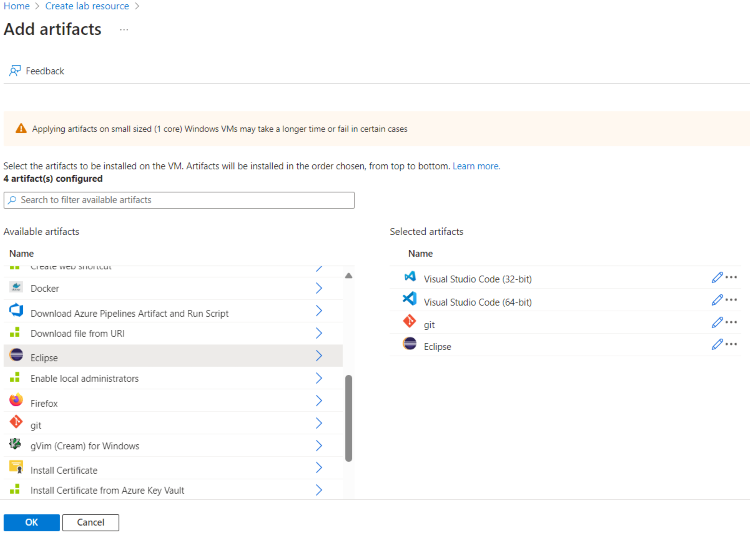
- Follow the below screenshot and provide the environment setups then click on “OK”.

- Click on your virtual machine and click “connect” icon. Your virtual machine starts running.
.png)
- Based on your system settings, it will display a pop-up security alert. select “Keep” in order to setup virtual machine for testing and development purposes.
.png)
Step 3: Launching Virtual Machine For Development/Testing Purposes
- Once, the .rdp file (your virtual machine setup) is downloaded, click on “open file” to connect.
.png)
- You will see a GUI pop-up to connect providing some security information. This this is for demonstration purpose, the publisher might be “unknown”. click on “connect”.
.png)
- Enter your password credentials and click “ok”
.png)
- Now, you can see a virtual environment is created in your machine.
-(1).png)
- In the similar way, you can create multiple virtual machines for your Development/ testing processes.
Rapid Dev Environment Creation With DevTest Labs – FAQ’s
How Does DevTest Labs Help in Rapid Environment Creation?
In Azure DevTest Labs, users can create virtual environments for their development/testing purposes with pre-defined SDKs, artifacts and other policies. This helps users to provision the resources quickly for their development/testing purposes.
What Types Of Environments Can Be Created With DevTest Labs?
We can able to create various environments with various bases including Azure services, Windows/Linux based applications, containerized applications and many more.
Can I Scale Environments Created With DevTest Labs?
Yes, Azure DevTest Labs often work with the help of Virtual Machines. We can create any many virtual machines required and scale them based on the demand.
Does DevTest Labs Support Integration With Third-party Tools?
Azure DevTest Labs provides PowerShell and API’s in order to install and integrate third-party tools allowing more customization for the users.
How Does DevTest Labs Handle Security And Compliance?
DevTest Labs provides features such as network isolation, role-based access control (RBAC), and integration with Azure Security Center for monitoring and compliance.
Share your thoughts in the comments
Please Login to comment...