How to Use SSHFS on Linux
Last Updated :
06 Oct, 2023
SSHFS stands for Secure Shell File System, SSHFS is a client that is used to mount a remote file system or directory to a local system. In other words, SSHFS is used to access the filesystems are directories present in a remote server or workstation over an SSH connection. SSH is a networking protocol that provides a secured remote login from one system to another system, even though SSH is similar to other protocols such as FTP the former provides more security due to the encryption, thus suitable over insecure networks.
Sharing of file systems and directories can be accomplished by using NFS (Network File System) or Samba. Both of these methods raise security concerns and add up additional overhead. To overcome this security vulnerability SSHFS can be used to mount remote file systems to the local environment using SSH alone.
Requirements
Two separate Linux systems are required and should be configured to allow SSH access, they can be two local machines or a cloud server. Setting up and configuring of cloud server is beyond the scope of this article. For demonstration purposes here we’ll be using two distinguished virtual machines sharing the same network. The basic setup and configuration of the virtual machine can be accomplished by following this article.
SSHFS on Linux
Step 1: Using SSH to connect a remote server
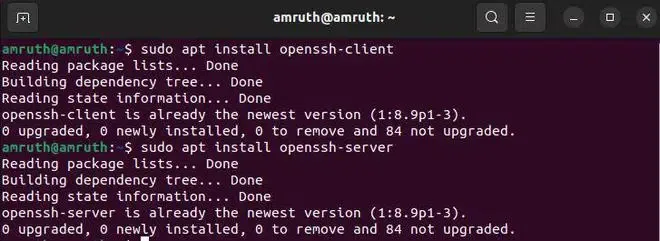
Here we will be using two separate instances of virtual machines and establish a connection between those using SSH. We shall begin by installing openssh-server and openssh-client on both systems. Run these commands on both systems.
$ sudo apt install openssh-server
$ sudo apt install openssh-client
Installing openssh-server
Install ssh server by executing the following command.
$ sudo apt install ssh
Check the installation using the following command.
$ ssh
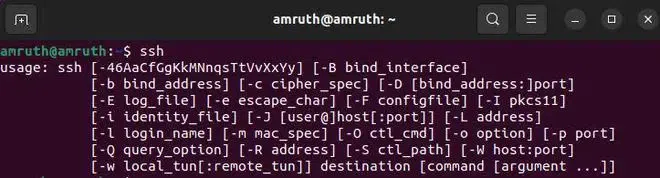
Checking the Installation
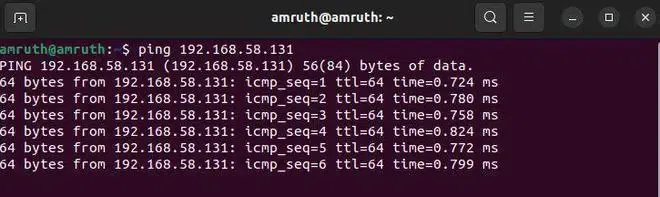
Make sure both systems are connected to the same network and use the ping command to check the connection between both systems.
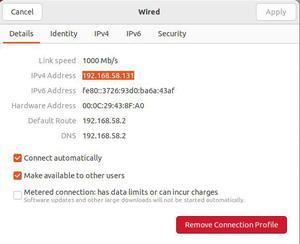
Check the IP Address of the second system and try pinging that IP from the first system.
IP address of second system
Establishing a SSH connection
First, we have to configure the firewall to accept ssh connection on both the systems by opening up port 22. This can be done by executing the following command.
Note: This should be executed in both the systems.
$ sudo ufw enable

$ sudo ufw allow 22/tcp

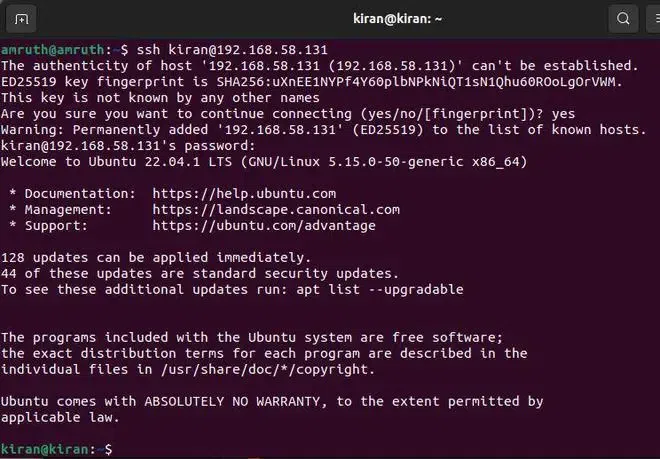
Now restart the terminal session and perform a remote login using ssh. This will start a remote login session, and we can access the system that is connected remotely.
$ ssh <user-name>@<ipv4-address>
Step 2: Installation of SSHFS
SSHFS is available for most of the Linux distributions, on Debian based systems they can be installed using apt package manager before the installation refresh the package sources using the following command using.
$ sudo apt update
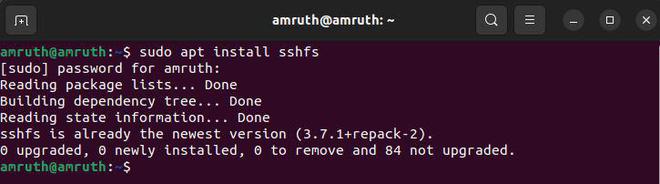
Then use api install to install the sshfs package
$ sudo apt install sshfs
Step 3: Mounting the Remote Filesystem
To mount a remote filesystem into a local Linux environment we have to create a empty directory. There may contain additional subdirectories within this mount directory. Typically the Linux environments include a directory named /mnt for this purpose. Now we shall create a subdirectory called /gfg within the /mnt using the mkdir command, make sure you execute this command as the root user by appending ‘sudo’ at the beginning of the command.
$ sudo mkdir /mnt/gfg

Then mount this remote directory into the local environment using SSHFS.
$ sudo sshfs -o allow_other,default_permissions <username>@<hostname>: /mnt/gfg
- -o flag is used for adding additional options, here we are using allow_other and default_permissions.
- <username>@<hostname>: is used to provide the full path to the remote directory.
- /mnt/gfg is the path of the local directory which is used as the mount point.

Once the mount is complete we can use the ls command to list the directories present in the remote server. The files would match the contents of the remote directory.


Now the remote server will act as if it is physically connected to the machine and one can access the file contents remotely. Any changes made in the mounted directory will also affect the remote server. For example if we create a file inside the /mnt/gfg directory the fill will also appear in the virtual server. The mount command only works for the current session, if the local machine or the remote is powered off the command has to reloaded. To delete the mount directory unmount command is used.
$ sudo unmount /mnt/gfg
Step 4 (Optional): Permanently Mounting the Filesystem
Permanent mount can be accomplished by adding a entry to /ect/fstab. fstab handles all the filesystem mounts during startup.
$ sudo nano /etc/fstab
Add the following line at the end, change the <username> and <hostname> to match your username and hostname respectively.
<username>@<hostname>: /mnt/gfg fuse.sshfs noauto,x-systemd.automount,_netdev,reconnect,identityfile=/home/sammy/.ssh/id_rsa,allow_other,default_permissions 0 0
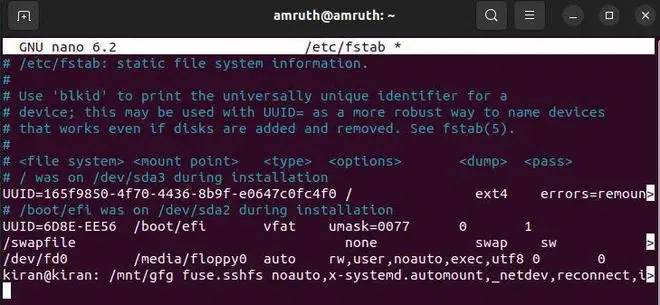
By adding an entry to the fstab configuration file, the mount will be created automatically on startup. This can be checked by rebooting the system and verifying that the mount is created automatically.
Conclusion:
In conclusion, SSHFS (Secure Shell File System) is a powerful tool for securely mounting remote file systems or directories onto a local Linux environment using SSH. It offers a secure alternative to sharing files over insecure networks, such as NFS or Samba, while minimizing security concerns and overhead. By following the steps outlined in this article, you can easily set up SSHFS, establish SSH connections between systems, and seamlessly access and manage remote files as if they were local. Additionally, you have the option to configure permanent mounts for added convenience. SSHFS simplifies remote file access and enhances security in Linux environments.
Share your thoughts in the comments
Please Login to comment...