How to Install SSD on Windows PC?
Last Updated :
14 Dec, 2023
While working on your laptop, if it takes a hectic amount of time to complete a simple task like opening a File Explorer Window or Chrome Browser Window, then it is certainly a problem with the Laptop hard disk. In such cases, you have to provide additional space & speed for the device to work properly. In this regard, the Installation of SSD(Solid-State Drive) will be an appropriate idea.
In this article, we will discuss some points that should be remembered before Upgrading Device SSD along with the necessary steps to Install SSD Card on the device.
Points To Be Remembered Before Installation of SSD
Here, we will discuss a few points that you have to note down to ensure your device safety along with your safety as well. The points are discussed below.
- Choose the Right SSD Card: You have to pick up the right SSD Card from your laptop. However, there is no specific SSD Card present for different kinds of laptops. But, you have to wisely pick up an SSD Card on its memory space & speed.
- Hold SSD Properly: While holding the SSD Card, you should be very careful. You can hold any part of the SSD Card without any issues. But, never try to hold the card’s pin those are present at one end. It will put fingerprints there.
- Static Electricity: You should be aware of the Static Electricity viewpoint. Ground yourself along with the device to install the SSD hardware to the system. Otherwise, you can get shock as well as the device components might get damaged.
Steps to Install SSD
Here, we will discuss the steps required for the installation of SSDs on the device. We will start installing the SSD Hardware on the device.
Section 1: Install Hardware
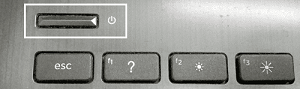
Step 1: In the Switched Off Format, hold down the Power Button for five seconds to remove all the residual energies trapped inside the device. You should not use the Power Cable at this time.
Step 2: Now, remove all the Screws from the device &
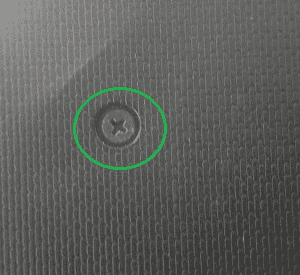
Step 3: Open the back panel of the device.

Step 4: Hold any Metal Parts in the device to ground yourself from the Static Electricity threat.
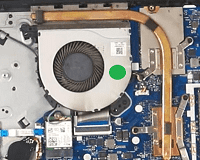
Step 5: Now, find the Pins in the Motherboard where you can install the SSD Cards.
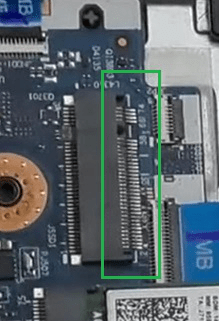
Step 6: Place the SSD Card carefully in the Pins & hold it down in a Tilted Manner. And slidly pressed it down towards the ground.

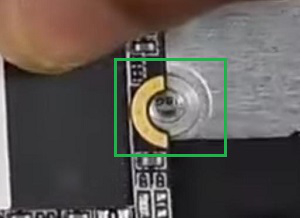
Step 7: Now, you will find a portion to add screws so that the SSD card will be set there permanently. Add the screw & make the device ready again.
Hence, we have successfully installed the SSD Card on the device without any issues.
Section 2: Install Windows Software
Step 1: While restarting the device, you will find that Windows will reinstall the device. Click on the Install Now button to move in the process.

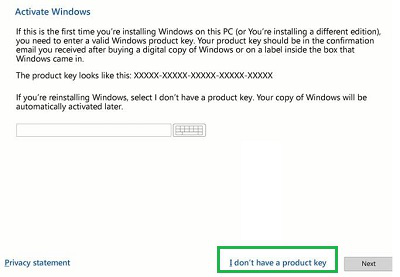
Step 2: Click on the option I Don’t Have Product Key.
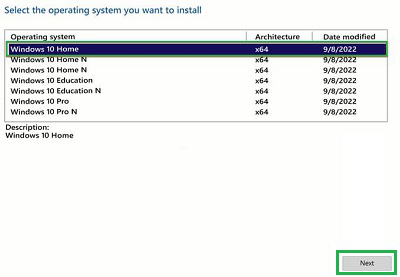
Step 3: Now, go for the Windows 10 Home option & select Next.
Step 4: Accept the Terms by reading it carefully. Select Next.

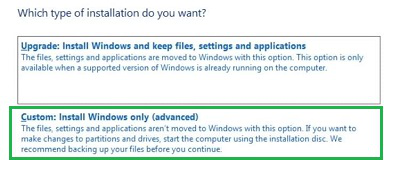
Step 5: On the next page, select the Custom Option & move ahead in the process.
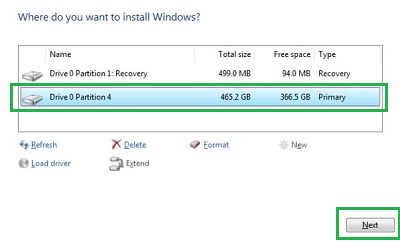
Step 6: You will find a new Disk Partition is present on the device which is your SSD. Select the partition to move ahead.
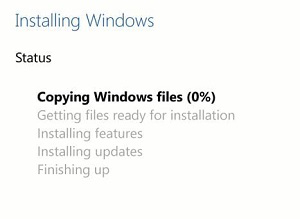
Step 7: The Windows Installation process will get started. Wait until the process gets completed.
Hence, we have successfully installed the Windows on the installed SSD Card on the device.
Also Read
Share your thoughts in the comments
Please Login to comment...