How to Install Selenium on MacOS?
Last Updated :
23 Sep, 2021
In this article, we will learn how to install Selenium in Python on MacOS.
The selenium package is used to automate web browser interaction from Python.
Installation:
Method 1: Using pip to install Selenium
Follow the below steps to install the Selenium on macOS using pip:
Step 1: Install the latest Python3 in MacOS
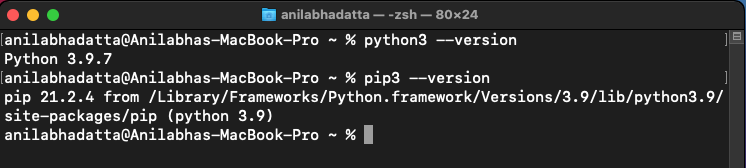
Step 2: Check if pip3 and python3 are correctly installed.
python3 --version
pip3 --version
Step 3: Upgrade your pip to avoid errors during installation.
pip3 install --upgrade pip

Step 4: Enter the following command to install Selenium using pip3.
pip3 install selenium

Method 2: Using setup.py to install Selenium
Follow the below steps to install the Selenium package on macOS using the setup.py file:
Step 1: Download the latest source package of Selenium for python3 from here.
curl https://files.pythonhosted.org/packages/ed/9c/9030520bf6ff0b4c98988448a93c04fcbd5b13cd9520074d8ed53569ccfe/selenium-3.141.0.tar.gz > selenium.tar.gz

Step 2: Extract the downloaded package using the following command.
tar -xzvf selenium.tar.gz

Step 3: Go inside the folder and Enter the following command to install the package.
Note: You must have developer tools for XCode MacOS installed in your system
cd selenium-3.141.0
python3 setup.py install

Verifying Selenium installation on macOS:
Make the following import in your python terminal to verify if the installation has been done properly:
import selenium

If there is any error while importing the module then is not installed properly.
Share your thoughts in the comments
Please Login to comment...