How to install FileZilla on Windows?
Last Updated :
29 Nov, 2022
FileZilla is a free and open-source file transfer protocol (FTP) software and contains both client and server. It is used to manage server file systems remotely. It is easy to use software and supports large file transfers, synchronized directory browsing, filename filters, etc. It also provides a network configuration wizard to handle the issue that arises while getting through your website server. If you have your own website, then you must know that FTP operations through a web client can be a frustrating experience, so FileZilla makes the FTP operations much more consistent and easier. In FileZilla, the clients are present in Linus, macOS, and windows whereas the servers are present in Windows only. Here both client and server support FTP and FTPS. It is developed in 2001 by Tim Kosse and his team.
Installing FileZilla on Windows
To install the FileZilla on Windows we have to follow the below steps:
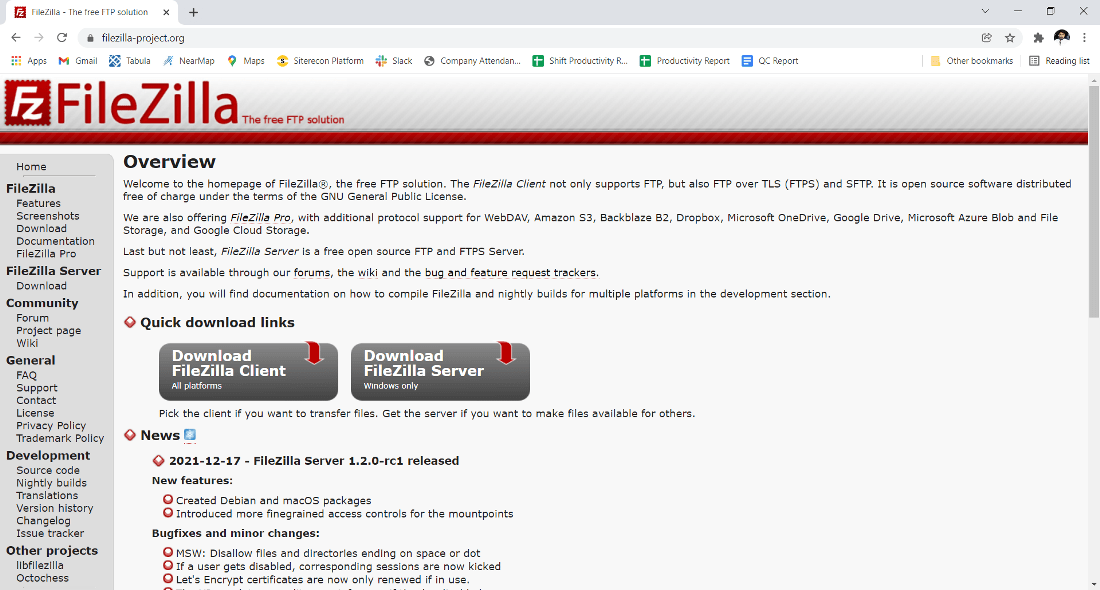
Step 1: Visit the official website using the URL https://filezilla-project.org/ with the help of any web browser to download FileZilla.
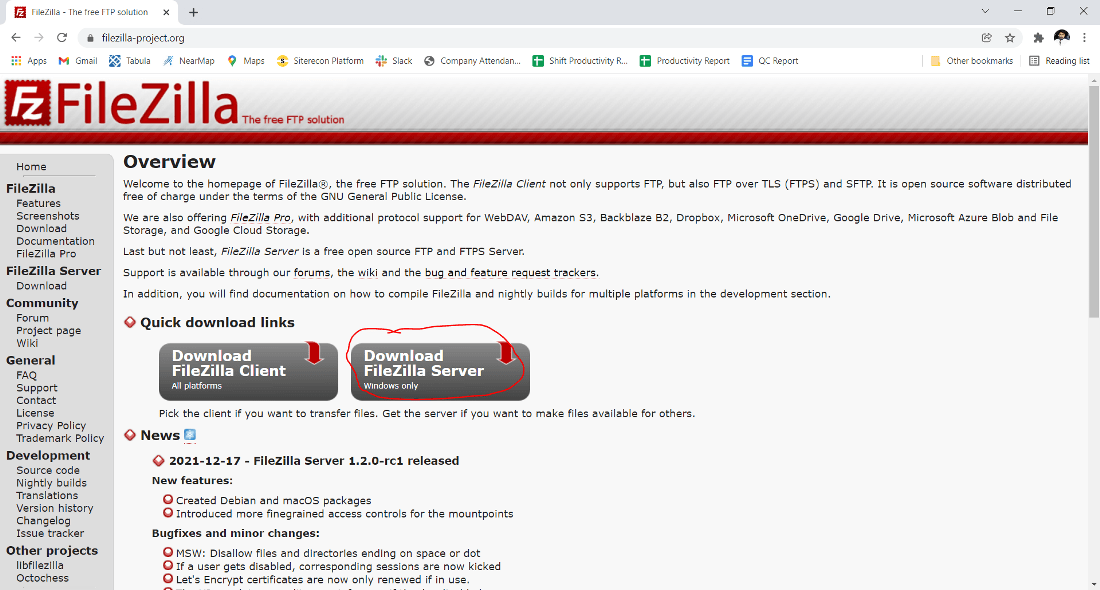
Step 2: Click on the Download FileZilla Server Windows only button.
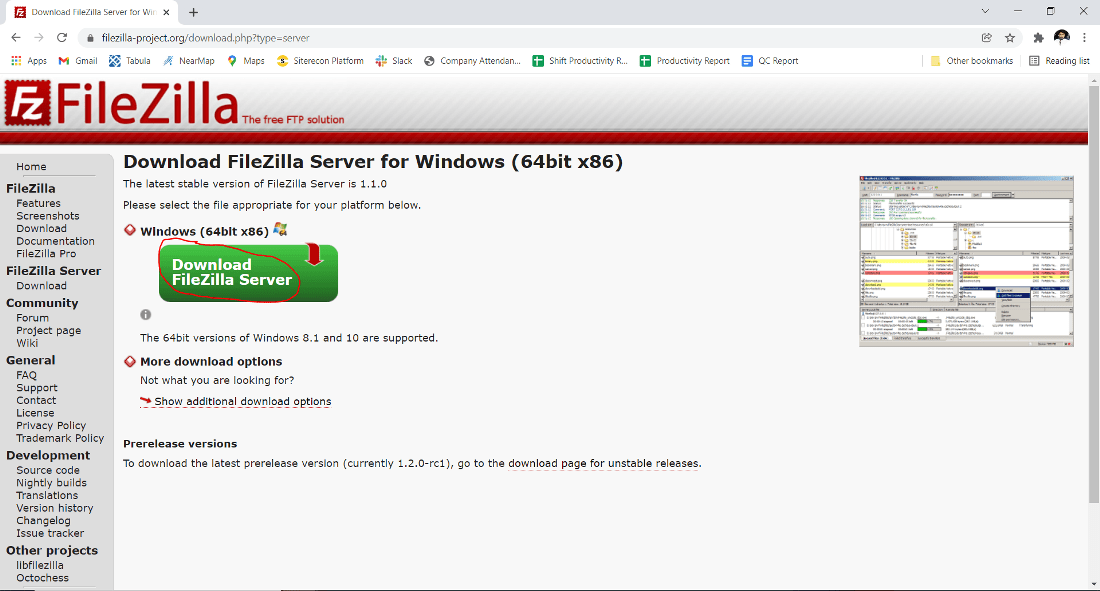
Step 3: Next web page open now click on Download FileZilla Server.
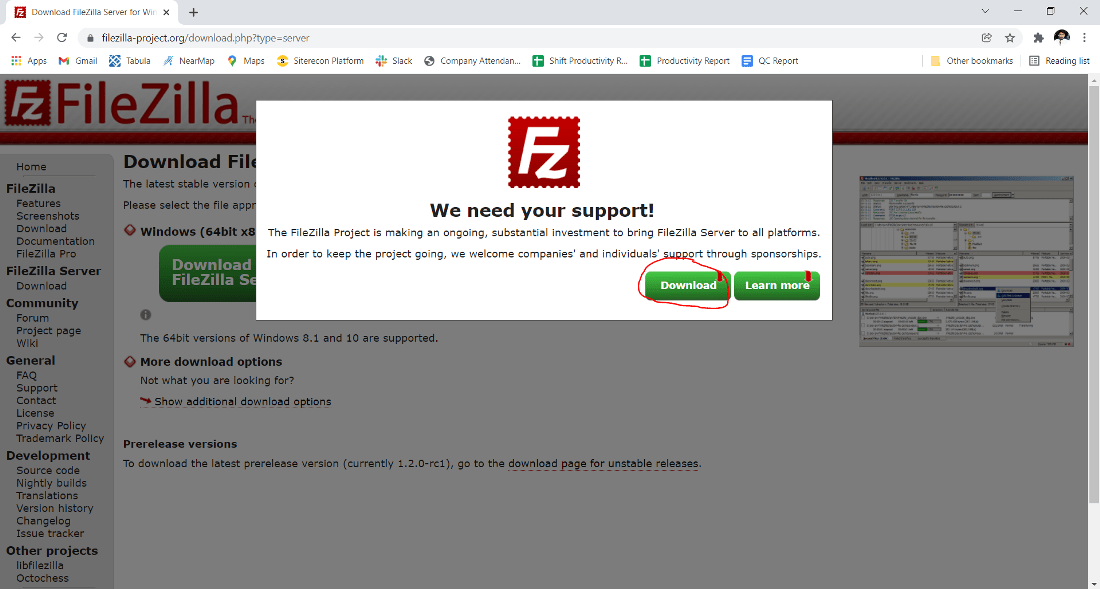
Step 4: Now a dialogue box will open and click on the Download button.
Step 5: Now find the executable file in the downloads folder of your system and open it.
Step 6: It will prompt confirmation to make changes to your system. So, click on Yes.
Step 7: The next window of License Agreement, so click on I Agree button.

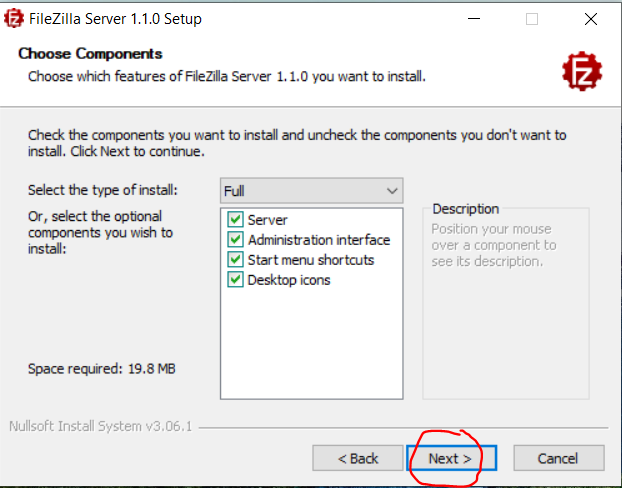
Step 8: Next window is of choosing components, here all components are marked by default so don’t change anything just click on the Next button.
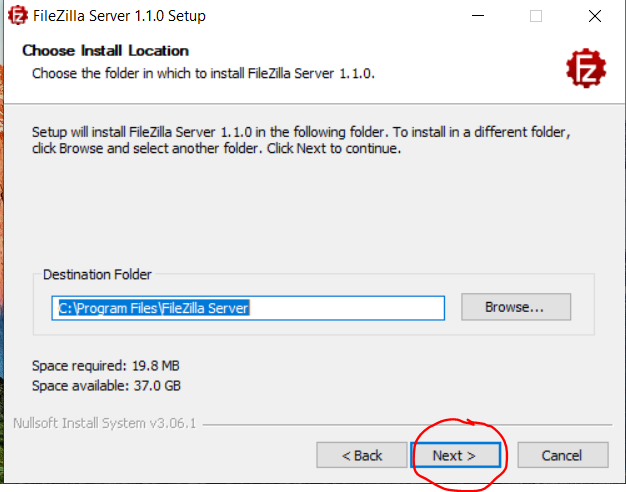
Step 9: Next step is the installing location. Now choose the drive which you want to install the Shotcut and that will have sufficient memory space for installation. By default, it installs in C drive. It required approximately 19.8 MB of memory space. Click on the Next button.
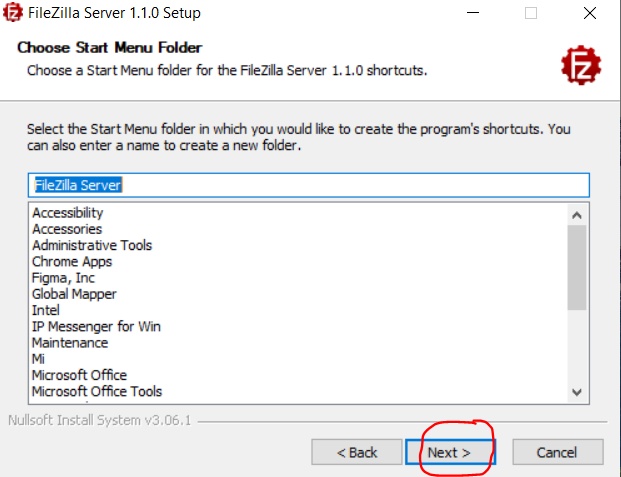
Step 10: Next screen will be the Start menu folder choose according to your choice and click on Next.
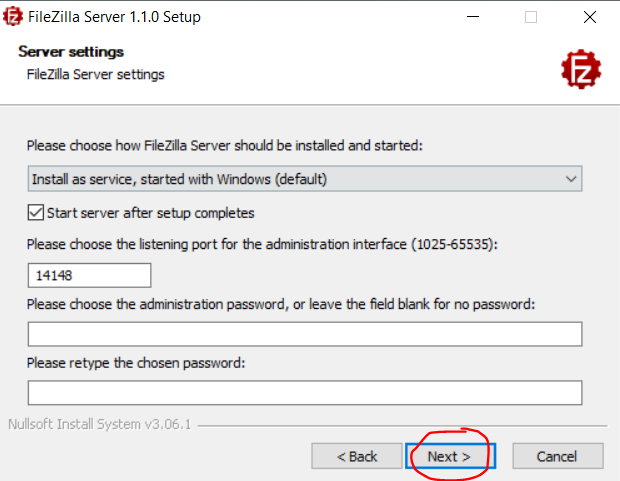
Step 11: Next screen will be of Server setting if you won’t make your server password then make otherwise click on Next.
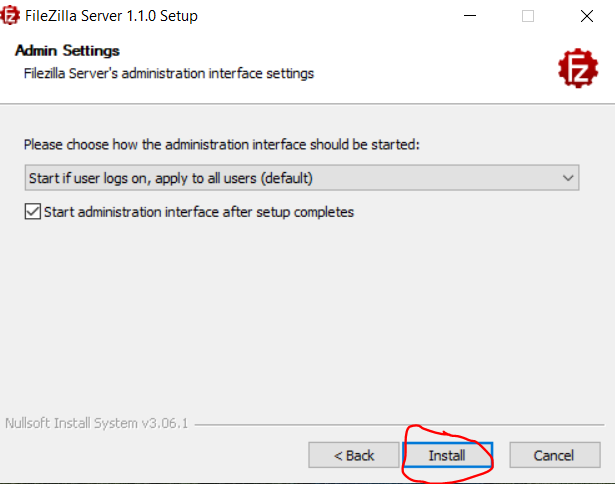
Step 12: Next page will be of Admin setting, so choose your setting according to your choice otherwise Click on the Install button.
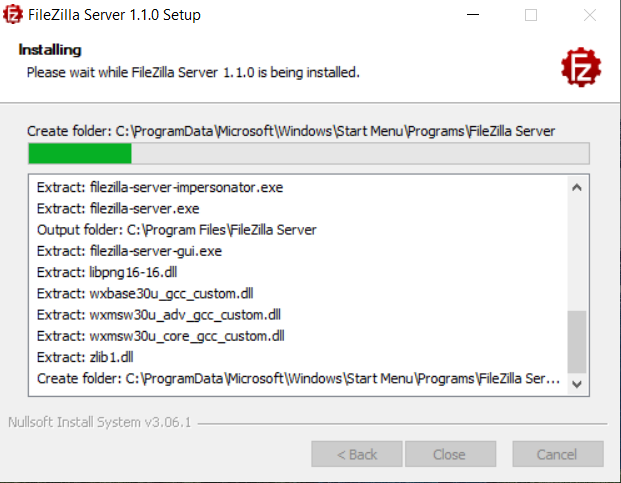
Step 13: After this installation process will start and will take a few minutes to complete the installation.
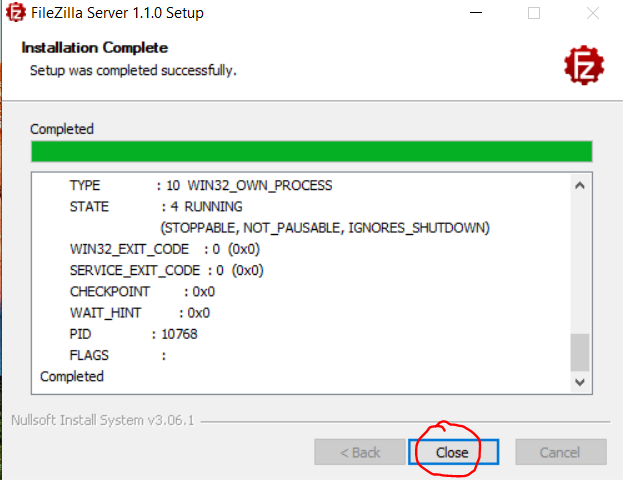
Step 14: Click on the Close button after the installation process is completed successfully.
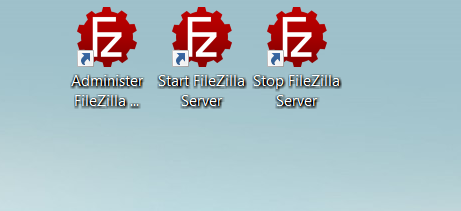
FileZilla is successfully installed on the system and there are 3 icons is created on the desktop:
- Administer to open the interface to work on it.
- Start FileZilla Server if you start work on FileZilla then first start your server then start work.
- Stop FileZilla Server if you stop work then Stop FileZilla Server.
Now run the Administer FileZilla software and see the interface.
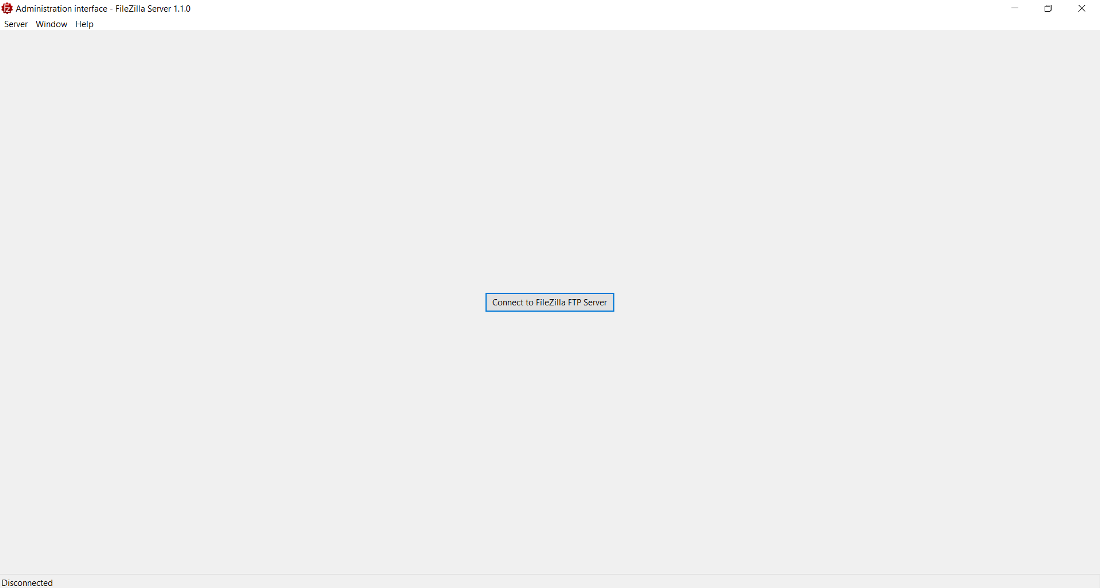
Hence, this is how we install FileZilla on the Windows system.
Share your thoughts in the comments
Please Login to comment...