How to Install Inkscape on Ubuntu?
Last Updated :
28 Jul, 2022
Create vector pictures, typically in Scalable Vector Graphics format, using the free and open-source Inkscape editor. Anyone who wants to make their artwork, whether they are just getting started or trying to be more creative, should use this excellent tool. It may be utilized anywhere because of its various capabilities, which include scalability and import/export options that can help any design come to life. Inkscape can render simple vector shapes and text and can import and export other formats. A recent version of Inkscape 0.92.0 was released, according to the Inkscape team, and it includes significant bug and regression fixes, updated translations, and enhanced documentation. The program contains powerful drawing tools with features equivalent to those of Xara Xtreme, CorelDRAW, and Adobe Illustrator. Illustrators, graphic designers, web designers, and anybody else who wants to make some vector images utilize the free vector graphics program Inkscape. Excellent for converting PDFs to vectors, and it is compatible with Windows, Mac OS X, and GNU/Linux.
Installation of Inkscape on Ubuntu
Method 1: Using apt-get
Step 1: Because the Inkscape package is included in Ubuntu’s default repository, we will use the following command to update all of Ubuntu’s accessible packages:
sudo apt-get update
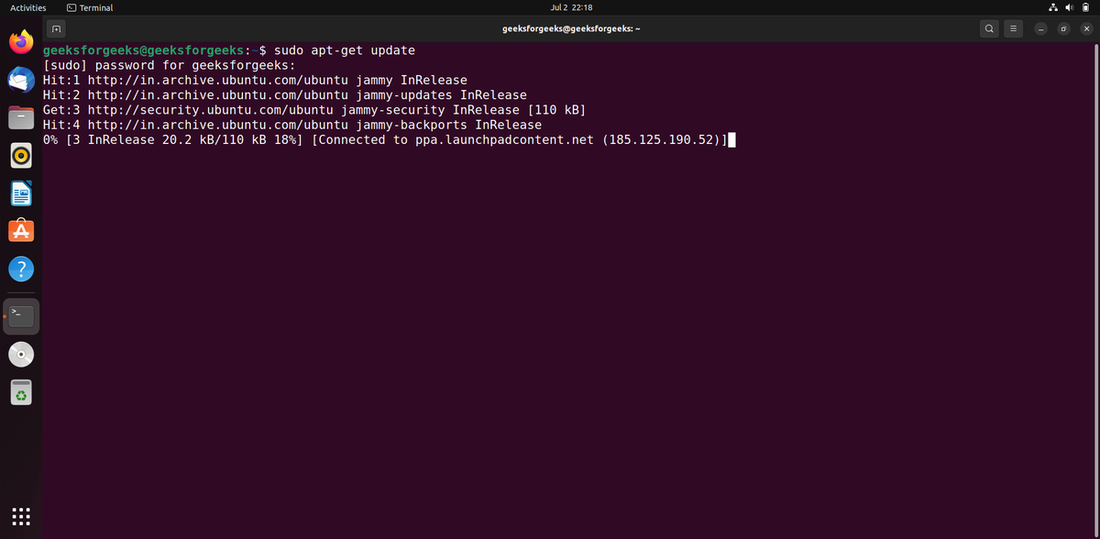
Updating apt database
Step 2: We will install Inkscape on Ubuntu using the apt package manager,
sudo apt install inkscape -y
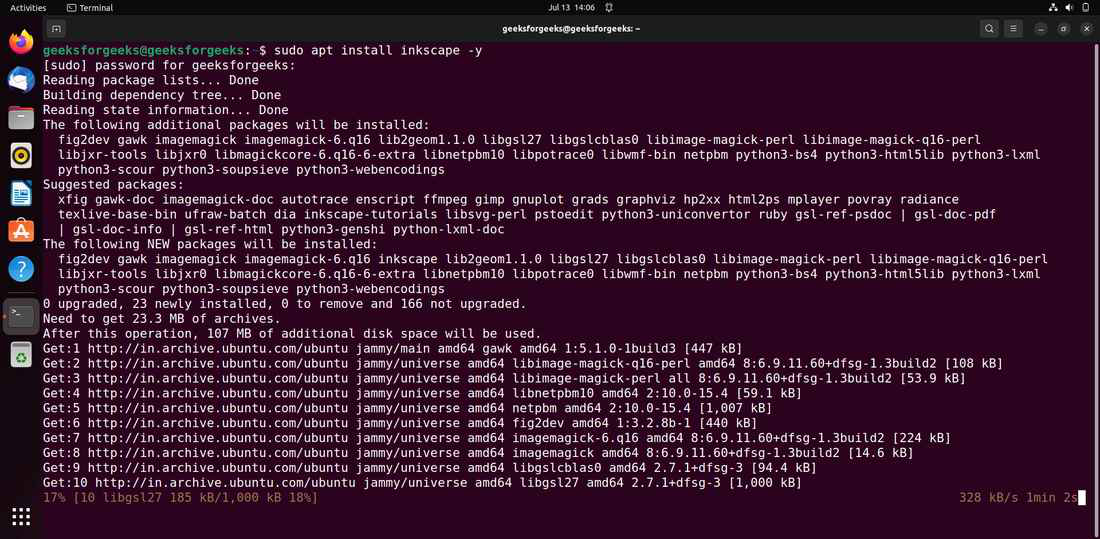
Installing-Inkscape
Step 3: Use the following command to determine the version of Inkscape that is currently installed:
inkscape –version
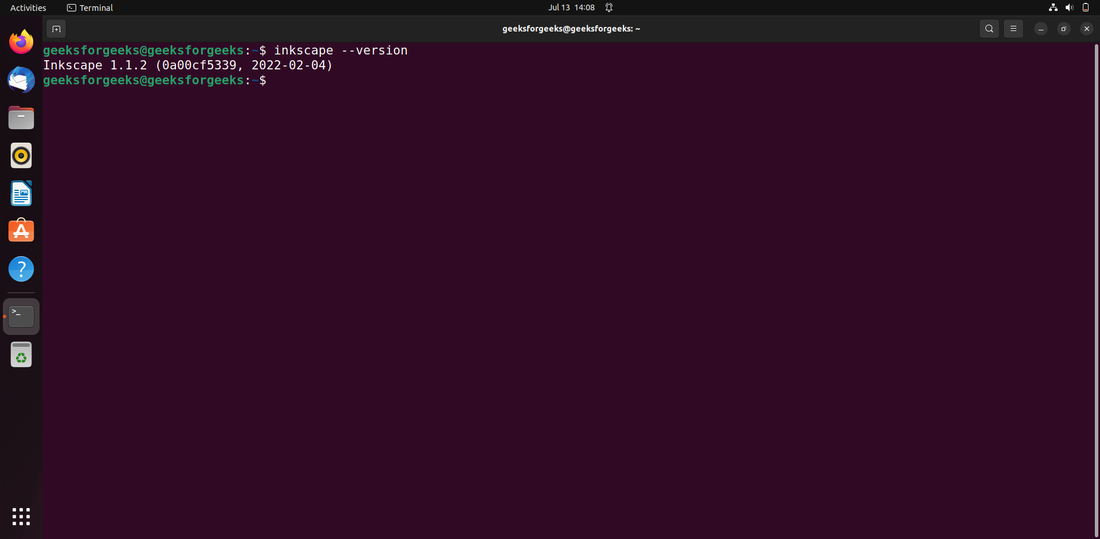
Command to check the Inkscape version
Step 4: Simply type the following command into the terminal to start the Inkscape,
inkscape
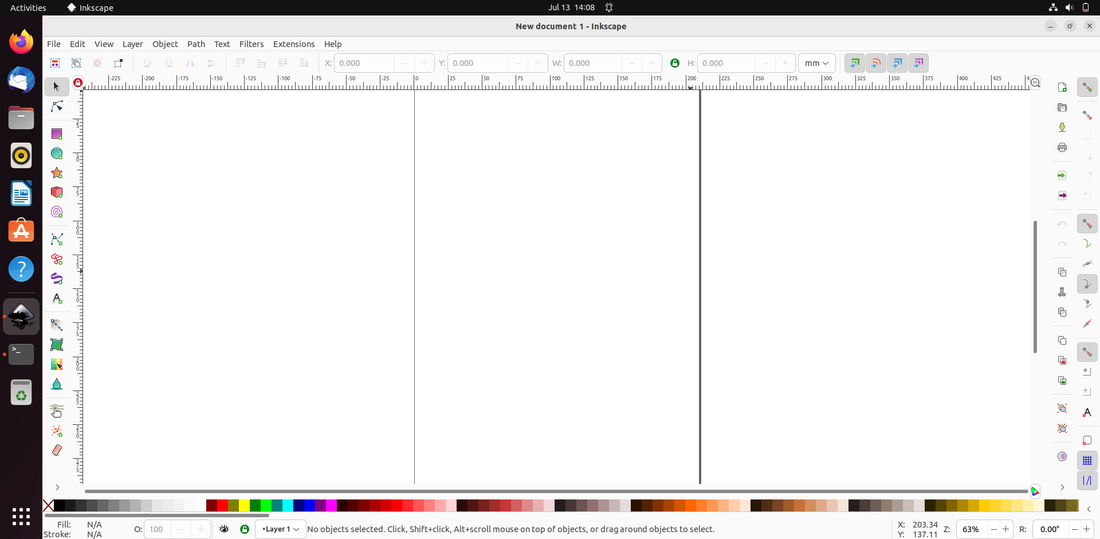
Inkscape-Dashboard
Inkscape is installed on the Ubuntu operating system.
Method 2: Using apt
Step 1: Update the apt database with the following command using apt.
sudo apt update
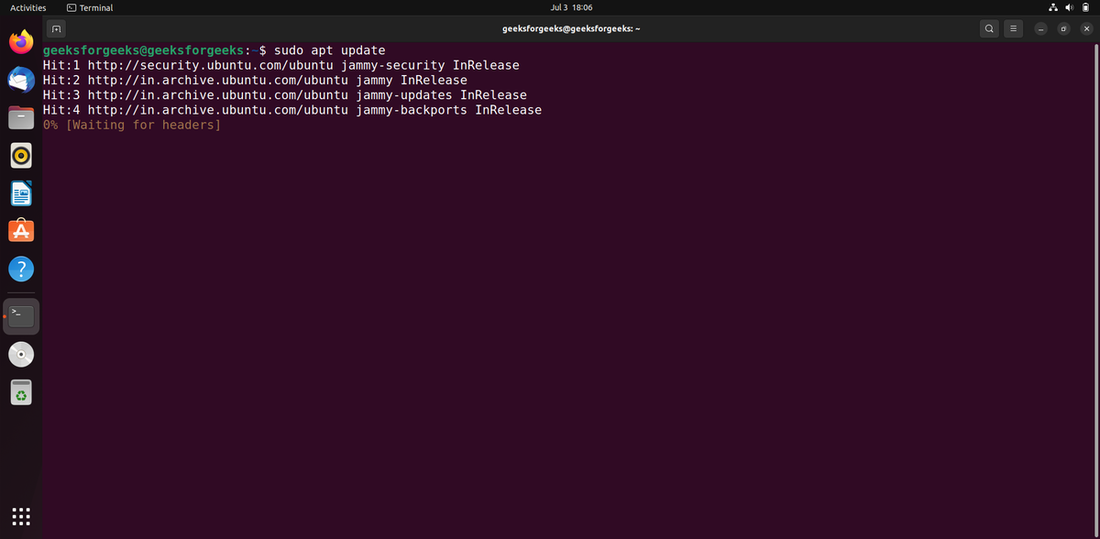
Updating-apt-database
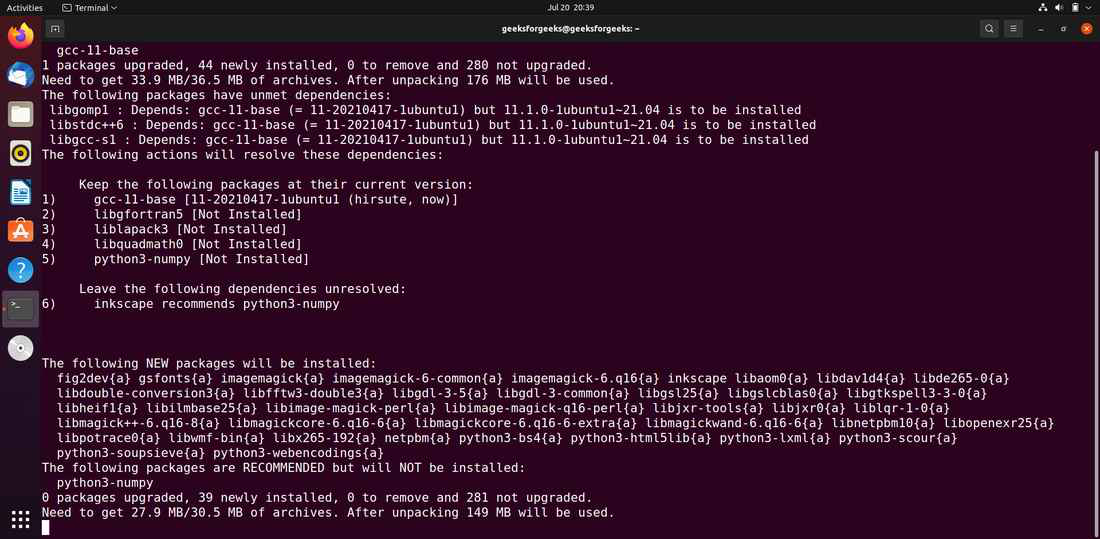
Step 2: After upgrading the apt database, we can use apt to install abs-guide by performing the following command:
sudo apt -y install inkscape
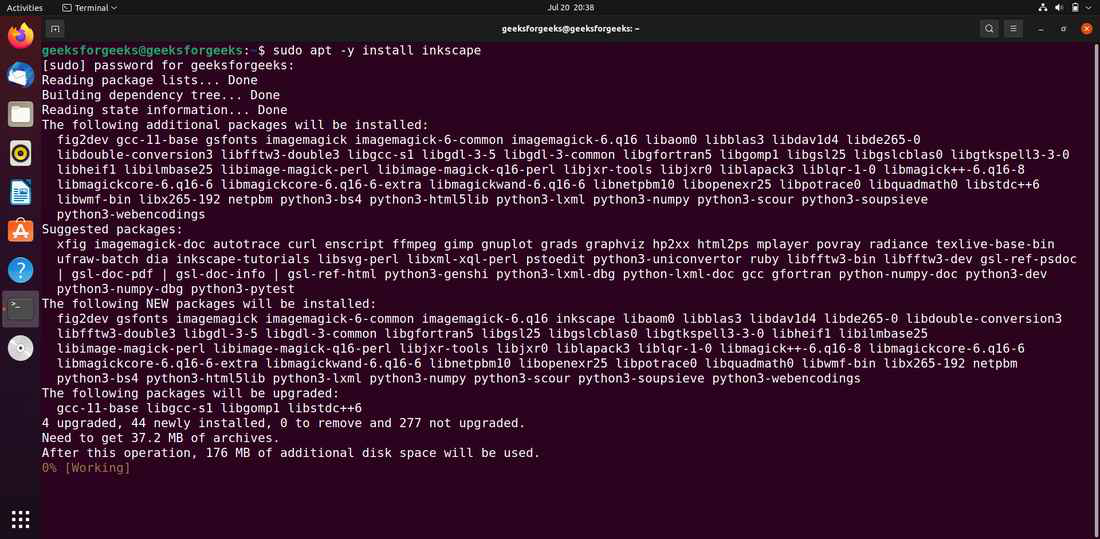
Installing-Inkscape
Method 3: Using aptitude
Step 1: Since aptitude is not typically installed by default on Ubuntu, you might need to install it first if you wish to utilize this method. To update the apt database with aptitude, run the following command.
sudo aptitude update

Updating-aptitude
Step 2: After upgrading the apt database, we can use aptitude to install abs-guide by performing the following command:
suodo aptitude -y install inkscape
Installing-Inkscape
Now we have successfully installed Inkscape on our ubuntu operating system.

Inkscape-Dashboard
Share your thoughts in the comments
Please Login to comment...