How to Download and Install Inkscape on Windows?
Last Updated :
05 Jan, 2022
Inkscape is a free and open-source computer software which is mainly used to create vector images. Its format is SVG which means Scalable Vector Graphic means the images pixels will not rupture on zooming. It is available for different operating systems like FreeBSD, Linux, Mac, Windows etc. It was first released on 2 November 2003, and stable release was in 2021 on 27 September. It is written in C++ and Python language. It has an easy interface with different manipulation tools for images like moving, rotating, scaling and skewing.
Installing Inkscape on Windows
Follow the below steps to install Inkscape on Windows:
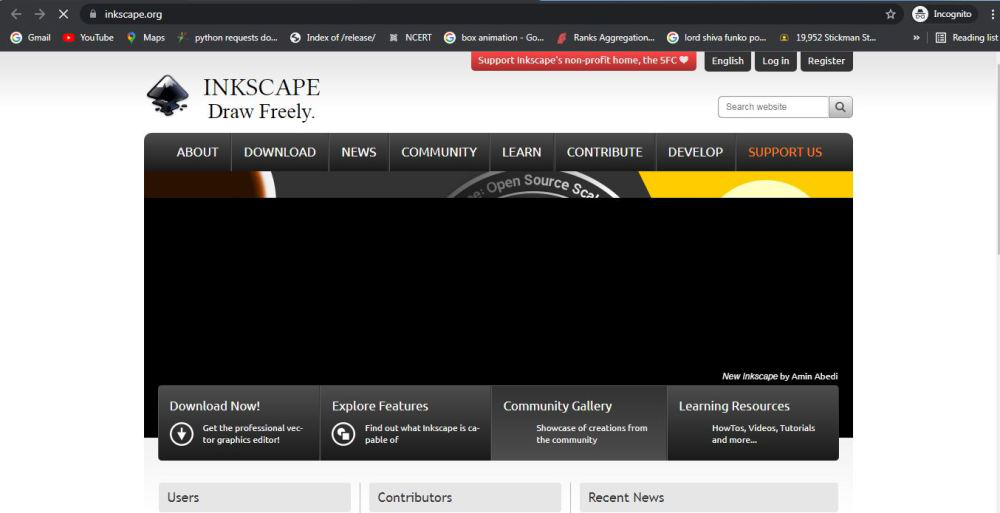
Step 1: Visit the official website using URL inkscape.org on any web browser.
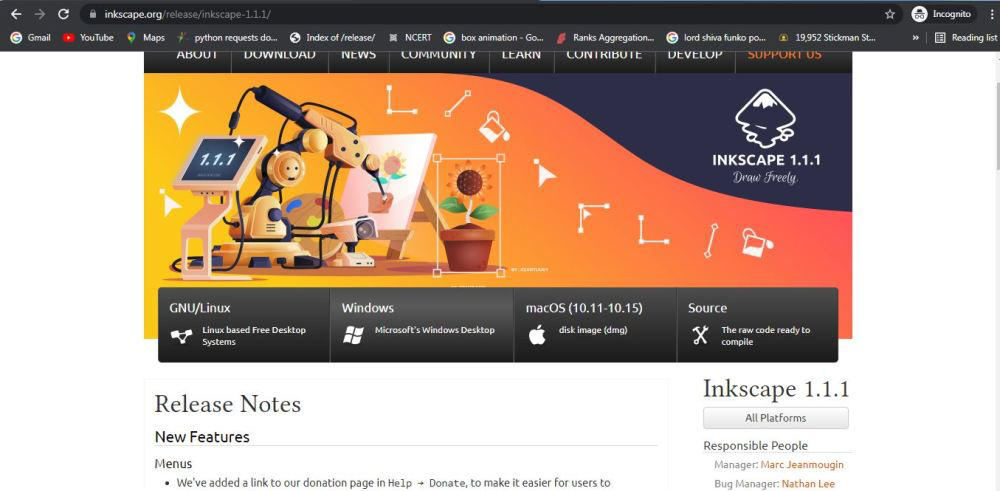
Step 2: Click on Downloads, a list will appear, click on current version.

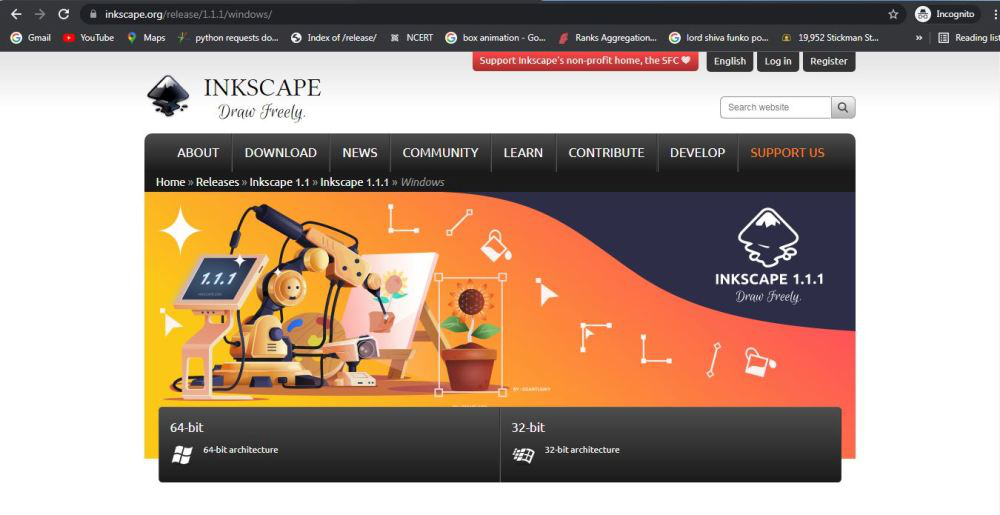
Step 3: Next webpage will ask for choosing operating system, click on Windows.
Step 4: Next webpage will ask for choosing between 64 bit architecture or 32 bit architecture, lets choose 64 bit architecture.
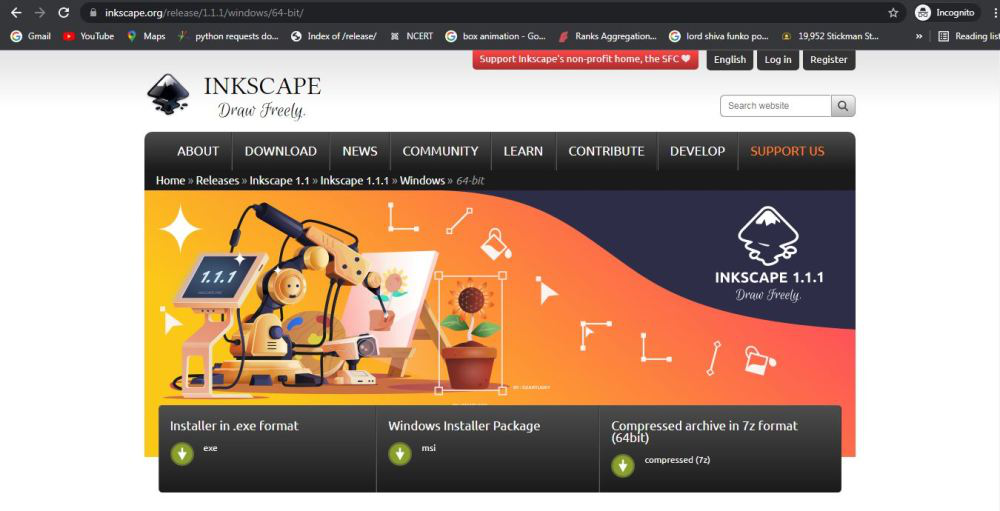
Step 5: Next webpage will ask for choosing installer so click on Installer in .exe format. Downloading of the executable file will start shortly. It is a 84.9 MB file that will take some time.
Step 6: Check for the executable file in Downloads of your system and run it.

Step 7: It will ask for making changes to your system, click on Yes.
Step 8: Setup screen will appear, click on Next.

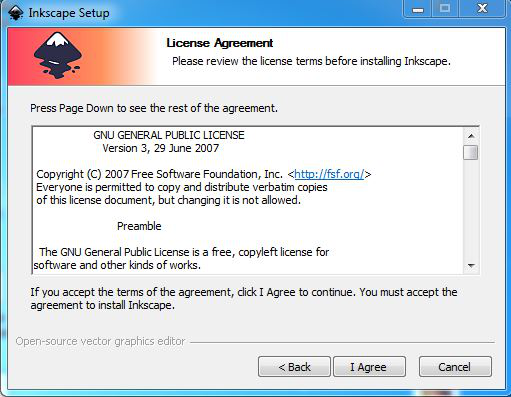
Step 9: The next screen will be of License Agreement, click on I Agree.
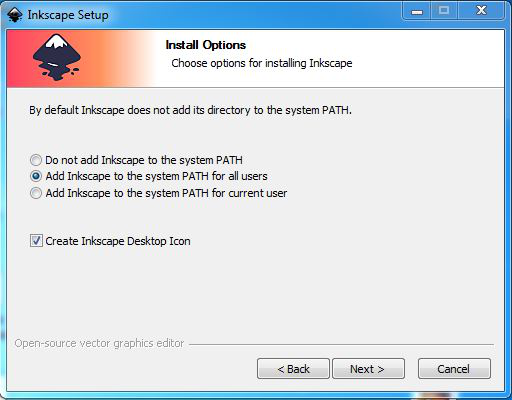
Step 10: After it there will be screen of installing options so check the box for Add Inkscape to the system path for all users, and also check the box for create a desktop icon and then click on the Next button.
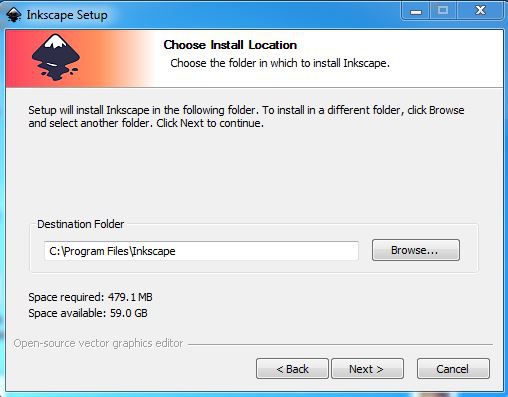
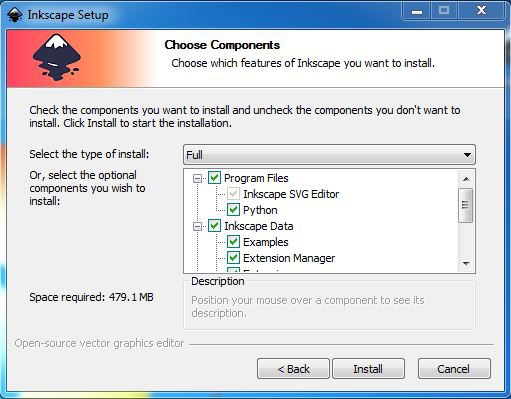
Step 11: The next screen will be of installing location so choose the drive which will have sufficient memory space for installation. It needed only a memory space of 479.1 MB.
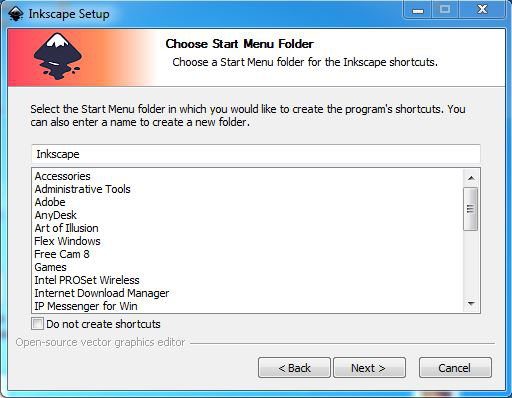
Step 12: Next screen will be of choosing Start menu folder so don’t do anything just click on Next Button.
Step 13: This screen is of choosing components, all components are already marked so don’t change anything just click on Install button.
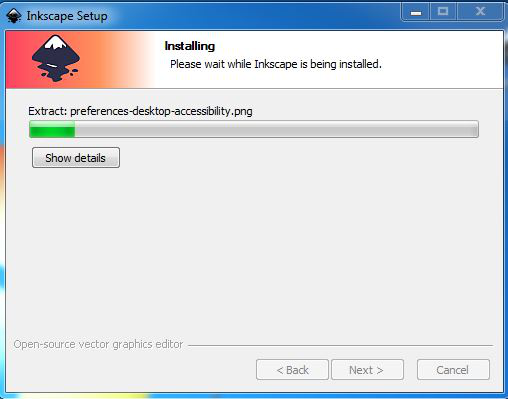
Step 14: After this installation process will start and will hardly take a minute to complete the installation.
Step 15: Click on Finish after the installation process is complete.
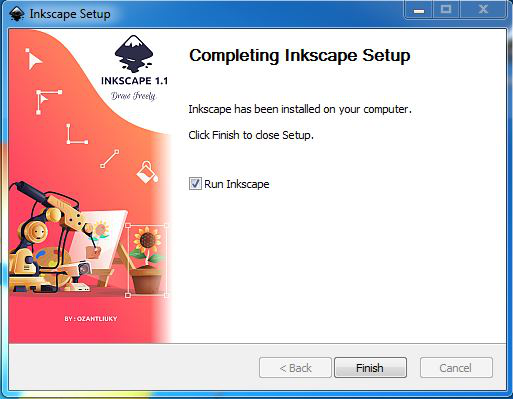
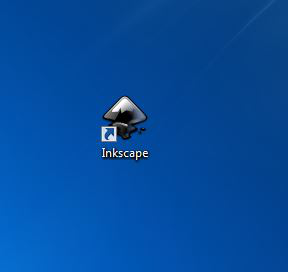
Step 16: Inkscape is successfully installed on the system and an icon is created on the desktop.
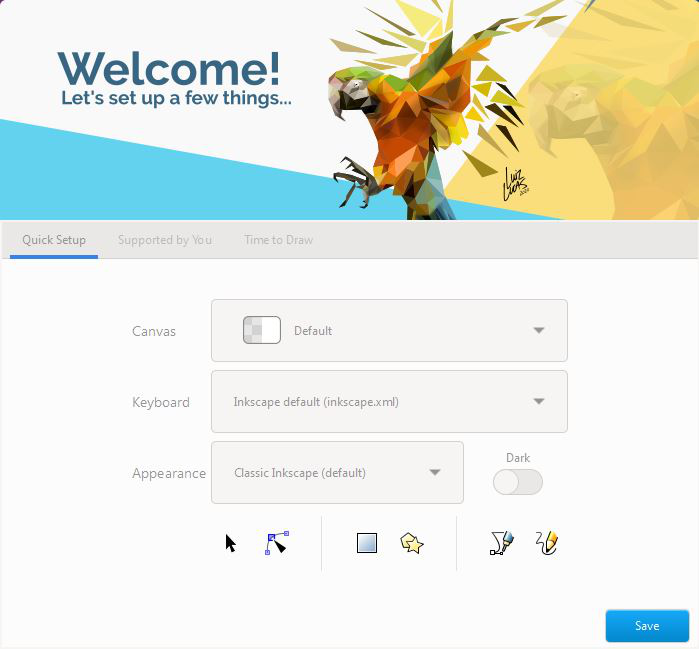
Step 17: Choose Canvas size and click on Save button.
Step 18: On next screen click on Thanks.

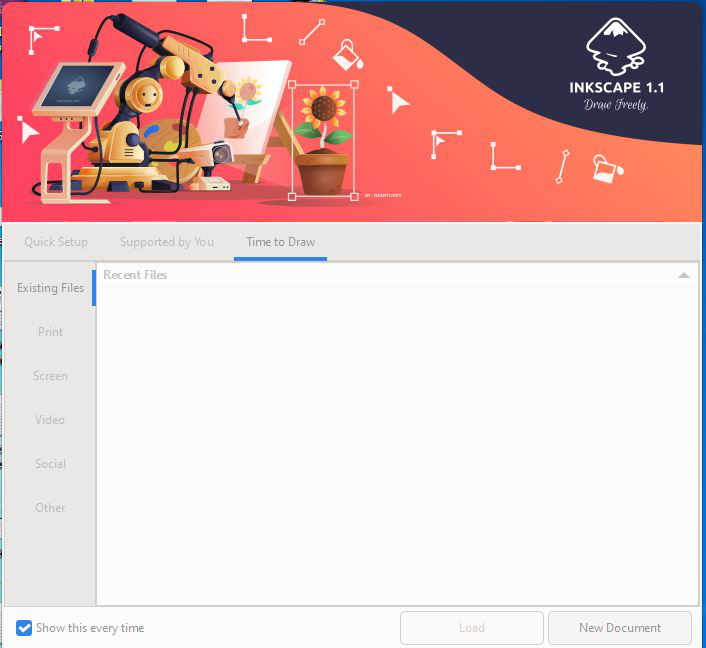
Step 19: Next screen will appear for drawing, click on New Document.
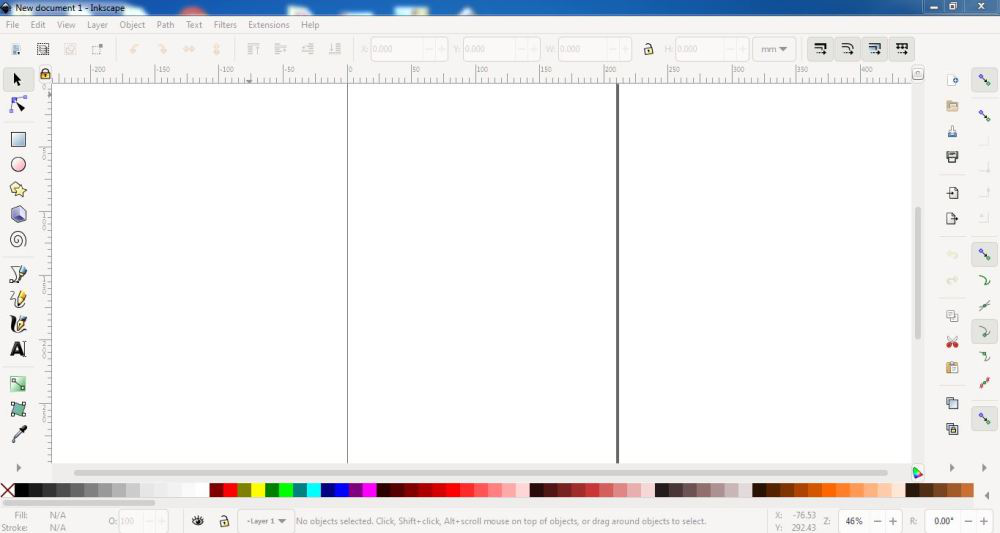
Step 20: Interface is initialized and inkscape is ready to use.
Congratulations!! At this point, you have successfully installed Inkscape on your windows system.
Like Article
Suggest improvement
Share your thoughts in the comments
Please Login to comment...