How to Install Eclipse for C++ on Linux?
Last Updated :
16 Oct, 2021
Eclipse is an IDE (integrated development environment) used for building software. It was initially released by IBM on 7 November 2001. Using eclipse, we can develop applications with Java, PHP, and C/C++ programming languages. It’s one of the most popular open-source IDE among developers. In today’s article, we are going to cover how we can install Eclipse for C/C++ Developers to develop applications in C or C++ on a Linux machine.
Installing Eclipse for C++ on Linux:
Follow the below step-by-step guide to install Eclipse for C/C++:
Step 1: Download the eclipse launcher by going through this link:
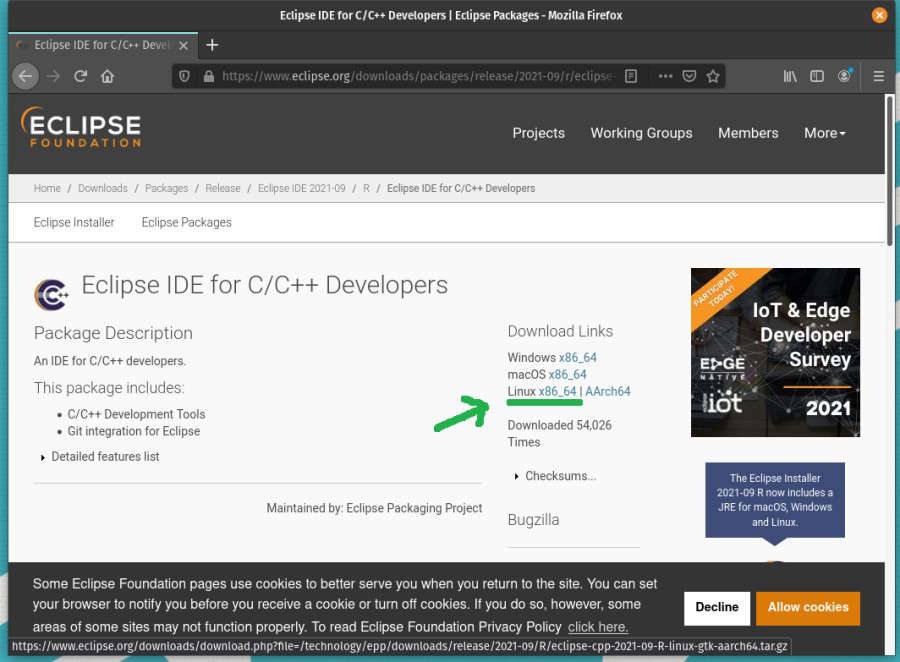
downloading the eclipse
Step 2: Extract the downloaded file using the following command:
tar -xvf eclipse-cpp-2021-09-R-linux-gtk-x86_54.tar.gz
The tar is a utility tool to make operations on archives, to extract, to make, to list, and to rename the archives. Here, -xvf flag stands for extract, verbose, and file.
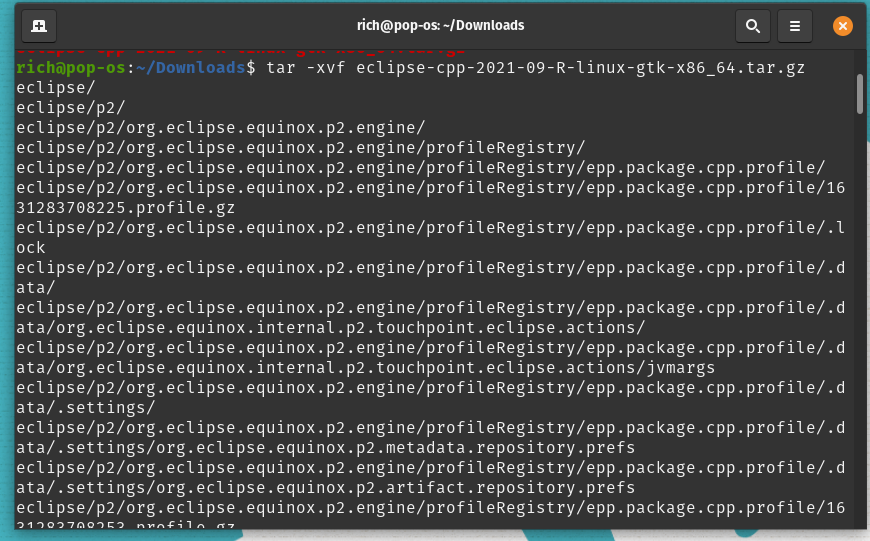
Extracting
Step 3: Navigate to the extracted folder and run the following commands to install Alacarte menu that will help us to create a desktop shortcut for Eclipse.
After extracting the eclipse installer, create a shortcut for the launcher:
Alacarte is a menu editor for the GNOME desktop. It is written in Python. It has been part of GNOME since the 2.16 release. To install the Alacarte for creating a custom shortcut icon.
sudo apt-get install alacarte
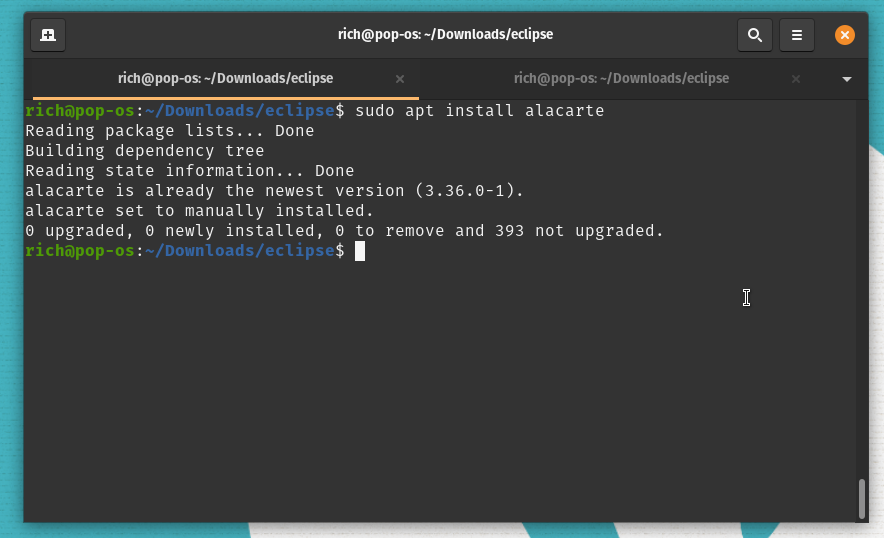
installing alacarte
Step 4: Configuring the shortcut by running the alacarte:
alacarte
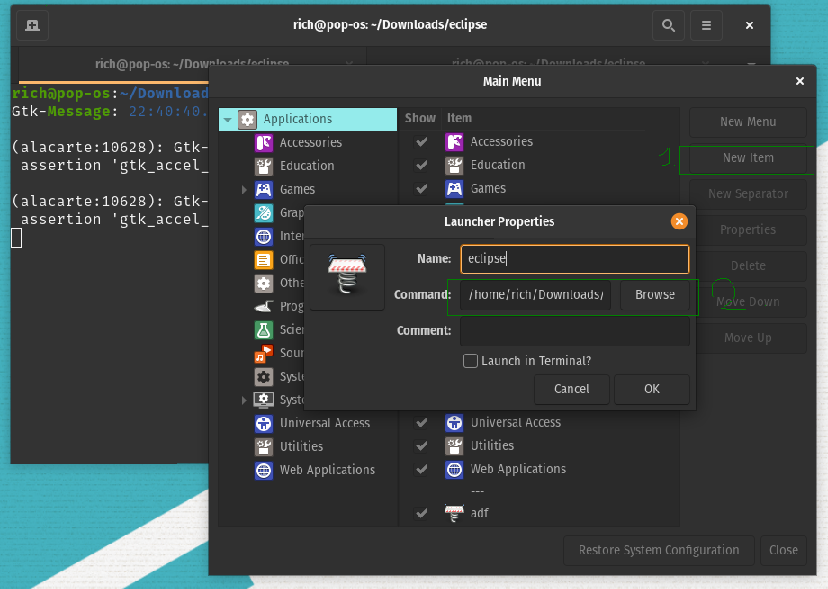
Creating shortcut
In the first step click on the New item button on the right side, a pop-up window will open as in the above figure. Select executable from the extracted folder and click on the ok button. This will create a shortcut application in the programs.
Step 5: To launch the eclipse simple search for Eclipse, a icon will appear and click enter. This will launch the Eclipse IDE.
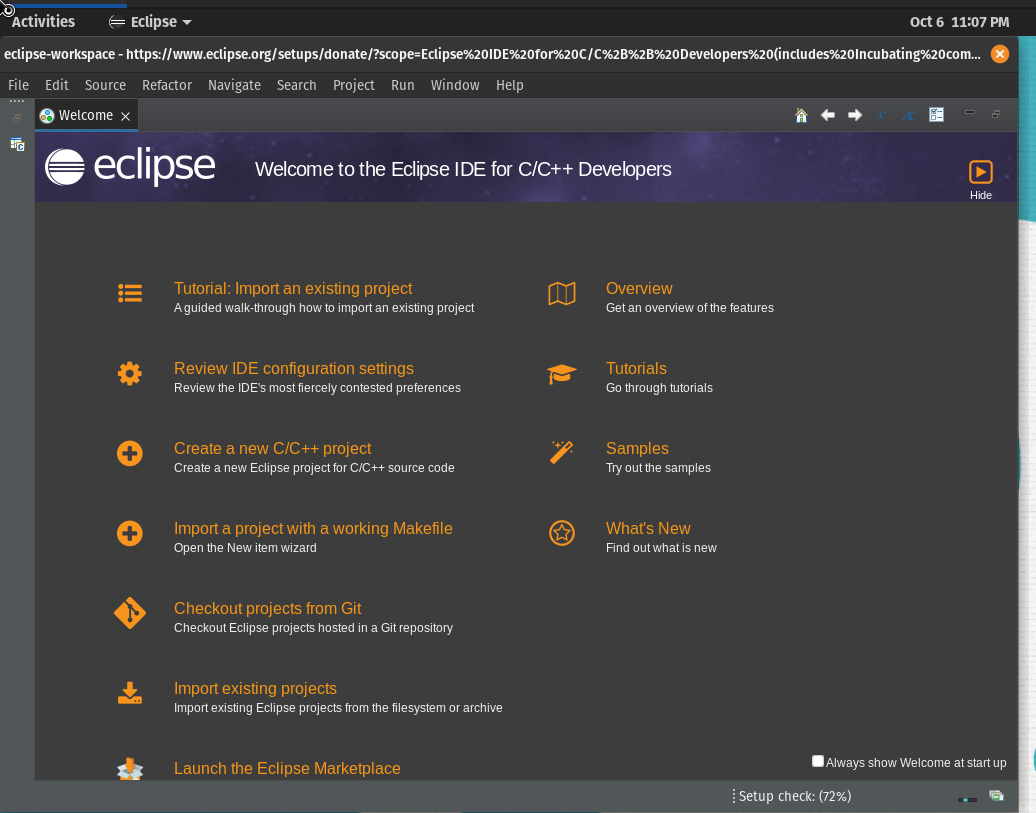
Eclipse installed
Share your thoughts in the comments
Please Login to comment...