How to Install Scala IDE For Eclipse?
Last Updated :
06 Dec, 2021
In this tutorial, we’ll look at how to set up the Eclipse IDE for Scala. This tutorial is for those who are new to Scala.
Requirement for Installation
- Eclipse (Install link) if you don’t know how to install Eclipse then refer to this article.
- JDK 11 (you may use JDK 6 onwards)
Note: If you do not have JDK installed, you may get them from this link.
Installing Scala IDE for Eclipse:
Follow the below steps to install Scala IDE for Eclipse
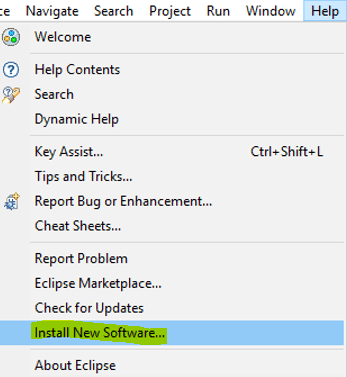
Step 1: Open the eclipse and click on the “Help” and select “Install New Software”
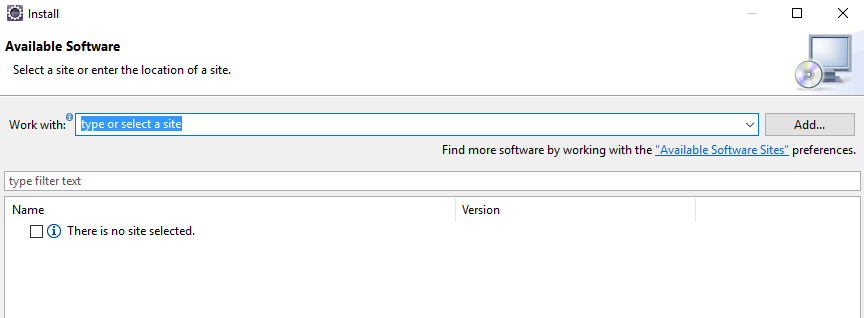
Step 2: Now click the “Add” button to add the new repository.
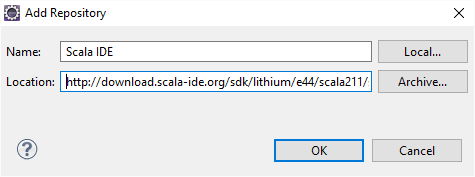
Step 3: Add Scala IDE update site, You can use the most recent Scala update site
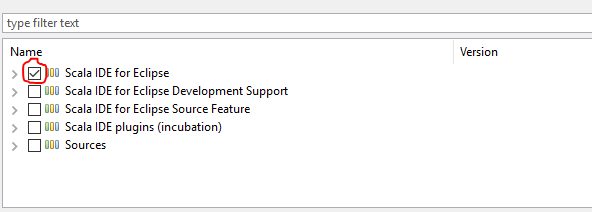
Step 4: Select Scala IDE for Eclipse to download it, you can choose which Scala IDE you want to download
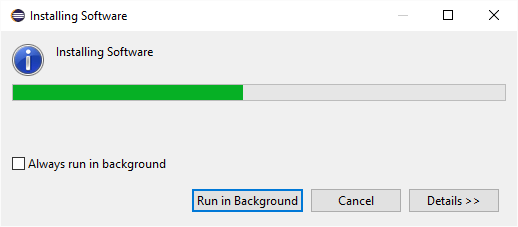
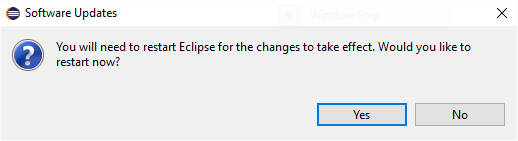
Step 5: After installation, the system will ask you to restart the Eclipse.
Testing Scala Installation in Eclipse IDE:
Using the Eclipse IDE, we will create a simple Hello World program in Scala.
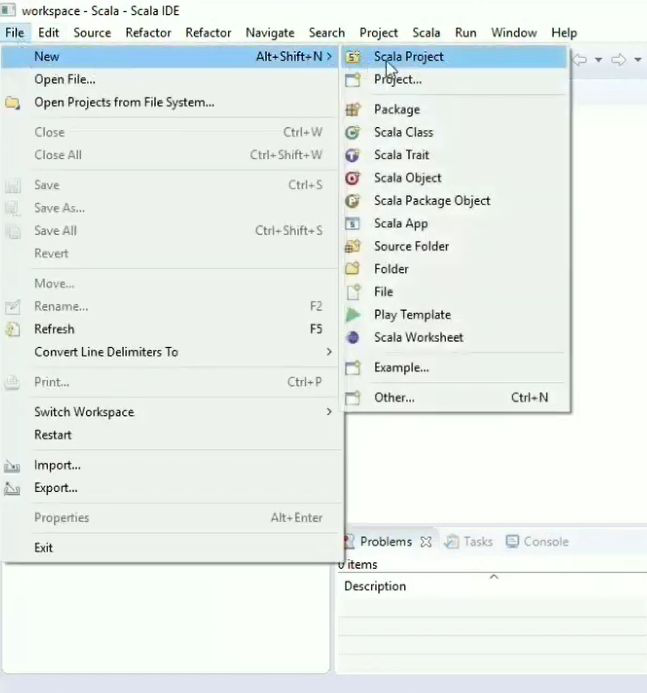
- Open the Eclipse, click on the menu and click on the “New” ->Scala project.
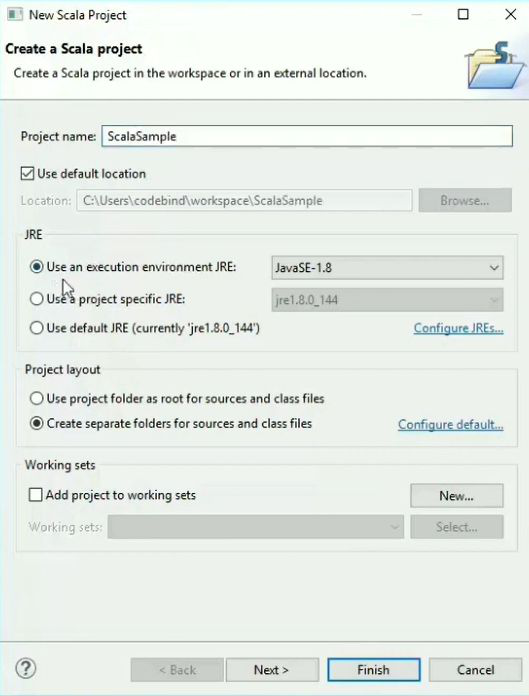
- Give the name to your project.
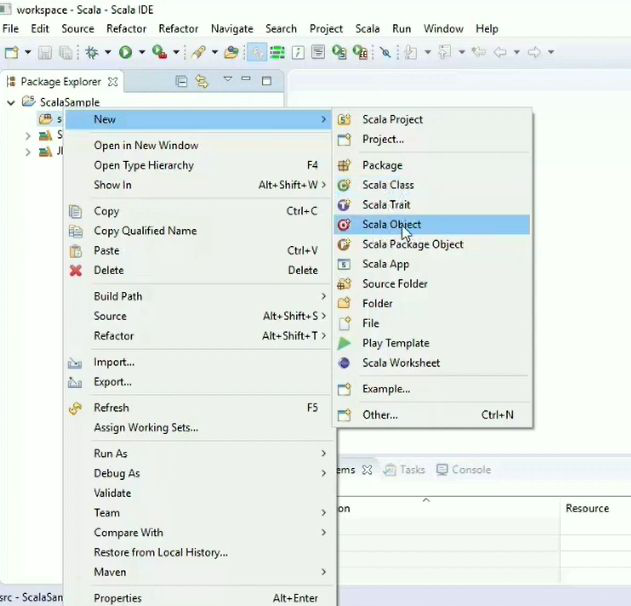
- Create a new Scala Object, File -> New -> Scala Object
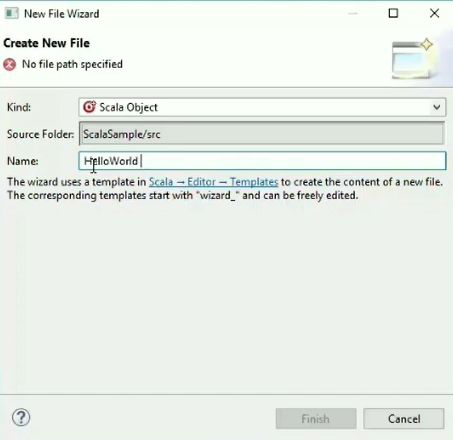
- Give your Scala application a name and then click Finish to create the file.
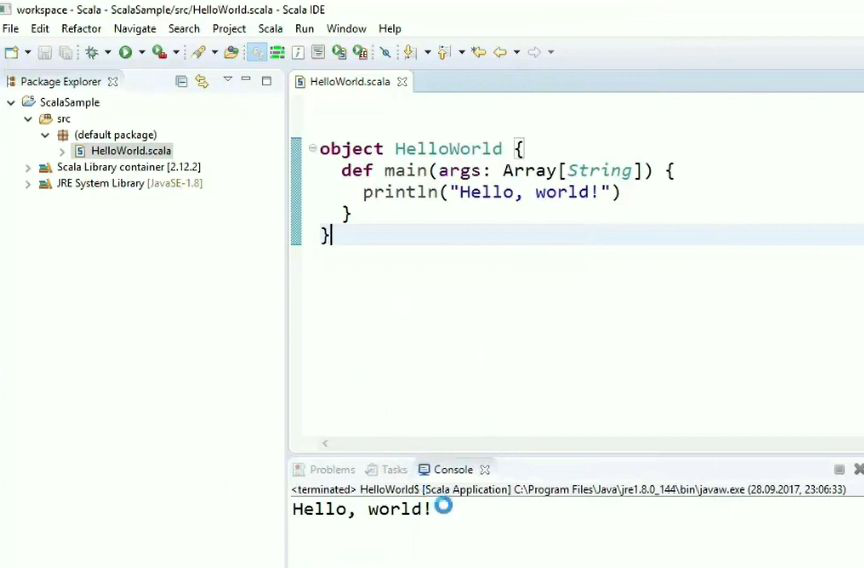
- Add code that prints Hello World
Scala
object Geeks
{
def main(args: Array[String])
{
println("Hello World!")
}
}
|
Output:
Like Article
Suggest improvement
Share your thoughts in the comments
Please Login to comment...