How to Insert a Picture in a Cell in MS Excel?
Last Updated :
03 Sep, 2021
Every day in business or any other field lots of information are there that are required to store for future use. For anyone, it is very difficult to remember that information for a long time. Earlier data and information are stored in a form of a register, file, or by paperwork but finding it may be difficult for us. It takes a lot of time. To resolve this issue Microsoft brings a software called MS Excel.
Microsoft Excel is a software that allows users to store or analyze the data in a proper systematic manner. It uses spreadsheets to organize numbers and data with formulas and functions. MS Excel has a collection of columns and rows that form a table. Generally, alphabetical letters are assigned to columns, and numbers are usually assigned to rows. The point where a column and a row meet is called a cell. Generally, it is used to keep records, data in various fields of business.
Features of MS Excel
- Auto calculate- This helps you to calculate a group of data and it automatically shows the result in the status area. You can also create your own formulas.
- Shared- You can share your data file over a network.
- Templates- It gives us a variety of elegantly designed templates for your home or business purpose.
- Excel Charts- Excel charts help to convey your information in a very easy way. If you choose charts wisely and formatting them cleanly, you can deliver a lot of information to them.
- Conditional Formatting- It helps users to focus quickly on important topics of data or to highlighted errors and to identify important patterns in data.
- Sorting and Filtering- It is used to sort or filter data according to your need. You can also reorder the data. It saves your time a lot.
- Toolbars- It has a Collection of buttons that provide one-click access to commonly used commands such as Save, undo, and many more.
- Ribbon- It has commands and controls organized tasks in Tabs and groups.
Steps to Insert Pictures
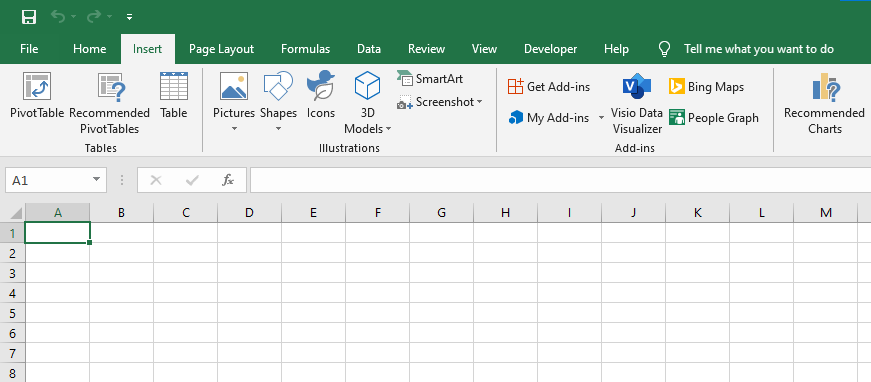
Step 1: On the navigation menu bar click on the Insert option.

Step 2: Now click on the Picture option as shown in the figure:

Step 3: Then select This Device option from the menu.

Step 4: A Insert Picture dialog box will be pop up on the screen as shown in the figure:

Step 5: Next select the storage drive from the left menu where you have to save the image file.

Step 6: Now select the image file to insert.

Step 7: Next click on the insert button.

The picture is inserted in the document as shown in the figure:

Insert Pictures from Online Source
Step 4: Repeat the same steps from1 to 3.
Step 5: Next click on the Online Picture option from the menu as shown in the figure:

Step 6: A Online Picture dialog box will be pop up on the screen where you can select different online images.

Step 7: Next search the image name in the search bar box.

Step 8: Now select the image file from the menu as shown in the figure:

Step 9: Next click on the Insert option.

Finally, the image is inserted in the document as shown in the figure:

Format Added Images using MS Excel
Step 1: Now Adjust the image size by dragging the highlighted button as shown in the figure:

Step 2: On the navigation menu bar click on the Format option.

Step 3: Now select the picture style from the menu as shown in the figure:

Step 4: Next click on the Picture Border option and then select the border color from the color panel.

Finally, the Picture is inserted into the MS Excel sheet.
Share your thoughts in the comments
Please Login to comment...