How to Disable a Button in Flutter?
Last Updated :
24 Jan, 2023
Sometimes we need to make the button disabled, let us consider, you created a form to take the user input and a form submit button. Then you want that, the button must be disabled until the user fills all the fields of the form then immediately enable the button.
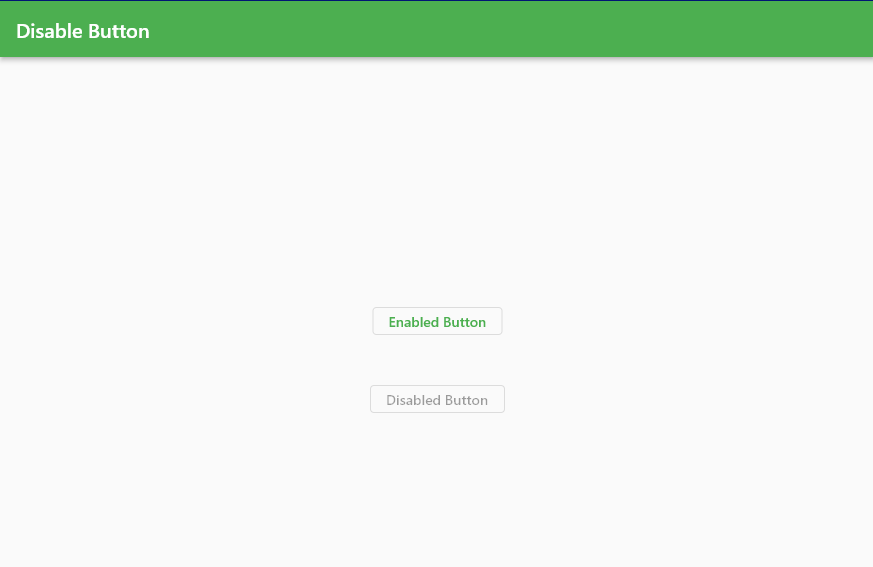
Sample Output is given below what we are going to implement in this article.
Approach:
We know that every button in flutter has a property on pressed. If we give assign it to null then the button becomes disabled.
OutlinedButton(
    onPressed: null,
    child: Text('Disabled Button'),
),
Let’s create a simple application that contains two buttons, one is the enabled button, and the second one disabled button.
Step-by-Step Implementation
Step 1: Create a New Project in Android Studio
To set up Flutter Development on Android Studio please refer to Android Studio Setup for Flutter Development, and then create a new project in Android Studio please refer to Creating a Simple Application in Flutter.
Step 2: Adding Material Package
Add the material package that gives us the important methods and then call the runApp method in the main function that will call our application.
import 'package:flutter/material.dart';

void main() {
    runApp(RunMyApp());
}
Step 3: Creating a Stateless Widget
Now we have to make a stateless widget RunMyApp Because our application does not go to change its state and then return the MaterialApp widget which allows us the set the title and theme and many more.
class RunMyApp extends StatelessWidget {
    const RunMyApp({super.key});

    @override
    Widget build(BuildContext context) {
    return MaterialApp(home:);
    }
}
Step 4: Configuring Properties
Give the home property and there can be a scaffold widget that has the property of AppBar and body. AppBar allows us to give the title of App Bar, color, leading, and trailing icon.
home: Scaffold(
    appBar: AppBar(title: Text('Disable Button'),),
    body: Center(
    ),
),
Step 5: Creating an Outlined Button
Create the Outlined Button and give text as a child, to make the disabled button you have to provide null to on pressed property of the button.
OutlinedButton(
    onPressed: null,
    child: Text('Disabled Button'),
),
Complete code:
Dart
import 'package:flutter/material.dart';
void main() {
runApp(RunMyApp());
}
class RunMyApp extends StatelessWidget {
const RunMyApp({super.key});
@override
Widget build(BuildContext context) {
return MaterialApp(
debugShowCheckedModeBanner: false,
theme: ThemeData(primarySwatch: Colors.green),
home: Scaffold(
appBar: AppBar(
title: Text('Disable Button'),
),
body: Center(
child: Column(
children: [
SizedBox(
height: 250,
),
OutlinedButton(
onPressed: () {},
child: Text('Enabled Button'),
),
SizedBox(
height: 50,
),
OutlinedButton(
onPressed: null,
child: Text('Disabled Button'),
),
],
),
),
),
);
}
}
|
Output:
Disabled Button
Share your thoughts in the comments
Please Login to comment...