Ethereum is a popular blockchain platform that allows developers to build decentralized applications (dApps). It uses a smart contract system that enables the execution of self-executing contracts with the terms of the agreement between buyer and seller being directly written into lines of code.
The article focuses on discussing the steps to build a Node.js API for Ethereum. We will be using the Web3 library, which is a JavaScript library that allows developers to interact with the Ethereum blockchain.
Prerequisites
1. Node.js
Node.js is an open-source JavaScript runtime environment that allows developers to run JavaScript code outside of a web browser. You can download Node.js from the official website https://nodejs.org/en/download/.
2. Truffle
Truffle is a popular development framework for Ethereum that provides tools for building, testing, and deploying smart contracts. You can install Truffle using the npm package manager.
3. Ganache
Ganache is a local blockchain for Ethereum development that allows developers to test their smart contracts and dApps in a simulated environment. You can download Ganache from the official website https://trufflesuite.com/ganache/.
4. Web3.js
Web3.js is a JavaScript library that allows developers to interact with the Ethereum blockchain and smart contracts using JavaScript. You can install Web3.js using the npm package manager.
5. Postman
Postman tool is used to test the API endpoint. you can download this from the official website https://www.postman.com/.
Steps to Build A Node.js API For Ethereum
Step 1: Set up a New Node.js Project
First, you need to set up a new Node.js project. Open a terminal and create a new directory for your project. Then, initialize a new Node.js project using the following command:
mkdir contracts
cd contracts
npm init
Follow the prompts to create a new Node.js project.
Step 2: Install the Required Dependencies
Next, you need to install the required dependencies for your Node.js API. Use the following commands to install Truffle and Ganache.
npm install -g truffle
npm install -g ganache
You can also download the GUI version of ganache from their official website https://trufflesuite.com/ganache/. Once you have installed Ganache, open the application and click the “Quickstart” button. This will start a new blockchain with 10 accounts, each with 100 ETH.
Step 3: Create a New Truffle Project
Next, you need to create a new Truffle project. Use the following command to create a new Truffle project:
$ truffle init
This command will create a new Truffle project with the following directories:
- contracts: This directory will contain your smart contract code.
- migrations: This directory will contain your migration scripts for deploying your smart contracts.
- test: This directory will contain your test scripts for testing your smart contracts.
Here, you can see in below picture:
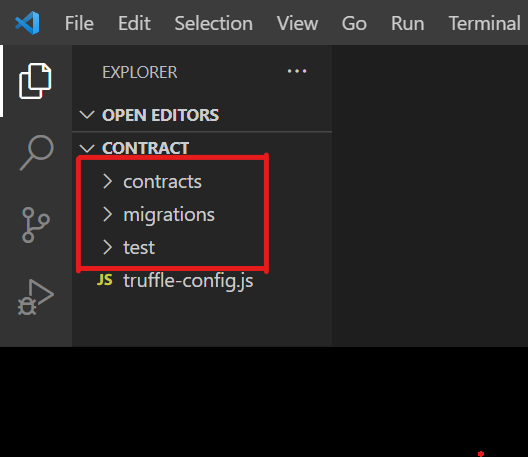
Create the truffle project
Now, open truffle-config.js file and uncomment the development section from the code and then save the file. Here, you can see it in the picture.
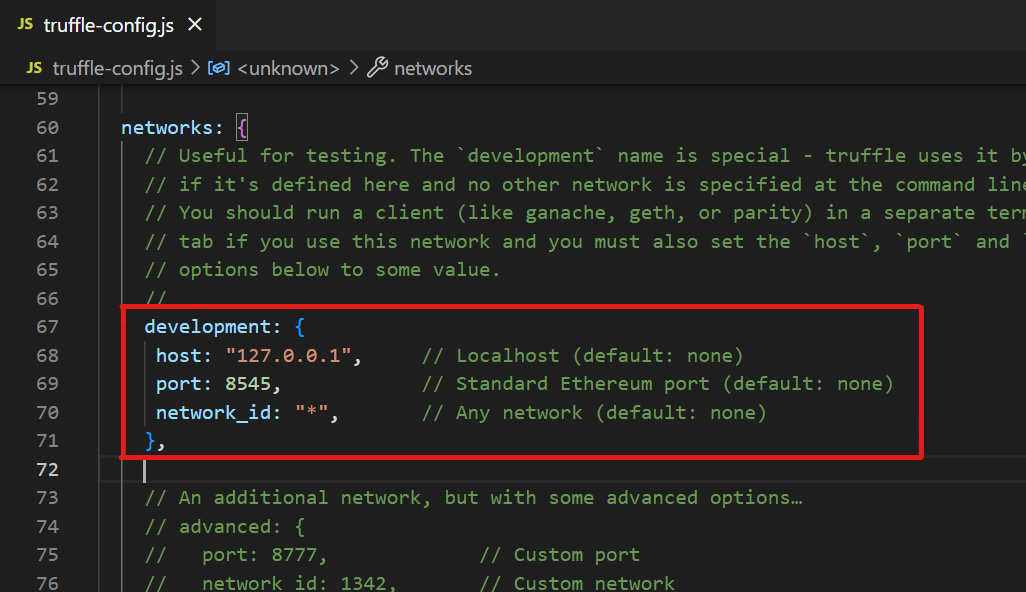
truffle-config.js file
Step 4: Write Smart Contract Code
Next, you need to write your smart contract code. Open the contracts directory and create a new file called MyContract.sol. In this file, write the smart contract code using the Solidity programming language.
Solidity
pragma solidity ^0.8.0;
contract MyContract {
uint256 private myNumber;
function getNumber() public view returns (uint256) {
return myNumber;
}
function setNumber(uint256 _number) public {
myNumber = _number;
}
}
|
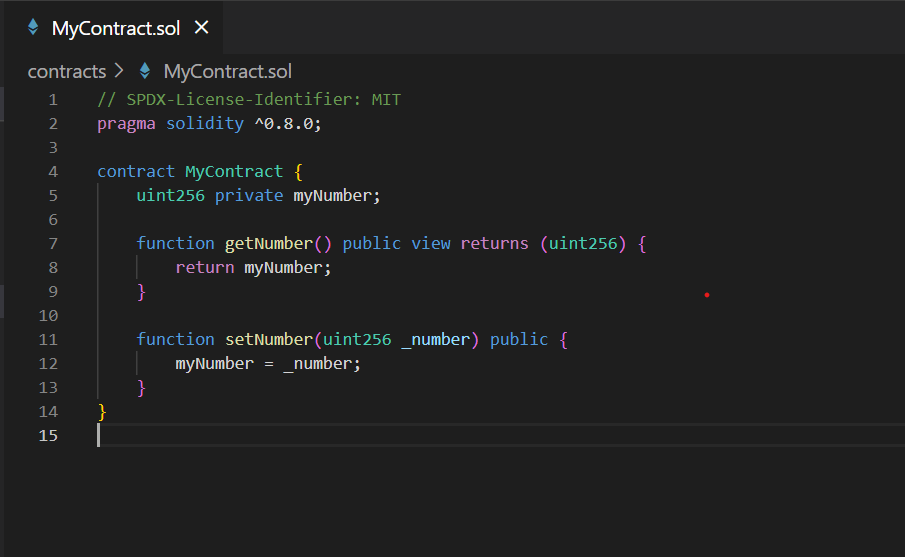
create smart contract
This smart contract has a public variable myNumber, and two functions setNumber and getNumber. The setNumber function sets the value of myNumber, and the getNumber function returns the value of myNumber.
Step 5: Compile Smart Contracts
Next, you need to compile your smart contracts. Use the following command to compile your smart contracts:
truffle compile
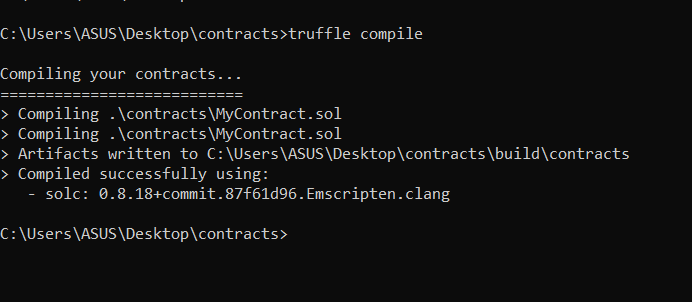
compile the smart contract
This command will compile the smart contracts and generate JSON artifacts in the build/contracts directory.
Step 6: Deploy Smart Contracts
Create a new file named 2_deploy_contracts.js in the migrations directory and add the following code:
Next, we need to deploy the smart contract to the Ethereum blockchain using Ganache CLI. To do this, open a new terminal window and run the following command
Run the following command to migrate the smart contract:
ganache-cli
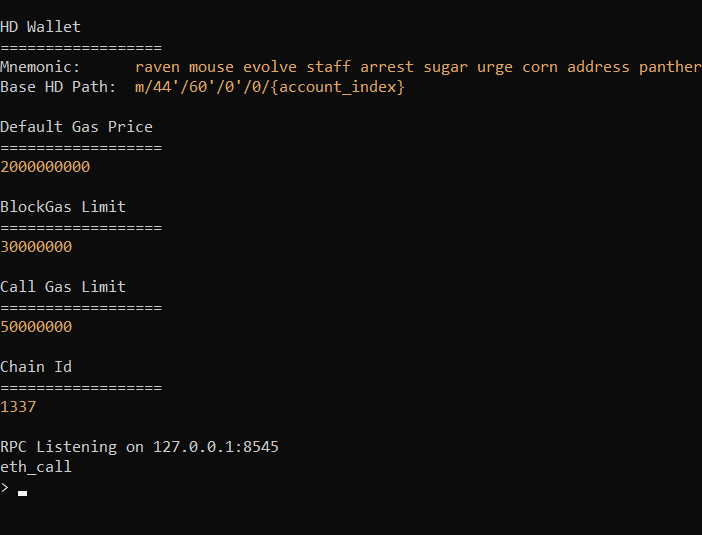
ganache
This command will start a local blockchain that you can use for testing your smart contracts.
Now, back in the original terminal window, run the following command to deploy the smart contract:
truffle migrate
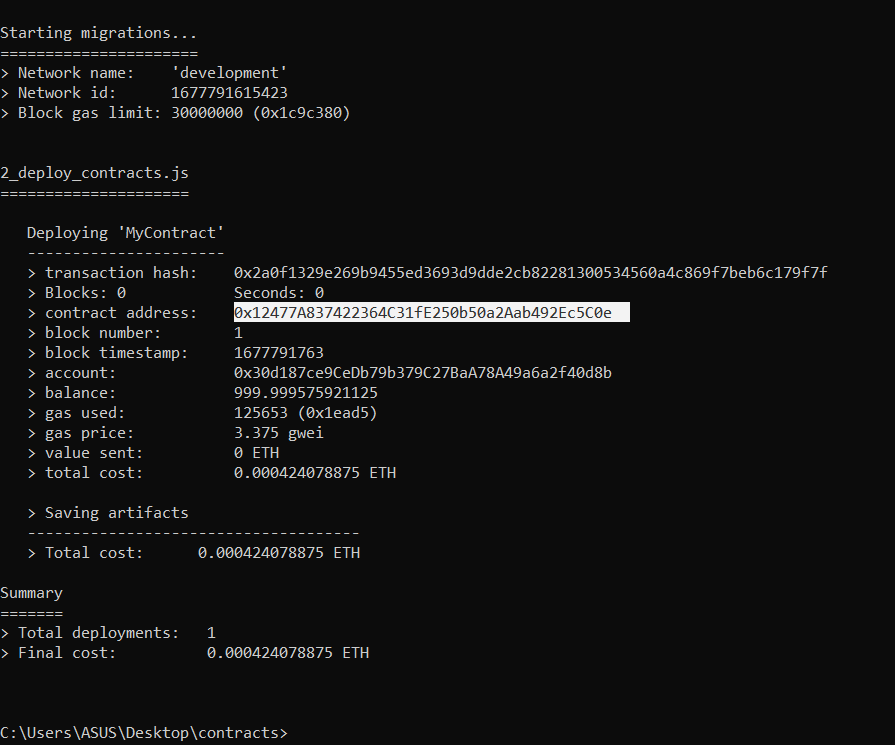
deploy the smart contract
This command will deploy your smart contracts to the Ganache blockchain and create a new migration script in the migrations directory. Here, we can see all the details. Next, you have to copy this contract address. You will use this while creating a Node.js API for Ethereum.
Step 7: Create your Node.js API and Integrate it into Smart Contracts
First, install all the dependencies needed for the project. Run the following command in the terminal:
npm install web3
npm install express
This will install the Express framework and the Web3.js library.
To check if it’s properly installed or not go to the package.json file. and see the version of these dependencies.
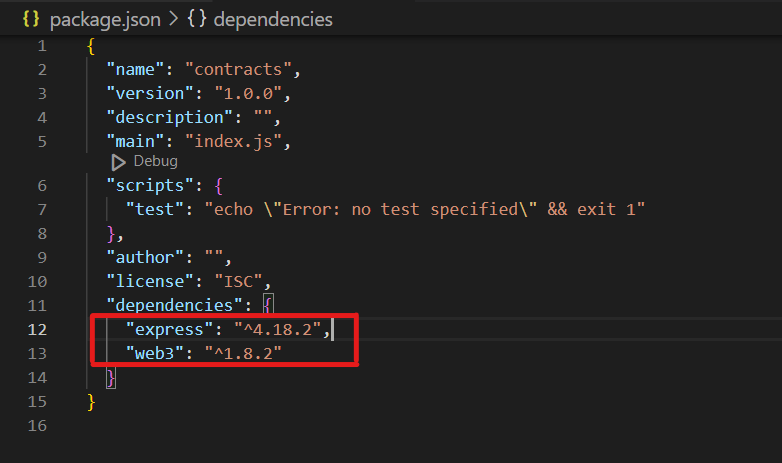
package.json file
Next, you need to write the code for your Node.js API. Create a new file called app.js in the root directory of your project. In this file, you will write the code for your Node.js API.
Javascript
const express = require('express');
const Web3 = require('web3');
const MyContract = require("./build/contracts/MyContract.json");
const contractABI = MyContract.abi;
const contractAddress = '0x12477A837422364C31fE250b50a2Aab492Ec5C0e';
const app = express();
const web3 = new Web3(new Web3.providers.HttpProvider(rpcEndpoint));
const contract = new web3.eth.Contract(contractABI, contractAddress);
app.use(express.json());
app.get('/number', async (req, res) => {
const number = await contract.methods.getNumber().call();
res.json({ number });
});
app.post('/number', async (req, res) => {
const { number } = req.body;
const accounts = await web3.eth.getAccounts();
const result = await contract.methods.setNumber(number).send({ from: accounts[0] });
res.json({ message: 'number set successfully' });
});
app.listen(3000, () => {
console.log('Server listening on port 3000');
});
|
(2).png)
Create API code
Explanation:
In the code above, the Express and Web3 libraries, and the ABI of our smart contract are imported.
- We also define the address of our smart contract, which we got from the deployment process.
- A new instance of the Web3 class is created and passed to an HTTP provider that points to http://localhost:8545.
- We also create a new instance of the Contract class and pass it to the ABI and address our smart contract. and the contract address which was copied during the deployment process.
- Paste that contract address in the contractAddress class.
const contractAddress = ‘0x12477A837422364C31fE250b50a2Aab492Ec5C0e’; // Enter your contract address here
- Two API endpoints, /number GET and /number POST are defined. The GET endpoint returns the value of myNumber by calling the getNumber() function of the smart contract. The POST endpoint sets the value of myNumber by calling the setNumber() function of the smart contract.
Step 8: Test your Node.js API
To test the API, you can use a tool like Postman, which allows you to send requests to the API and view the responses.
1. Run Ganache Command: First, run the ganache command to start the local Ethereum node. So, open a new terminal and run the following command:
ganache-cli
This will start a local blockchain network with 10 accounts, each having 100 ethers.
2. Start Node.js Server: Now, back to the original terminal and start the Node.js server. run the file app.js using the command:
node app.js
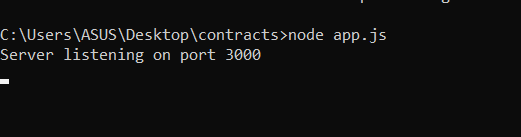
Node.js server started
3. Create a GET Request: Next, open the postman to test the API request. Click on the “New” button in Postman and select “Request”. In the “Request” tab, set the URL to http://localhost:3000/number, select the GET method, and click the “Send” button. You should see the value of the number in the response body.
.png)
get method to fetch data
4. Create a POST Request: Click on the “New” button in Postman and select “Request”. In the “Request” tab, set the URL to http://localhost:3000/number, select the POST method, and set the body to a JSON object with the new value for the number:
{
“number”: 12
}
5. Click the Send button: Click the “Send” Button and you should see a “success” message in the response body.
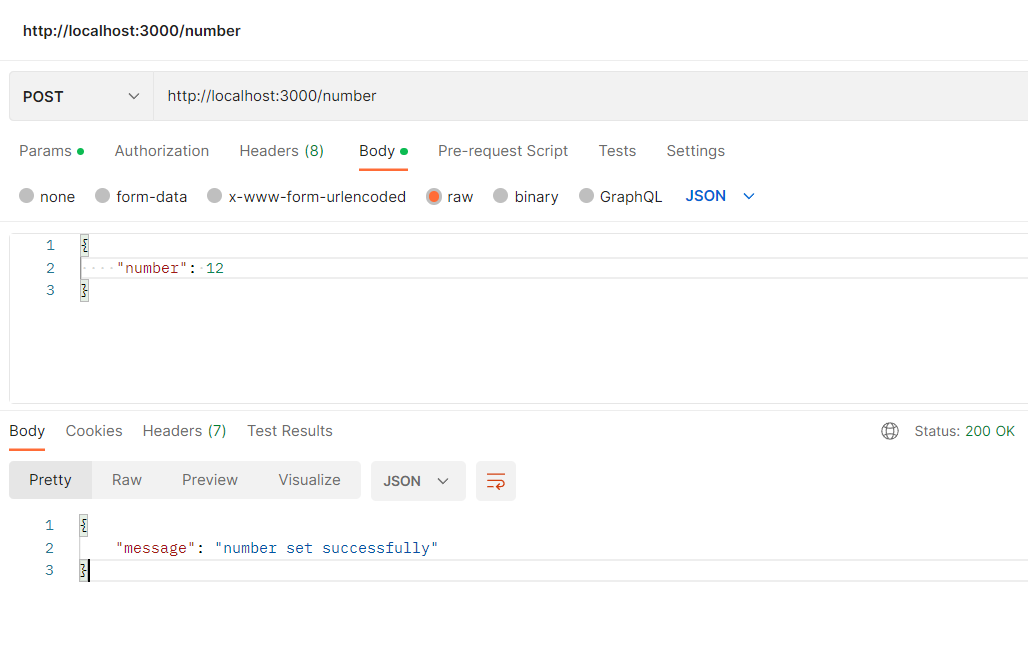
post method to send data
6. Verify Changes: You can now send another GET request to http://localhost:3000/number to verify that the value of a number has been updated to the new value.
.png)
verify the change
That’s it! You have now tested the API using Postman. You can use this same method to test any other endpoints you add to the API.
Conclusion
Building a Node.js API for Ethereum is a great way to interact with smart contracts and build decentralized applications. With the Truffle Suite, Web3.js, and the Express framework, it’s easy to get started. Follow the steps outlined in this article, and you’ll have your API up and running in no time.
Share your thoughts in the comments
Please Login to comment...