Hive – Alter Table
Last Updated :
24 Nov, 2020
Hive provides us the functionality to perform Alteration on the Tables and Databases. ALTER TABLE command can be used to perform alterations on the tables. We can modify multiple numbers of properties associated with the table schema in the Hive. Alteration on table modify’s or changes its metadata and does not affect the actual data available inside the table. In general when we made some mistakes while creating the table structure then we use ALTER TABLE to change the characteristics of the schema. We can perform multiple operations with table schema like renaming the table name, add the column, change or replace the column name, etc.
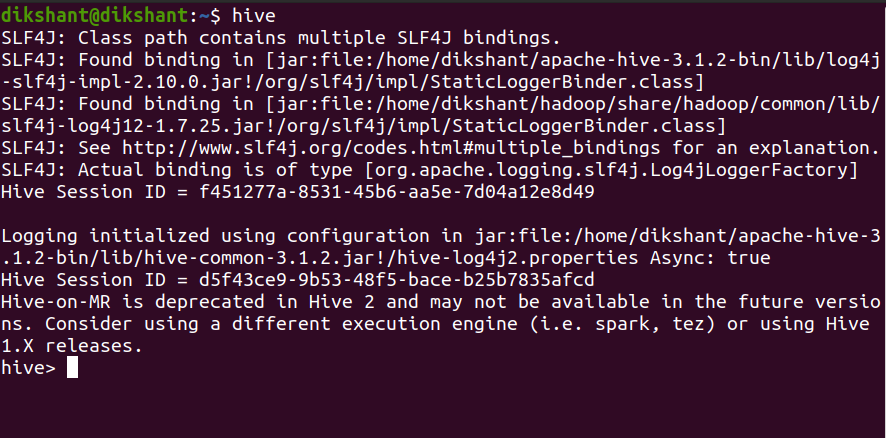
To perform the below operation make sure your hive is running. Below are the steps to launch a hive on your local system.
Step 1: Start all your Hadoop Daemon
start-dfs.sh                    # this will start namenode, datanode and secondary namenode
start-yarn.sh                   # this will start node manager and resource manager
jps                             # To check running daemons
Step 2: Launch hive from terminal
hive

Let’s make a table demo with one attribute demo_name of type string in the hive (By default hive makes tables in its default database if not specified).
CREATE TABLE IF NOT EXISTS demo (
demo_name STRING
)
ROW FORMAT DELIMITED
FIELDS TERMINATED BY ',';

Let’s perform each of the operations we can perform with ALTER TABLE one by one.
1. Renaming Table Name
ALTER TABLE with RENAME is used to change the name of an already existing table in the hive.
Syntax:
ALTER TABLE <current_table_name> RENAME TO <new_table_name>;
Command:
Let’s rename our table name from the demo to the customer.
ALTER TABLE demo RENAME TO customer;

In the above, the image we can observe that our table name has changed to customer.
2. ADD Columns
Syntax:
ALTER TABLE <table_name> ADD COLUMNS (<col-name> <data-type> COMMENT ”, <col-name> <data-type> COMMENT ”, ….. )
Command:
Let’s add a column contact to the customer table that we have obtained after renaming the demo.
ALTER TABLE customer ADD COLUMNS ( contact BIGINT COMMENT ‘Store the customer contact number’);

We can describe the table to see its properties with the below command.
DESCRIBE customer;

We have successfully added the contact column to the customer table.
3. CHANGE Column
CHANGE in ALTER TABLE is used to change the name or data type of an existing column or attribute.
Syntax:
ALTER TABLE <table_name> CHANGE <column_name> <new_column_name> <new_data_type>;
Command:
Let’s change the demo_name attribute to customer_name.
ALTER TABLE customer CHANGE demo_name customer_name STRING;

4. REPLACE Column
The REPLACE with ALTER TABLE is used to remove all the existing columns from the table in Hive. The attributes or columns which are added in the ALTER TABLE REPLACE statement will be replaced with the older columns.
Syntax:
ALTER TABLE <table_name> REPLACE COLUMNS (
<attribute_name> <data_type>,
<attribute_name> <data_type>,
.
.
.
);
For example in our customer table, we have 2 attributes customer_name and contact. If we want to remove the contact attribute the query should be like as shown below.
Command:
ALTER TABLE customer REPLACE COLUMNS (
customer_name STRING
);
We should mention the column we want.

In the above image, we can observe that we have successfully dropped the column contact. Hive does not have any DROP statement to drop columns inside the table. We have to use REPLACE if we want to drop a particular column.
Share your thoughts in the comments
Please Login to comment...