Hive – Alter Database
Last Updated :
24 Nov, 2020
Apache Hive comes with an already created database with the name default. The default database can not be altered in the Hive because it is restricted. For every successfully created database, the Alteration can be done as per the user requirement.
Alteration on the database is made to change its existing properties or characteristics. ALTER command can be used to perform alteration on the databases, tables.
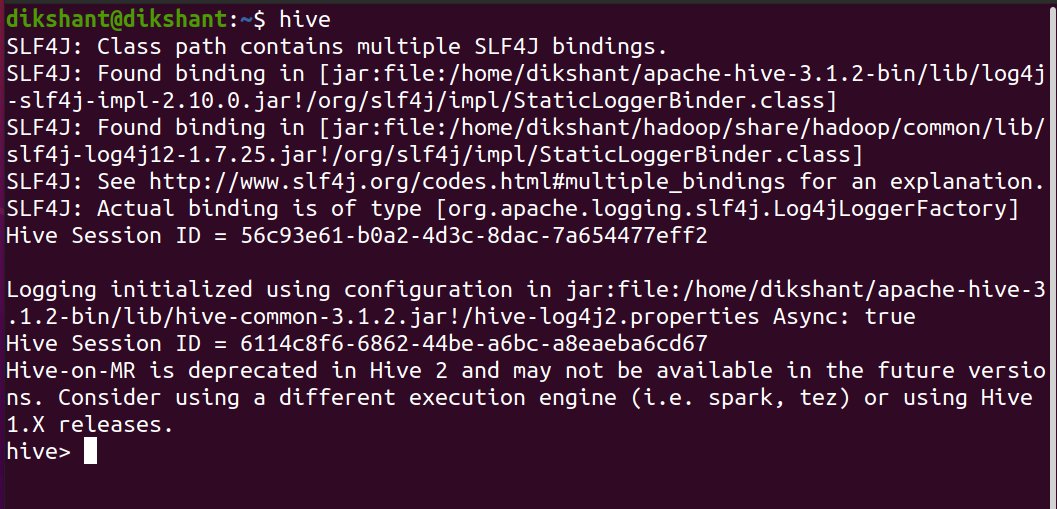
To perform the below operation make sure your hive is running. Below are the steps to launch a hive on your local system.
Step 1: Start all your Hadoop Daemon
start-dfs.sh                    # this will start namenode, datanode and secondary namenode

start-yarn.sh                   # this will start node manager and resource manager

jps                             # To check running daemons

Step 2: Launch Hive
hive
ALTER Database Command 1
With the help of the below command, we can add database properties or modify the properties we have added. DBPROPERTIES takes multiple arguments in the form of a key-value pair.
Syntax:
DATABASE or SCHEMA is the same thing we can use any name. SCHEMA in ALTER is added in hive 0.14.0 and later.
ALTER (DATABASE|SCHEMA) <database_name> SET DBPROPERTIES ('<property_name>'='<property_value>',..);
Example:
Step 1: Create a database with the name student
CREATE DATABASE student;

Step 2: Use ALTER to add properties to the database
ALTER DATABASE student SET DBPROPERTIES ( ' owner ' = ' GFG' , ' Date ' = ' 2020-5-6 ');

Step 3: Describe the database to see the effect
DESCRIBE DATABASE EXTENDED student;

Step 4: Let’s change the existing property to see the effect. In our example, we are changing the owner from GFG to Geeks.
ALTER DATABASE student SET DBPROPERTIES ( ' owner ' = ' Geeks ' , ' Date ' = ' 2020-5-6 ');

We have successfully overridden the property with ALTER.
ALTER database command 2
With the help of the below command, we can change the database directory on HDFS. The LOCATION with ALTER is only available in Hive 2.2.1, 2.4.0, and later. One thing we should keep in mind that changing the database location does not transfer data to the newly specified location. It only changes the parent-directory location and the newly added data will be added to this new HDFS location.
Syntax:
ALTER (DATABASE|SCHEMA) <database_name> SET LOCATION 'Path_on_HDFS';
Example:
Step 1: Describe the database student to see its parent-directory. By default, hive stores its data at /user/hive/warehouse on HDFS.
DESCRIBE DATABASE EXTENDED student;
Step 2: Use ALTER to change the parent-directory location (NOTE: /hive_db is the available directory on my HDFS ).
ALTER DATABASE student SET LOCATION 'hdfs://localhost:9000/hive_db';
Step 3: Describe the database student to see the location is overridden or not.
DESCRIBE DATABASE EXTENDED student;

We have successfully changed the location of the student database. Now whatever tables you will add to this database will be made in /hive_db.
ALTER database command 3
The below command is used to set or change the user name and its ROLE. SET OWNER transfer the current user ownership to a new user or a new role. By default, the user who makes the database is set as the owner of that database.
Syntax:
ALTER DATABASE <database_name> SET OWNER [USER|ROLE] user_name or role_name;
Example:
Let’s Change the user name associated with the student database.
DESCRIBE DATABASE EXTENDED student;        # we have used it to see the current user info

ALTER DATABASE student SET OWNER USER Ram; # with this we have changed the db owner from dikshant
                                             to Ram

Now, change the role of ram to admin.
ALTER DATABASE student SET OWNER ROLE admin;

Like Article
Suggest improvement
Share your thoughts in the comments
Please Login to comment...