Flutter Quill – Rich Text Editor in Flutter Application
Last Updated :
24 Oct, 2023
This post will explain how to integrate a rich text editor into your Flutter application so that it may enable rich text editing. There are many more things we can do with Flutter Quill, but they can get a little involved. The example below is a pretty basic demonstration of what we mean. Let’s first discuss what flutter quill is and why we need it before moving further.
Flutter Quill is a Rich Text Editor and a Quill Component for Flutter
- Allows users to write long articles with highly customisable text. features like adding numbered lists bulleted list hyperlinks etc
- We can also add images into the editor (we won’t be discussing it here)
- Quill uses a format known as Delta that may be saved in our database as JSON, meaning that all user-submitted custom data and other data will be preserved without any data loss in between.
Step By Step Implementation
Step 1: Create a New Project in Android Studio
To set up Flutter Development on Android Studio please refer to Android Studio Setup for Flutter Development, and then create a new project in Android Studio please refer to Creating a Simple Application in Flutter.
Step 2: Install flutter_quill
dependencies:
  flutter_quill: ^7.4.6
We are using version 7.4.6 but i suggest using the latest version while you are implementing it.
Step 3: Import it in your file where required
Dart
import 'package:flutter_quill/flutter_quill.dart' as quill;
|
Keep in mind to import it as quill to avoid seeing duplicate definition errors. For example, since Text is defined in both material.dart and flutter_quill.dart, we can prevent this conflict by using the “as” keyword.
Step 4: Create a quill controller
Dart
final quill.QuillController controller = quill.QuillController.basic();
|
It’s easy to construct an empty controller, which means that there are no data in the document that goes with it.
Step 5: Add the quill editor and pass the previously defined controller
Dart
quill.QuillEditor(
padding: const EdgeInsets.all(8),
controller: controller,
scrollController: ScrollController(),
scrollable: true,
focusNode: FocusNode(),
autoFocus: false,
readOnly: false,
expands: false,
placeholder: 'Add your data here...',
)
|
Although there are many more helpful arguments, this quill editor is defined with all the necessary arguments.
Step 6: Add a tool bar enabling custom texts
Dart
quill.QuillToolbar.basic(controller: controller)
|
This creates a basic tool bar with font, size, bold text features etc. Now all you have to do is group all the code
Complete Code
Dart
import 'package:flutter/material.dart';
import 'package:flutter_quill/flutter_quill.dart' as quill;
void main() {
runApp(const MyApp());
}
class MyApp extends StatelessWidget {
const MyApp({super.key});
@override
Widget build(BuildContext context) {
final quill.QuillController controller = quill.QuillController.basic();
return MaterialApp(
home: Scaffold(
appBar: AppBar(
title: const Text('Quill Editor'),
),
body: Column(
children: [
quill.QuillToolbar.basic(controller: controller),
quill.QuillEditor(
padding: const EdgeInsets.all(8),
controller: controller,
scrollController: ScrollController(),
scrollable: true,
focusNode: FocusNode(),
autoFocus: false,
readOnly: false,
expands: false,
placeholder: 'Add your data here...',
),
],
),
),
);
}
}
|
Output:
This is how the output looks like:
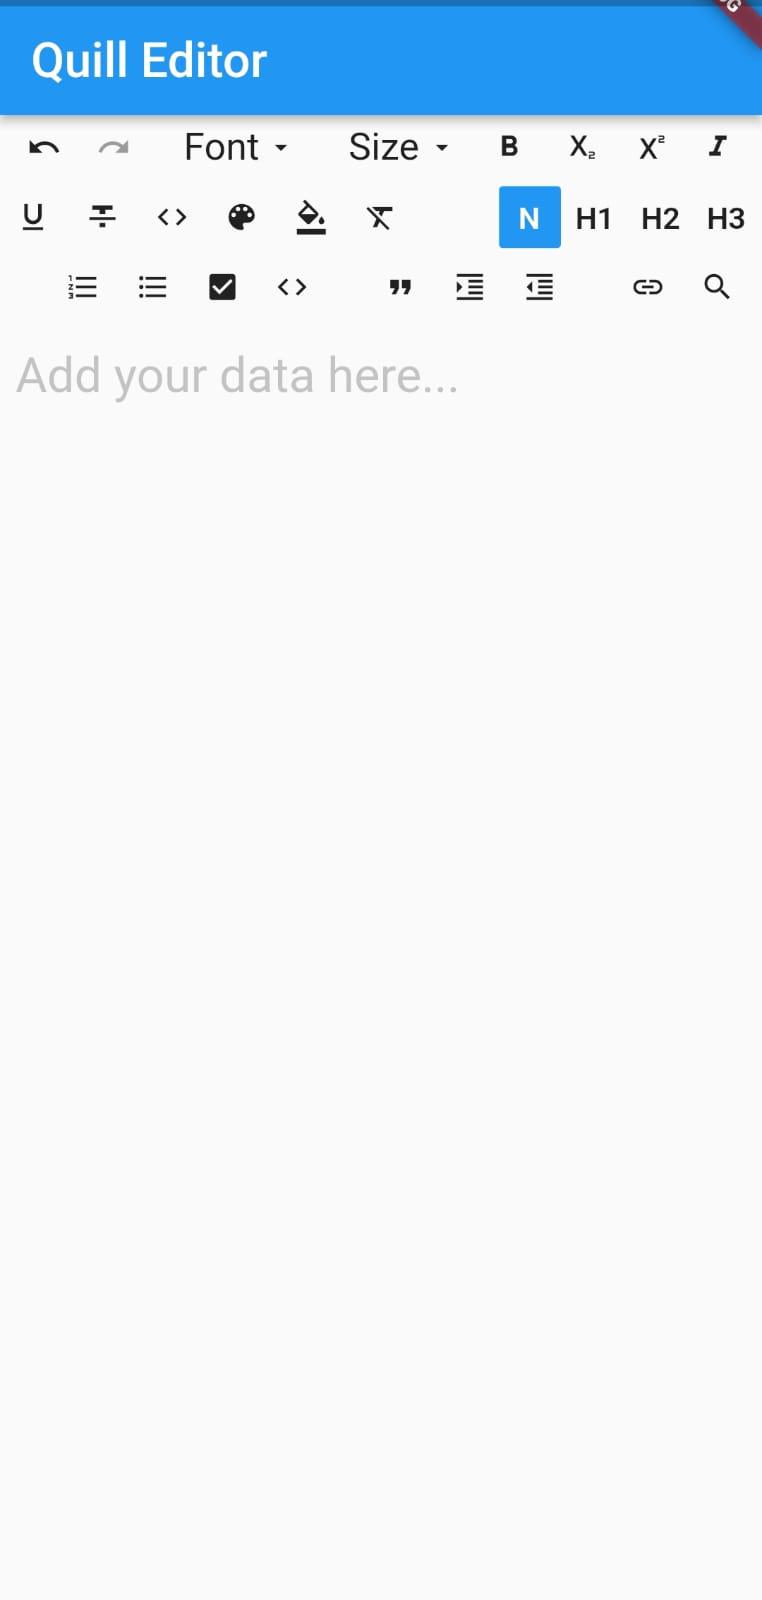
Home screen
How to save and access saved document?
Getting the data from the controller in delta format and then convert it to JSON:
Dart
import 'dart:convert';
final String data = jsonEncode(controller.document.toDelta().toJson());
|
Although the data is in string form here, it includes all of its original information because it was translated from Delta to JSON. It will now be saved as a string if you wish to store it in a database or local storage.
Converting string back into delta format and passing it to the controller:
Convert the JSON back to Delta and then to Document when you wish to start the editor with any saved data.
Dart
final quill.QuillController controller = quill.QuillController(
document: quill.Document.fromJson(
jsonDecode(
)),
selection: const TextSelection.collapsed(offset: 0),
);
|
There will be an issue while running this code because I haven’t included any JSON in the JSON decode function. The saved JSON only has to be passed to the jsonDecode function.
Share your thoughts in the comments
Please Login to comment...