Continuous Integration ( CI ) with Docker improves the productivity of software development. Docker make the applications portable and independent of the system making its environment uniform. Development of the pipelines can be improved with CI technology tools like Jenkins which automates building, testing and packing the applications. In this article, we will see how to make Continuous Integration using Jenkins and how to create an application using docker. You can practice the below implementation with any preferred language of your application. For this post, we will be making a continuous integration pipeline for a Java project.
What Is Continuous Integration?
Continuous Integration is a development practice that involves consistently merging the code updates into a common repository. The primary objective of CI is to find and fix the integration problems that arise early in the development process. Continuous Integration focuses on automating the testing and continuously building the procedures. It verifies and merges the code changes smoothly encouraging and cooperating with lowering of errors.
How And Why You Need To Use Docker In CI?
The usage of Docker for continuous integration brings out significant improvement in the lifecycle of software development. In Containerization usage of docker enables repeatable and uniform environments at different phases of continuous integration. The application code tested in one environment will function properly in other environments too maintaining the deployment’s consistency. Application management and deployment can be done effortlessly via docker containers. CI facilitates the developers to have more collaborations, speed testing, and simplifying the deployment procedures by integrating with docker. This eventually ends up in resulting more dependable and effective software workflow.
Implementation Of Jenkins CI Pipeline Integration With Docker
The following are effective step-by-step guidelines for setting up Jenkins Integration with the Docker.
Setting Docker As A Build Environment
Firstly ensure of setting up with docker on your system and for implementation of below steps. To know about installation of docker on Windows refer this – Article
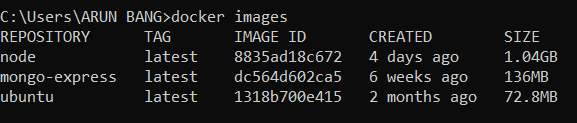
Step 1: To know about the current having images use the below command to list all.
docker images
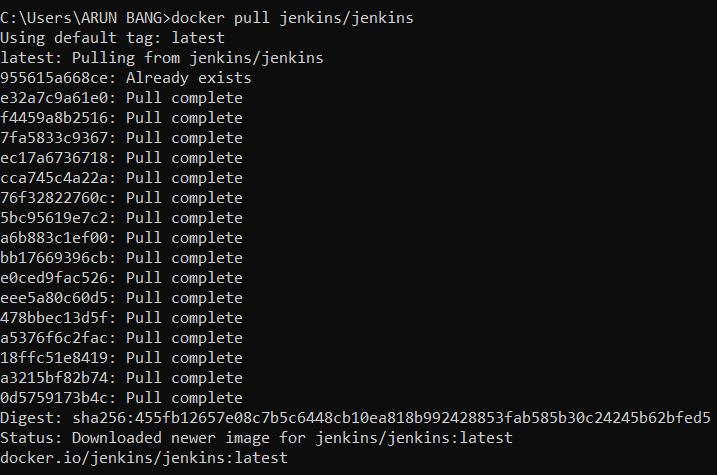
Step 2: Firstly we have to download the jenkins image. Try on using the below command to pull the Jenkins Image:
docker pull jenkins/jenkins
Step 3: Use the below command to run the Jenkins image in a container made at port 1024 in localhost (make sure that the container is running in docker)
docker container run -it -u root -p 1024:8080 jenkins/jenkins:latest /bin/bash
- Here the container is running at port 1024 in our local system and 8080 is running in the container.

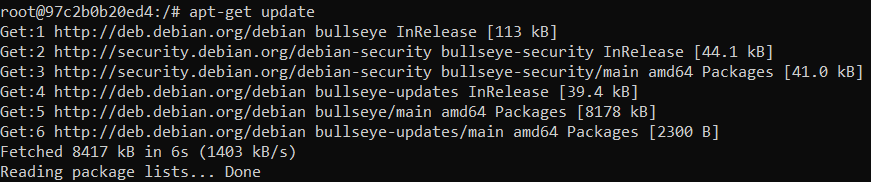
Step 4: Use the below command to update the container image:
apt-get update
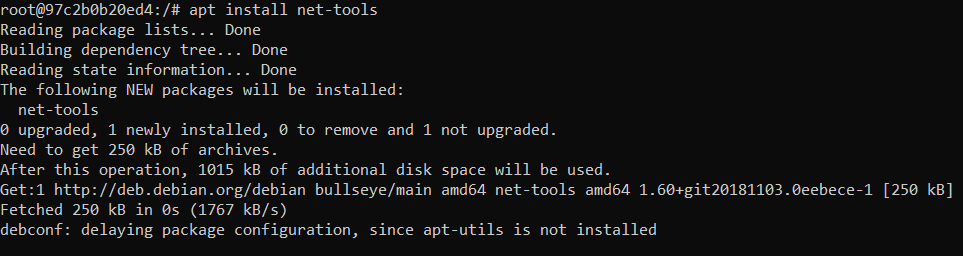
Step 5: Now use the below command to install the net-tools:
apt install net-tools
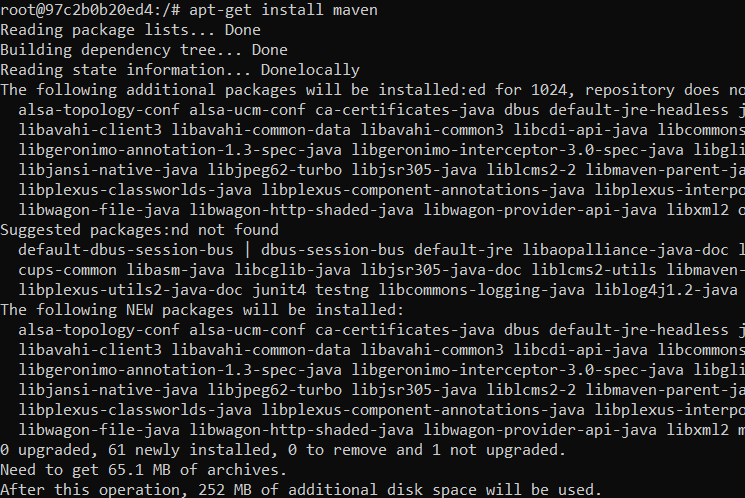
Step 6: As it is a Java-based project installing “Maven” inside the container. (If it was a Nodejs based project we have to install node, git)
apt-get install maven
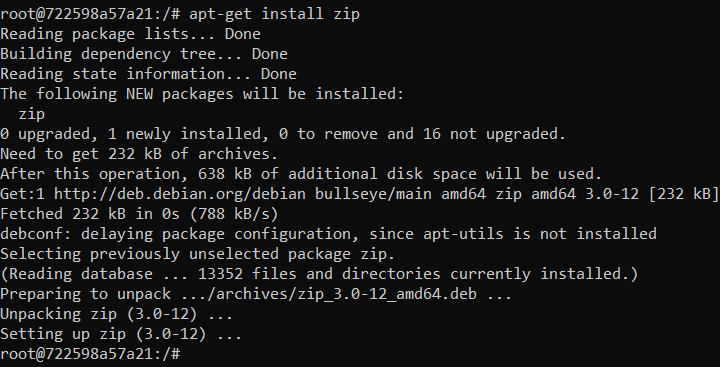
Step 7: Install zip to get the bundled file during the package phase. Below is the command for the same
apt-get install zip
Hosting The Jenkins Server
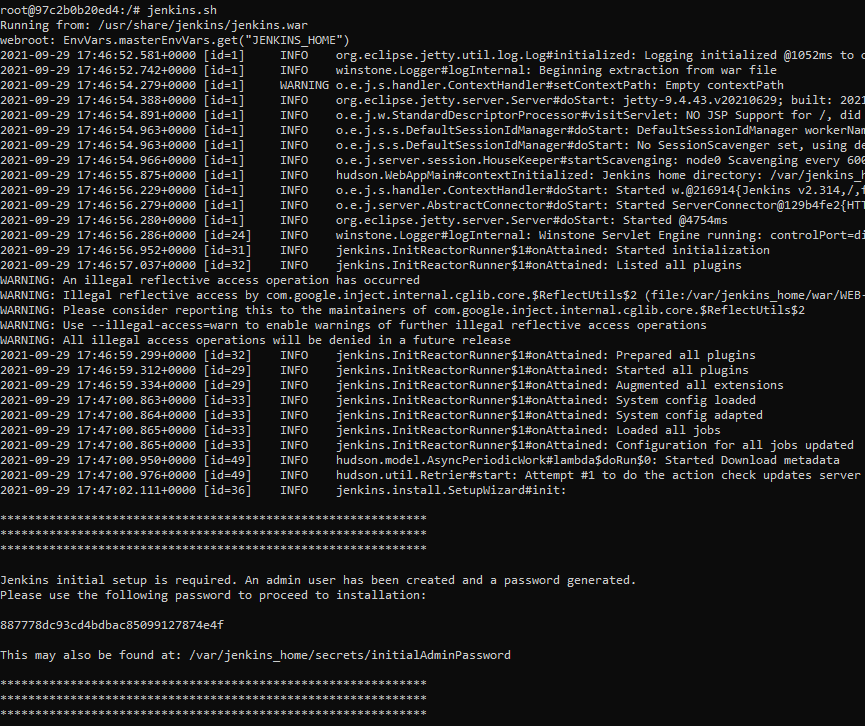
Step 8: Now run the Jenkins container at port 1024 using the below command:
jenkins.sh
Creating Custom Users For Jenkins Server
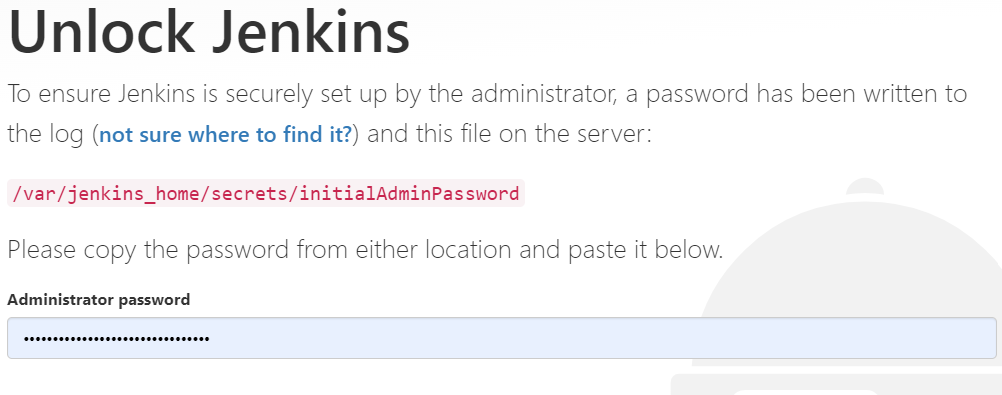
Step 9: Copy the password given in the terminal and enter it into the Jenkins running at localhost:1024
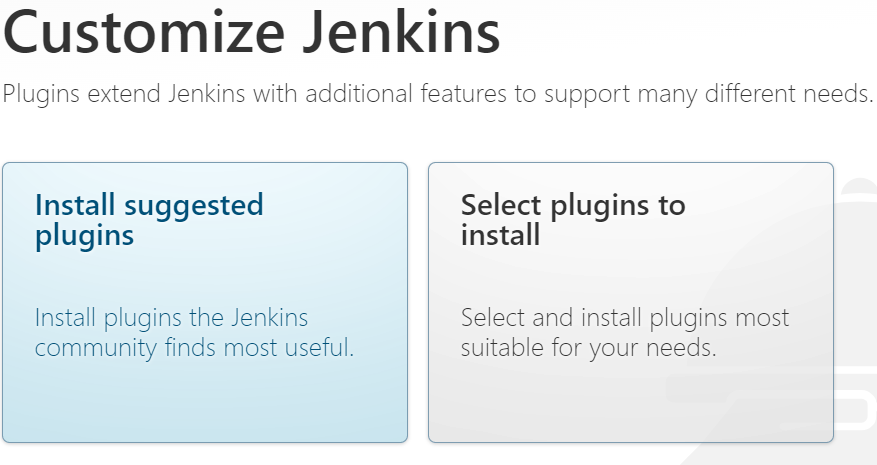
Step 10: Install all the recommended and required plugins for the project
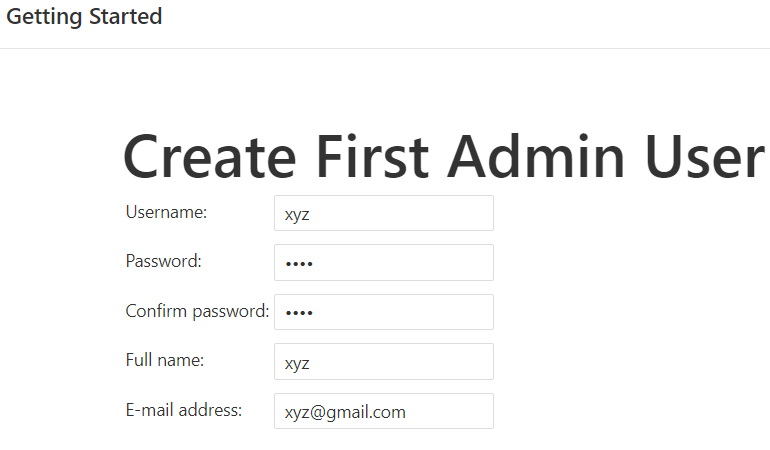
Step 11: After that configure the global security so that you can add custom users to Jenkins.
Note: This Step of creating first User-Id can be avoided and you can continue with the admin login done before)
Step 12: Jenkins is not ready for the first build job. Now the Instance configuration shows the port where it’s working on the browser.

Step 13: Jenkins setup is completed, Now Click on start using Jenkins.
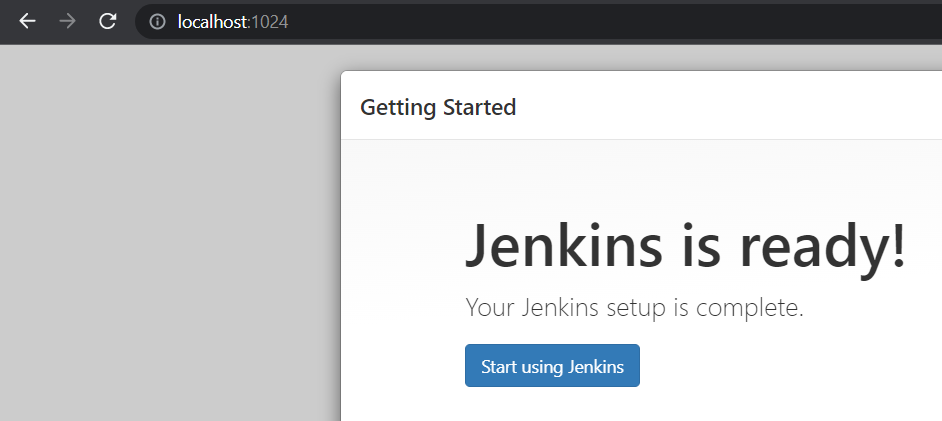
- The initial view of jenkins will be as showing below screenshot.

Step 14: Now go to the Manage Jenkins section and click on “Configure Global Security” so as to enable other users to sign up. So, now we can add new users to this Jenkins.
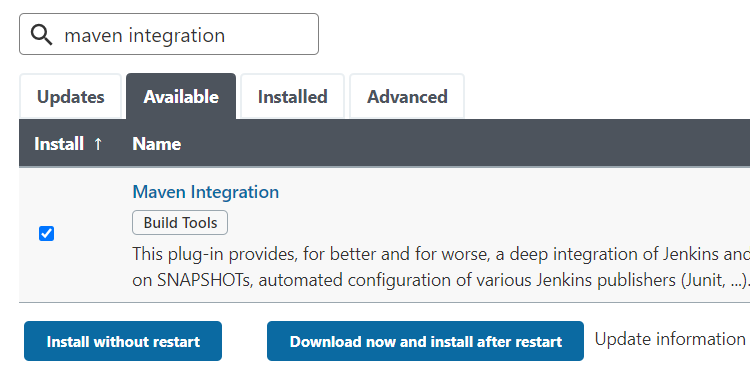
Step 15: Installing the required plugins required for the java project under the “Manage plugin section” that is “Pipeline Maven”, “AdoptopenJDK” and “Maven Integration”.
- Downloading the Pipeline Maven Integration plugin with option ‘Download now and install after restart‘ the jenkins server program.

- Downloading the AdoptopenJDK plugin with option ‘Download now and install after restart‘ the jenkins server program.

- Downloading the Maven Integration plugin with option ‘Download now and install after restart‘ the jenkins server program.
- Now, whenever there is a change/editing in the source code there will always be a new version of the commit.
- For each commit we need to trigger a build and build will trigger test and test will trigger package. So, we need to create a pipeline between Build-Test-Package.
- First making independent files for build, test, and package then we will integrate all three together thus creating a pipeline.
Building Of A Maven Project
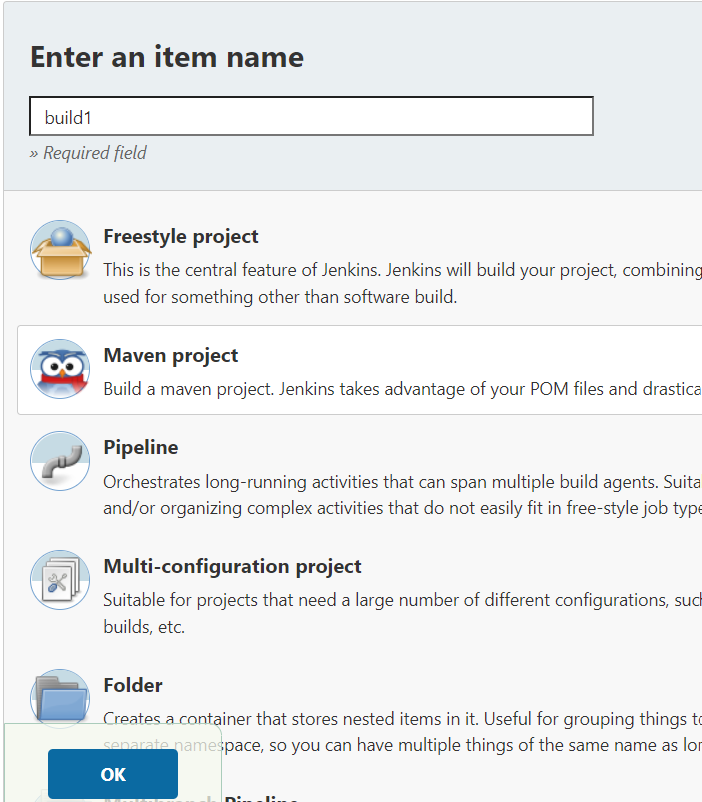
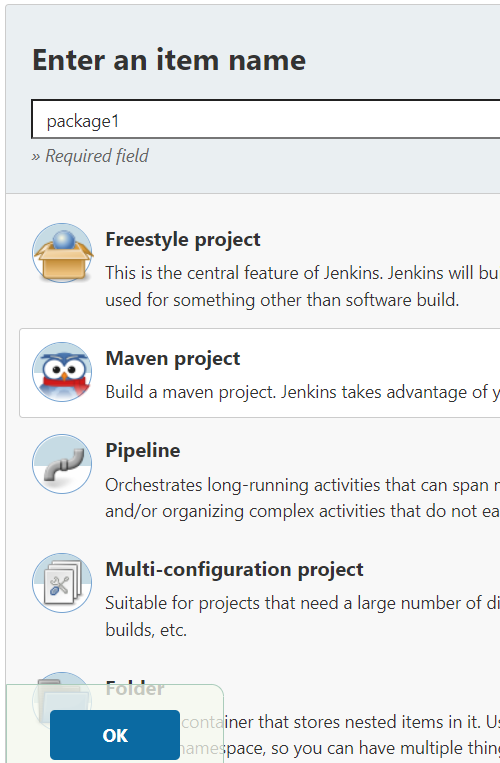
Step 16: Make first build job by clicking on the “New Item” option in the sidebar and giving the name of the item and selecting “Maven Project” as a Java project.
Step 17: Under source code management enter the git repository link with “.git” as an extension as shown below:

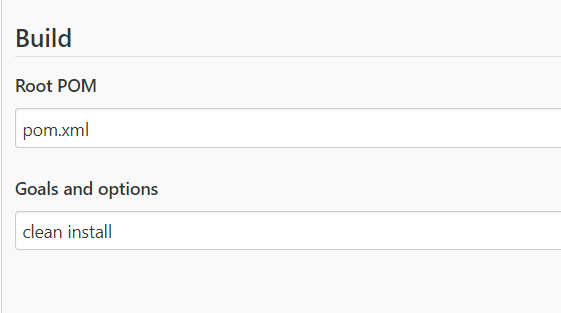
Step 18: In the Build page, Goals and options (build) section specify as clean install
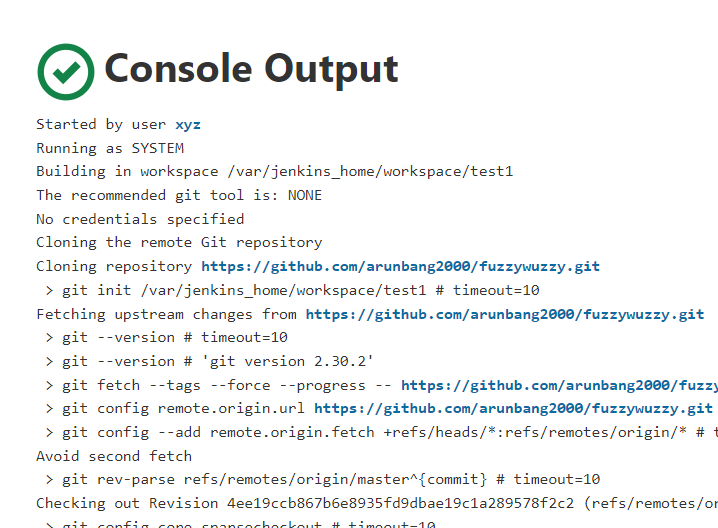
Step 19: After Building you will get the output in the console as shown in the screenshot.

Testing Of A Maven Project
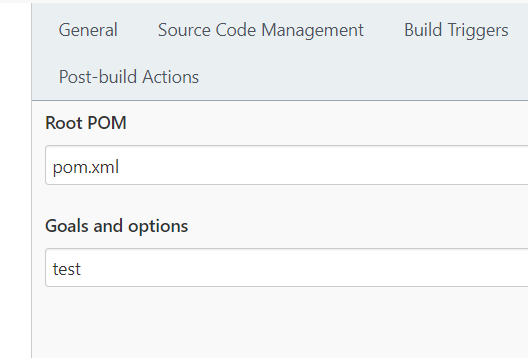
Step 20: Same steps to be followed as done in build phase only difference is that under goals and option we write the command “test”.
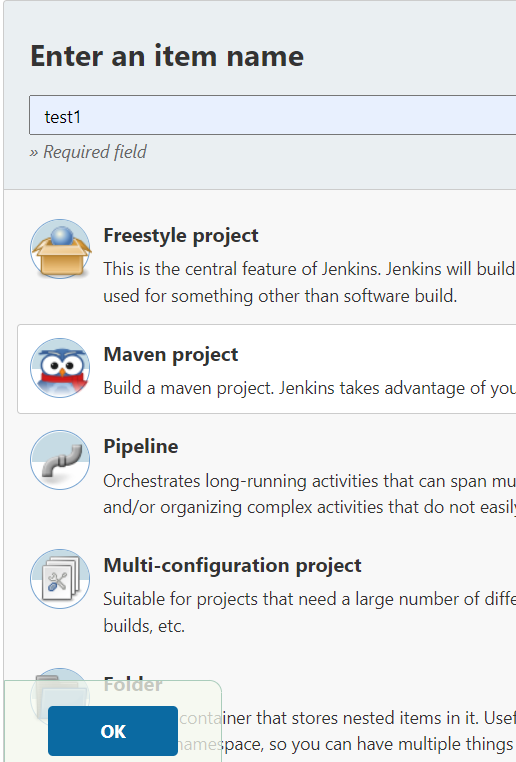
Step 21: Enter the value of “test” in the Goals and Options column.
Step 23: After configuration builds the test phase.
Packaging Of A Maven Project
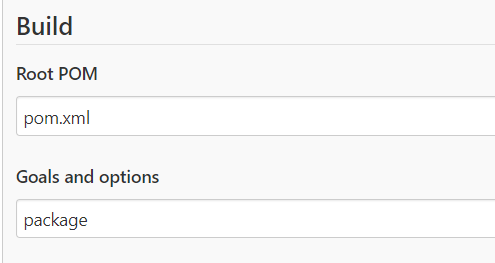
Step 24: Same steps to be followed as done in build phase only difference is that under goals and option we write the command “package” and
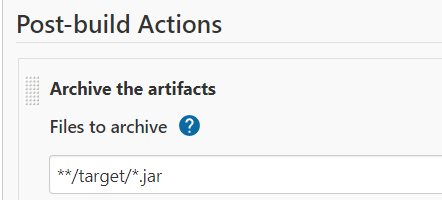
- Under post-build actions choose: “File to archive”—>**/target/*.jar (write this where the bundled file will be stored in this location)
- After configuration build the package phase.
Step 25: Enter the value as “package” in the Goals and Options section.
Step 26: Under post-build action choose “Files to archive” then write the location where the package file will be stored.
Step 27: The console output of the package job will be as following screenshot.

Integration Of “Build-Test-Package” Job Of A Maven Project
Step 28: For now, all these 3 files are independent we need to integrate them.
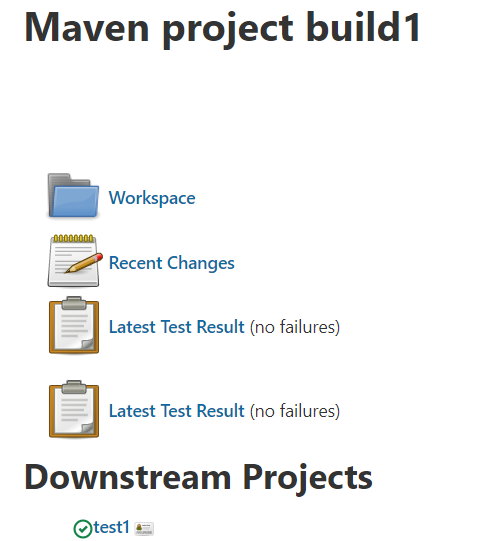
- Integrating “build” file to “test” file
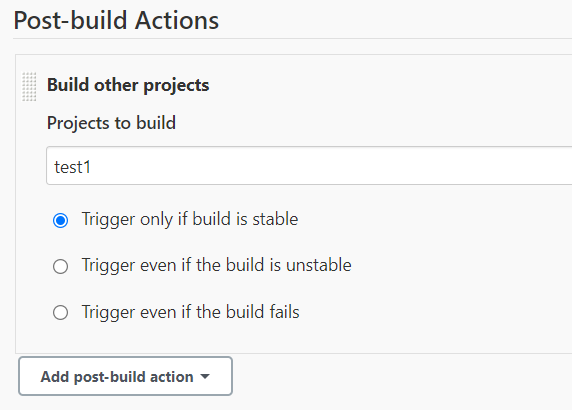
- Save it after making the above changes.
- Integrating “test” file to “package” file.
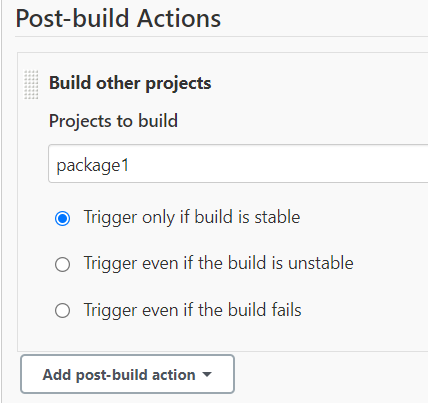
- Save it after making the above changes.
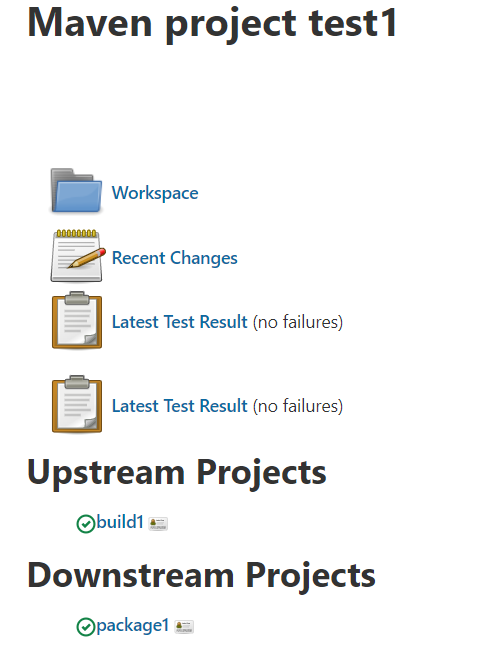
After integrating whenever there is a change/edit in the project it will trigger the build phase. The build phase will trigger the test phase and the test phase will trigger the package phase. Hence we successfully setup the integration pipeline using Docker platform.
Conclusion
In Conclusion, Software development has gone through a revolutionary shift with the combination of Continuous integration ( CI ) and Docker. Containerization technology tools like docker addressed the integration challenges ensuring consistent and portable environments. These Jenkins and Docker integration facilitated the developers with easy workable roadmap. This method encourages effective collaboration of software, minimizing the mistakes and speed up the development. Using Docker for supporting continuous integration led as a effective step for enhancing the productivity and maintaining the consistency in software development workflow.
Continuous Integration With Docker – FAQs
What Is Continuous Integration In Docker?
Continuous Integration in docker automates the development, testing and packaging of applications. It automates the integration of updating code changes into a shared repository. It facilitates with providing uniform and consistent environment for the applications.
Is Docker Part Of CI Or CD?
Dokcer is primarily associated with Continuous Integration offering consistent environmental support for applications. It is primarily used in development and testing stages while it can also be part of Continuous Deployment.
How To Use Docker In Continuous Integration ( CI )?
Docker used in providing the containerized applications and facilitating with consistent environment support in Continuous Integration workflow stages such as building, testing and packaging of the applications. CI tools like Jenkins can orchestrate the docker containers for optimized development workflows.
How Does Docker’s CD Work?
After successful completion of CI workflow, Continuous Deployment ( CD ) comes into play. On using docker, Continuous deployment can be automated in release and deployment of applications. It ensure in efficiently deploying the tested bundled code to production facilitating smooth transitions from development to deployment.
Why Is Continuous Integration Is Used?
Continuous Integration is used for automating the code integrations into a shared repository. It goes through the building, testing, packaging stages ensuring the code consistent with resolving the errors and integration issues in the software development workflow.
Share your thoughts in the comments
Please Login to comment...