Deploying Static Sites On Netlify With Continuous Integration
Last Updated :
08 Apr, 2024
when we are talking about DevOps In today’s fast-paced digital world. deploying the website is one of the most crucial tasks. we need to focus on different parameters to make a website production-ready. The website updates from time to time according to the requirements, and whenever we make changes in the code, we need to push the changes in the central codebase again and again. This is a time-consuming process, so here is the solution, which is called continuous integration. In this article, we are going to discuss how to use Netlify with continuous integration to deploy static sites.
What is Netlify?
Netlify is a cloud-based platform where you can host and deploy your website. It provides a variety of features that will ease your tasks. for example, it will enhance security by providing an SSL certificate and You can connect your Git repository to Netlify, which automatically detects changes in the code and deploys the changes to the server.
What is continuous integration?
Continuous Integration is used to automate the task of pushing the local changes to the central server. so you don’t need to repeat the same task. Continuous integration tracks changes, fixes bugs, and reduces conflicts in the code.
How to Deploy Static Sites on Netlify with Continuous Integration
In this example, we are going to use Netlify to deploy our site with continuous integration. so here we are using Git and GitHub which are version control tools git tracks the changes we make in our code and Github is the place where we store our codebase. it is a cloud platform. Now make sure that git is installed on your local system and that you have a GitHub account. so first of all, we create a static website using HTML, CSS, and JavaScript.
Step 1: Write the code for your website.
HTML
<!DOCTYPE html>
<html lang="en">
<head>
<meta charset="UTF-8">
<meta name="viewport" content="width=device-width, initial-scale=1.0">
<title>geeksforgeeks</title>
<link rel="stylesheet" href="style.css">
</head>
<body>
<nav>
<h1>GeeksforGeeks</h1>
</nav>
<main>
<section>
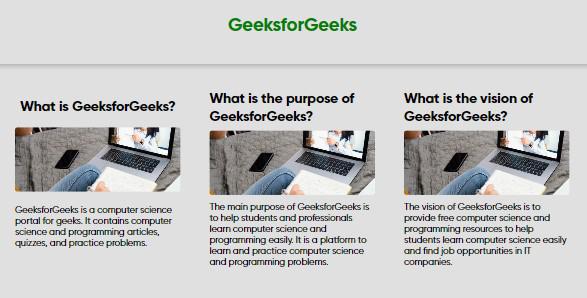
<h2>What is GeeksforGeeks?</h2>
<img src="https://media.geeksforgeeks.org/img-practice/prod/courses/1/Web/Other/aboutCourse_1686633267.png"
alt="">
<p id="section1">GeeksforGeeks is a computer science portal for geeks. It contains computer science and
programming articles, quizzes, and practice problems.</p>
</section>
<section>
<h2>What is the purpose of GeeksforGeeks?</h2>
<img src="https://media.geeksforgeeks.org/img-practice/prod/courses/1/Web/Other/aboutCourse_1686633267.png"
alt="">
<p id="section2">The main purpose of GeeksforGeeks is to help students and professionals learn computer
science and programming easily. It is a platform to learn and practice computer science and programming
problems.</p>
</section>
<section>
<h2>What is the vision of GeeksforGeeks?</h2>
<img src="https://media.geeksforgeeks.org/img-practice/prod/courses/1/Web/Other/aboutCourse_1686633267.png"
alt="">
<p id="section3">The vision of GeeksforGeeks is to provide free computer science and programming resources
to help students learn computer science easily and find job opportunities in IT companies.</p>
</main>
<script src="script.js"></script>
</body>
</html>
* {
  margin: 0;
  padding: 0;
  box-sizing: border-box;
  font-family: "gilroy", "Poppins", sans-serif;
}
html,
body {
  height: 100%;
  width: 100%;
  background-color: #e0e0e0;
}

nav {
  width: 100vw;
  height: 15vh;
  display: flex;
  align-items: center;
  justify-content: center;
  padding: 2px;
  box-shadow: 0 4px 8px rgba(0, 0, 0, 0.2); /* Add this line for shadow effect */
}
nav h1 {
  font-size: 2rem;
  color: green;
}

main {
  width: 100%;
  height: 100%;
  display: flex;
  justify-content: center;
  flex-wrap: wrap;
}

section {
  width: 300px;
  height: 300px;
  display: flex;
  justify-content: space-evenly;
  align-items: center;
  flex-direction: column;
  padding: 5px;
  gap: 10px;
  margin: 40px 20px;
}
section img {
  width: 100%;
  height: 39%;
  object-fit: cover;
  background-position: center;
  border-radius: 5px;
}
var sectiontitle = document.querySelectorAll('section');

sectiontitle.forEach(function(section) {
  section.addEventListener('click', function() {
    console.log(section.childNodes[1].textContent);
  });
});
Output
Step 2: Make a github repository
- Create an empty github repository
- and then push your local code in the same repository
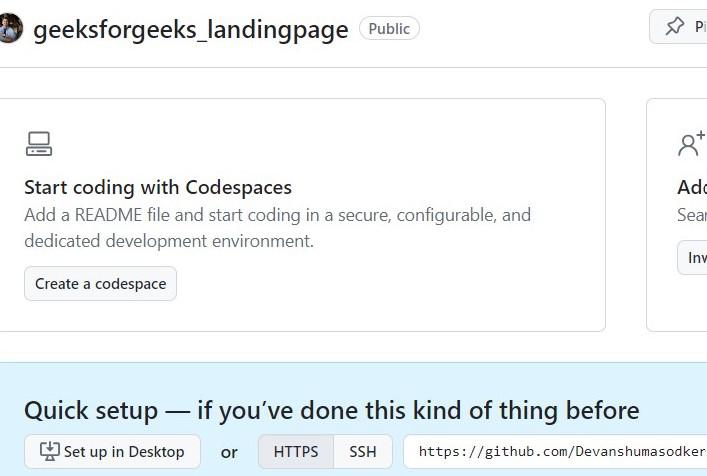
empty repository
Step 3: Push the local code in github repository
- Open terminal and firstly change the directory your code is available
- cd <directory name >
- Then use git command or VS code GUI tool to push your code on github
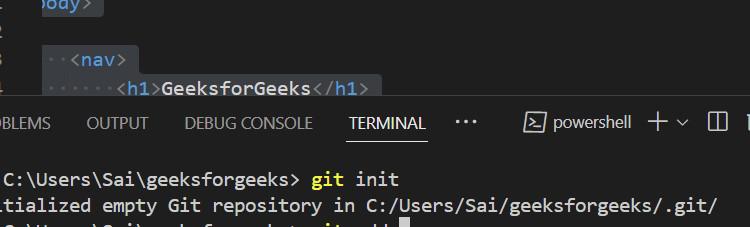
initializing git
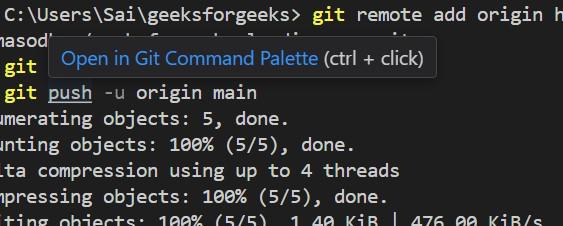
Command used to push the code in Github
git init
git add .
git add remote <remote-name> <remote-url>
git push <branch_name>
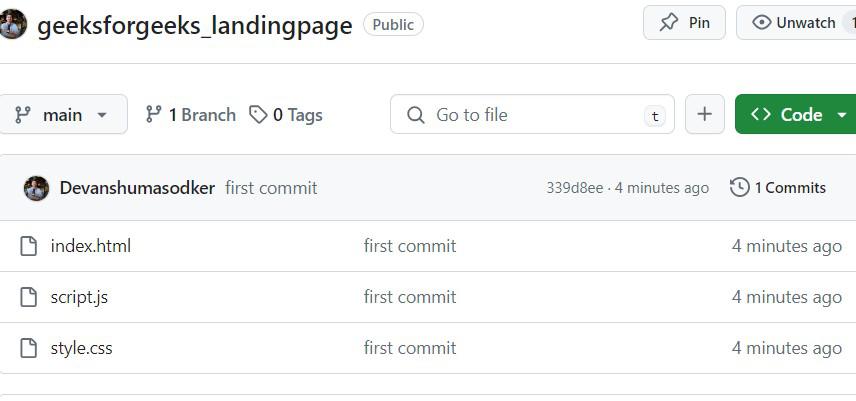
if you are code is successfully uploaded so refresh the page and you can see the all files in the repository
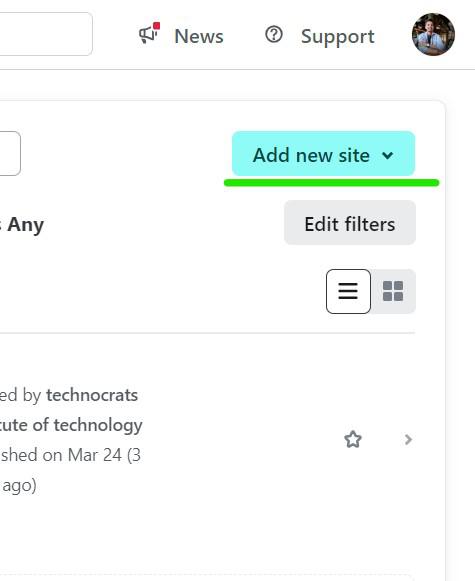
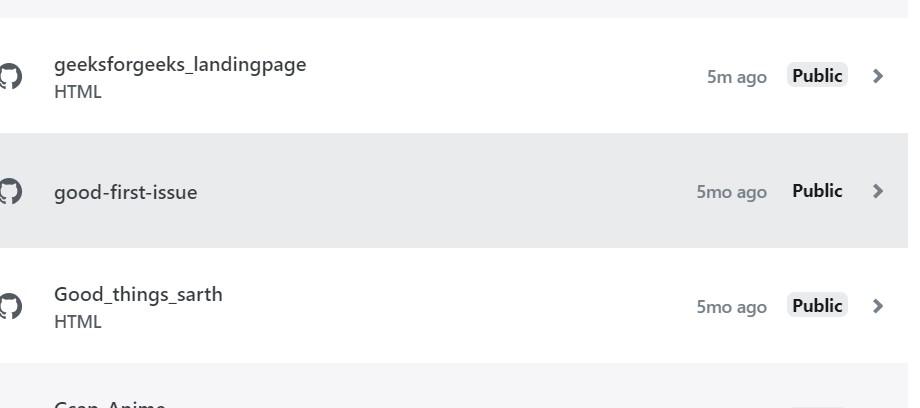
- sign up or log in using your github account.
- then import the repository you want to deploy
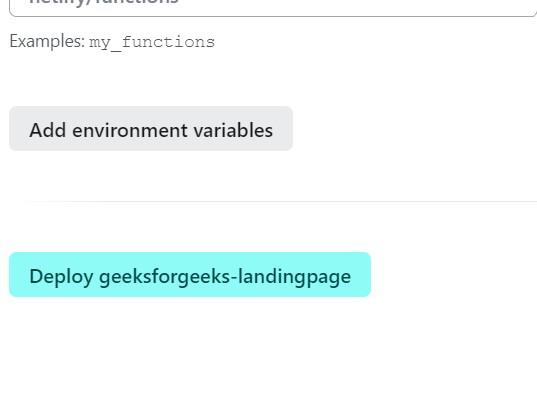
Then use default setting and simply click on Deploy button and it will take some time and your website will be deployed.
Now you can see your website is successfully deployed.
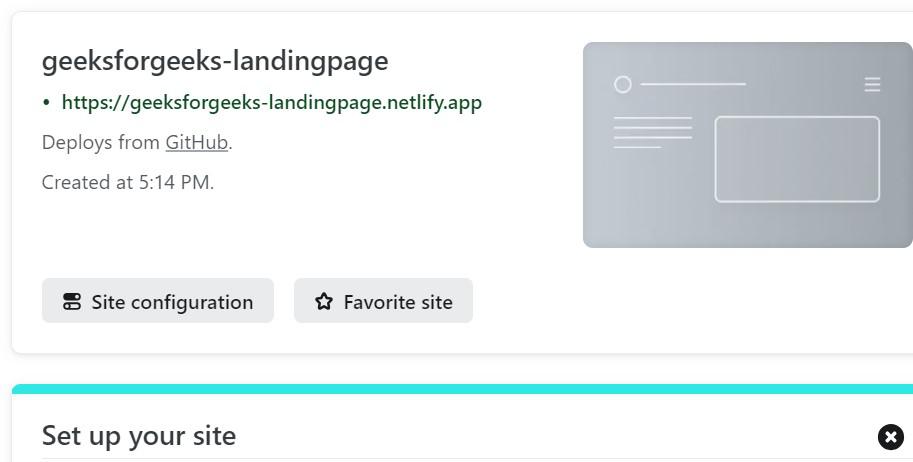
now you can open the website by click on the link which is appear with https configuration.
Why we use Netlify with git and Github
in this example we use the version control tools like git and github which will track every single change in the code and then we can push those changes in the cloud storage which is provided by the github. and we deploy our website using github on the netlify. it will also track the changes in the repository and update it which will reflect in the website. so here we just need to do changes in our local codebase and just push the code in the github single time and it will automatically reflect in the website.
Custom Domain and HTTPS
if you create custom domain so it will makes your website appear more established and trustworthy. and HTTPS will ensure that the website is secure so it will help in SEO although nelify provides a domain name example your-website-name.netlify.app but if you want so you can add your custom domain name and netlify ask to follow some verification instruction and your repository will be display in the domain.
Static Sites on Netlify with Continuous Integration – FAQ’s
What is CI/CD stands for?
CI stands for Continuous Integration and CD stands for Continuous Deployment.
Can we add custom domain in Netlify?
Yes, you can add custom domain in Netlify.
Does Netlify provide Free SSL Certificates ?
yes, Netlify provide Free SSL Certificates which enhance the security
what are the benefits of using Netlify?
Benefits of Using Netlify 1. easy to use you can easily deploy your website 2.You can trigger deployments through various methods like pushing code changes to your Git repository 3.Netlify provides free SSL certificates for all hosted sites 4.Netlify integrates with popular developer tools and services like Git providers, CI/DevOps tools 5.etlify allows deploying specific branches of your Git repository
Share your thoughts in the comments
Please Login to comment...