Blender is a free and open-source 3D creation suite that helps create anything you want, including animated movies, 3D printed models, virtual reality apps, motion graphics, visual effects, interactive 3D games, and more. Being that it runs on macOS, Linux, and Windows which makes it a cross-platform application. It has small memory and drive requirements as compared to other 3D creation suites.
Features of Blender
- It is a fully integrated content suite that provides essential tools for:
- Modeling
- Rendering
- Texturing
- Animation & rigging
- Video Editing
- VFX
- Compositing
- Simulations like fire, smoke, liquid, hair, etc.
- Cross-platform application with OpenGL GUI that is uniform in all major platforms.
- Fast and efficient workflow
- Blender software has always been 100% free to download and use.
- Instead of a third party, a specialized team, or Blender itself, the community that utilizes Blender manages updates which often results in bug fixes, new features, and usability improvements.
Blender Window
After starting Blender and closing the Splash Screen, the Blender window looks similar to the image below. A window where you can see the 3D view of your scene is the Blender window. You can complete your scene by adding items, lights, and cameras.
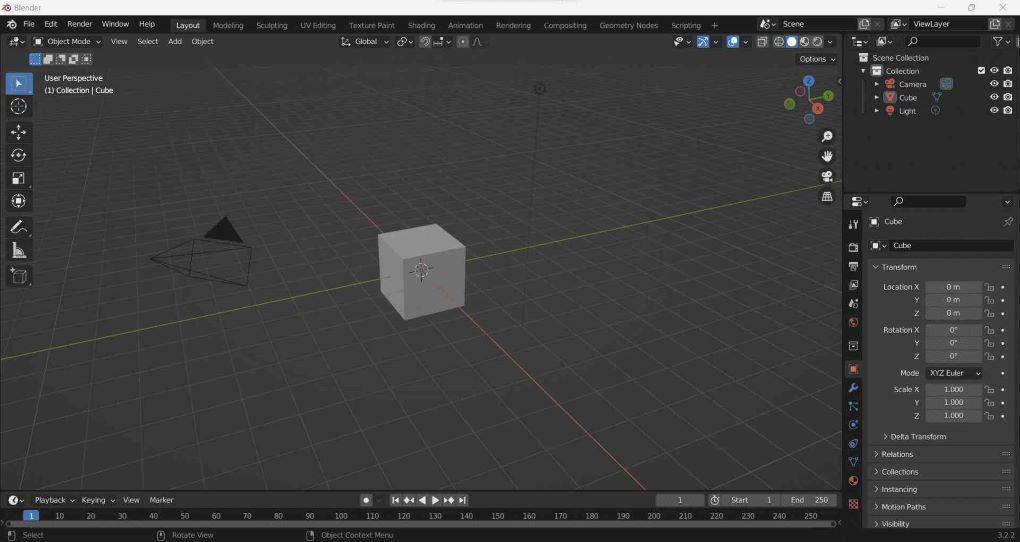
Blender window is divided into three parts
- Topbar: Consists of the main menu( for saving, importing, and exporting files), adding preferences, and rendering among other functions.
- Areas: Workspace (predefined window layout has different areas containing editor).
- Status Bar: Shows shortcut key suggestions and statistics.
.jpeg)
TOPBAR(green), Areas(purple), Status Bar(red)
Topbar
It is further divided into three:
- Menus
- Workspaces
- Scenes & layers
Menus
- Blender Menu: Splash Screen, About blender, install application template.
- File Menu: New ctrl-N, Revert, Recover, Save, Link, etc.
- Edit Menu: Undo/Redo/History, Menu search, batch rename, etc.
- Render Menu: Render image, Render animation, Render audio, etc.
- Window Menu: New window, show the status bar, previous workspace, save screenshot, etc.
- Help Menu

Workspaces
These tabs are used to toggle between workspaces, which are predefined window layouts.

Scenes & Layers
These data-block menus are used to select the current Scene and View Layer.

Areas
Every workspace has different functionality so, their areas are packed with contents depending on their functionality.
.jpg)
Outliner(Lime), Properties(Turquoise), Timeline(Red), 3D Viewport(Rose)
For Example: Blender’s default startup shows the “Layout” workspace in the main area, which has different functionality from other workspace tabs.
Layout Workspace(Default)
The “Layout” workspace in the main area.
.jpg)
Sculpting Workspace
In sculpt mode, instead of dealing with individual elements (vertices, edges, and faces), an area of the model is primarily changed using brushes.
.jpg)
sculpting workspace tab
As you’ve seen from the above example, areas are different for different workspaces.
Regions
In Blender, each Editor is divided into Regions. Smaller structure components like tabs and panels that include buttons, controls, and widgets are included in regions.
Parts of the region:
- Header: Acts as a container for commonly used tools and menus.
- Main region: The only prominent region which is always visible.
- Toolbar: It contains a set of interactive tools.
- Sidebar: It contains a panel of objects(within the editor) settings and settings for the editor.
- Adjust Last Operation panel: It allows tweaking an operator after running it.
.jpg)
Editors
Blender has a variety of editors for showing and altering various data elements. An Area conceals an Editor and controls the size and positioning of the Editor within the Blender window. There might be any kind of editor in any area.
.jpg)
With the Editor Type selector, you can switch the Editor in that section by clicking the first button on the left side of a header. Additionally, it is possible to simultaneously open the same Editor type in other locations.
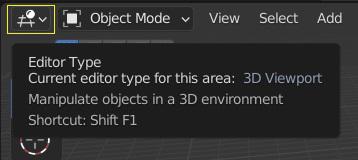
Editor Type selector
Miscellaneous
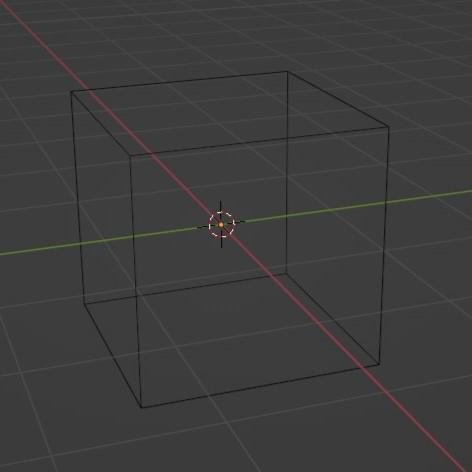
Viewport Shading
It is a method to display or shade the object.
shortcut key:
Press(Z+4) : Wireframe
Press(Z+2) : Material preview
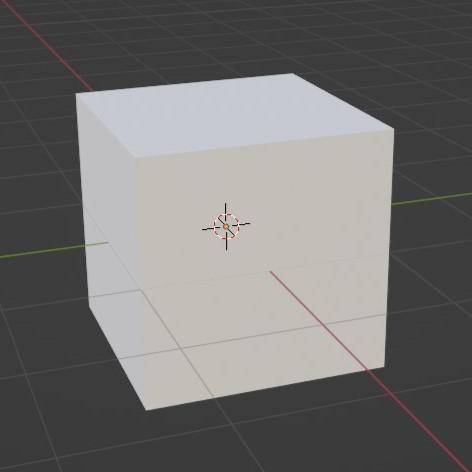
Press(Z+6) : Solid
Press(Z+8) : Rendered
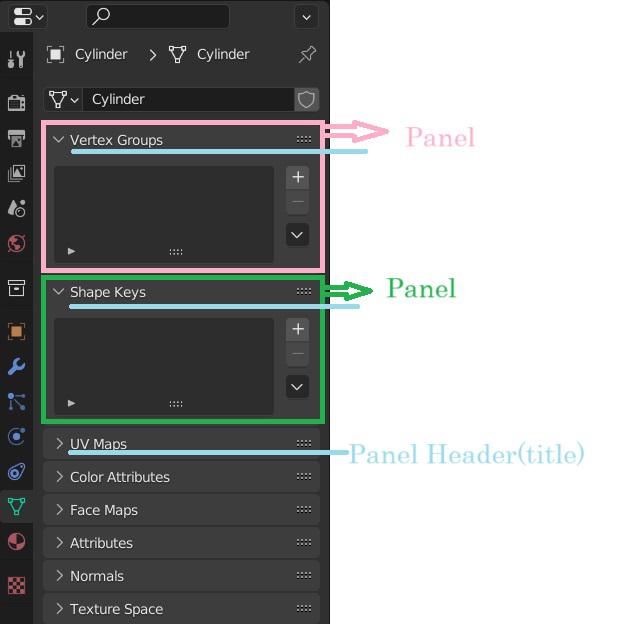
Tabs & Panels
Tabs
Tabs are used to avoid overlapping of sections, i.e. contents of one tab are visible at a time.
Panels
Panels are the smallest organizational unit in UI.
Panels can contain subpanels.
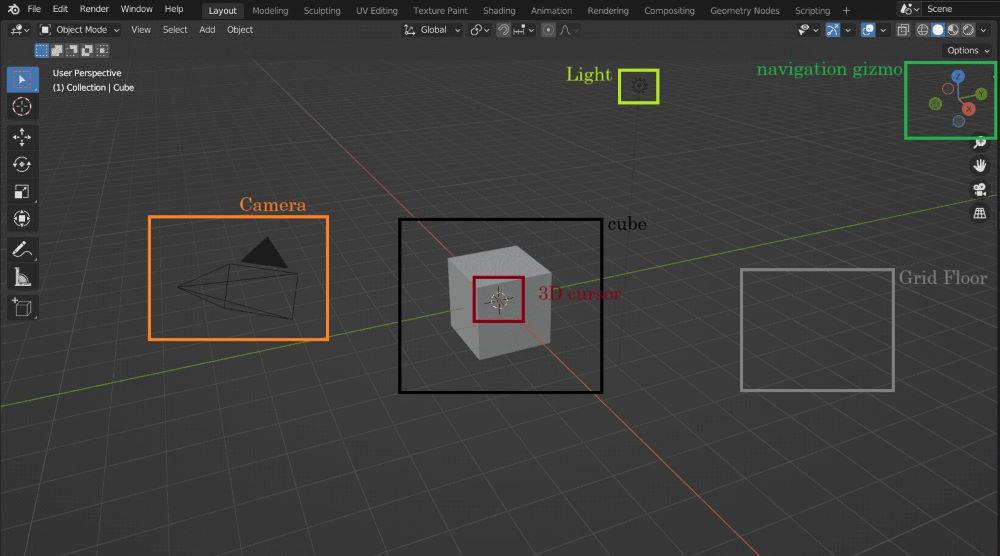
Startup Scene
Elements
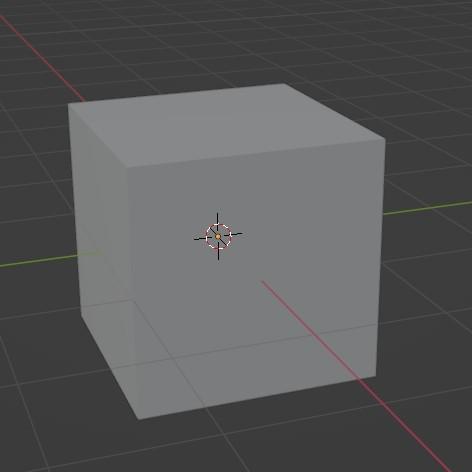
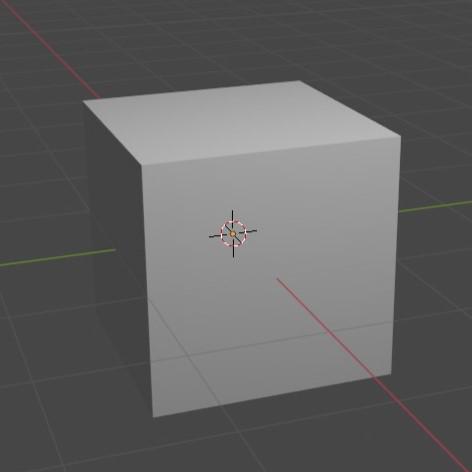
Cube: It is a primitive mesh object, which we can use to create a more complex mesh.
Light: It illuminates the objects (for example- a cube ).
Camera: The camera is used for rendering the point of view.
3D cursor: It determines where the new object will be placed and is also used for the transformation.
Grid Floor: The grey lines mark the zero height of the world. Red(x), green(y), and blue(z) lines are axes of the coordinate system that meet at world origin.
Example
Let’s Learn the basics of blender:
Step 1: To create a general file select general in the splash screen.
.jpg)
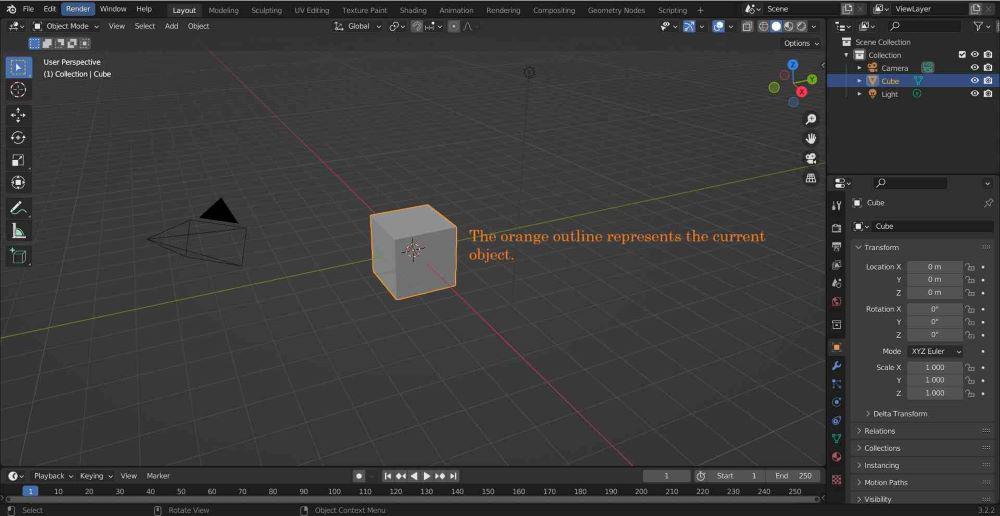
Step 2: To work on an object you have to select that object (select object is represented by an orange color).
Step 3: Press Tab to toggle from object to edit mode.

Step 4: To move a cube in y direction(y coordinate) we use the “G” button to move an object in any direction, but if you want to move the object in a particular direction you should use the X, Y, or Z button with the “G”, i.e. if you want to move in Y direction Press g + y,
also press A to select all the vertices in the object.
Shortcuts:
G + X: To move in the X direction
G + Y: To move in the Y direction
G + Z: To move in the Z direction
G + shift + X: To move in any direction except X, i.e. you can move in Z and Y direction.
G + shift + Y: To move in any direction except Y, i.e. you can move in Z and X direction.
G + shift +Z: To move in any direction except Z, i.e. you can move in X and Y direction.
There are three selection modes:
- Vertex selection mode: Where you edit an object by its vertices.
- Edge selection mode: It is a mode where you edit an object by its edges.
- Faces selection mode: Editing of objects using their faces.
.jpg)
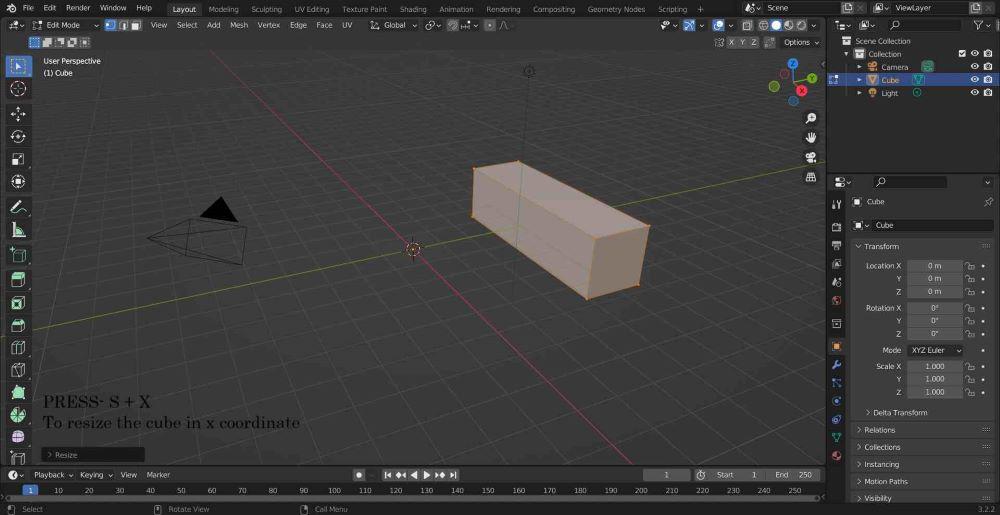
Step 5: To resize the object in any coordinate direction Press S+X, S+Y, or S+Z +(no. of times you want to increase the size).
for example:
If you want the double the size of your cube in the x direction then press S + (X) + 2
if you want to increase the size in any direction then press S+ (0…9)
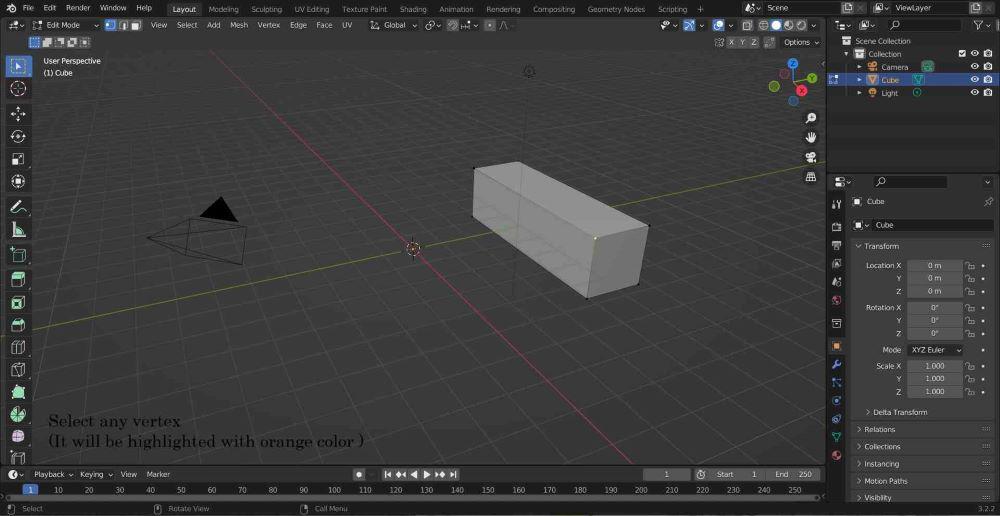
Step 6: Select a single vertex by tapping on one, if you want to select two vertices then press Shift + tap on another vertex.
FAQs on Blender Manual
Q.1: How to get started with Blender?
Answer:
You can get started by reading the example part of this article which should give you a a very basic understanding of the basics of Blender.
Q.2: Can we create games with Blender?
Answer:
Blender is probably known for its ability to perform not only one task, but rather the ability to perform almost any task that you can imagine which includes interactive 3D game development.
Q.3: Will Blender work on my system?
Answer:
Currently, Blender can be downloaded in versions for Windows, Mac OS X, and Linux. Additionally, you will want an OpenGL-compatible graphics card, preferably from a reputable manufacturer like NVidia or AMD. A workstation qualified for 3D graphics is always preferable for 3D programs of any kind.
Q.4: What should I know before using Blender?
Answer:
Things you should know about blender-
- It is advised to be familiar with the fundamentals of Blender’s skinning tools, weight painting, and bone influences.
- The document has more information.
- Please report any bugs you encounter.
- Updates are and will continue to be free.
- To fix frequent problems, check the manual and FAQ.
Share your thoughts in the comments
Please Login to comment...