Imagine that you want a job and have been selected for the interview, but your email box is so chaotic that you miss an important email from a recruiter. This scenario is a common phenomenon seen in almost every inbox, or, one can say, in a normal Gmail user’s life.
Another scenario that may make you uncomfortable is when you refresh your web page and all you can see is a fresh batch of emails containing information about new restaurants opening in the town or airplane offers instead of emails from the office or other important stuff that is annoying. So, here comes the role of Gmail filters.
Now, you can save yourself from the embarrassment of missing important information just by creating filters in your Gmail account. A cleaner email box can give you less anxiety and more information. So why wait? Just give a quick read to the information given below and start your journey to create those perfectly arranged Gmail accounts with the help of Gmail filters.
How to Create a Gmail Filter
If you want to create a Gmail filter, there are a number of ways in which you can easily perform this task. Let us see how we can do it:
- One should start directly with the email account. You have to select (⋮)> filter messages like these options.
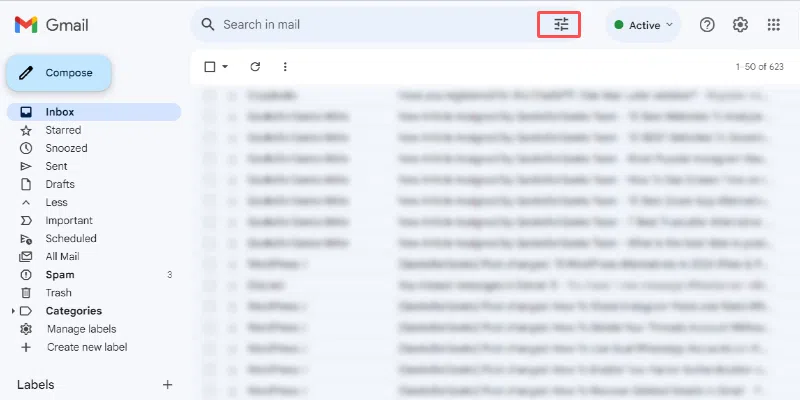
- Now, from the Gmail search options, you must select the options icon resembling the horizontal lines stacked on each other in the Gmail search bar.
- Once you are there in the Gmail settings, select the Settings icon > see all Settings > Filters and blocked addresses. If you already use the email filters, just scroll down to the bottom of your list of filters and click Create a new filter.
Now that you know how to create a filter, the next step is to fill up the search criteria:
- From here, you can filter the emails based on the specific email addresses.
- To: Filter emails based on specific addresses.
- Subject: filtering them based on specific subjects.
- Contains words: Those emails contain specifically targeted keywords.
- does not have words: those filter emails that do not have a specific keyword.
- Size: filtering emails based on a specific size.
- Contains attachments: filtering emails based on the attachments
Once you have successfully created the criteria for your filter, just click on the ‘Create filter’ option to specify what Gmail should do now. The following commands can be given to your Gmail account:
- Skip the inbox (archive it).
- Always mark it as important.
- Never send it to spam.
- Star it
- Mark as read.
- Apply the label.
- Delete it
- Categorize it based on the existing available categories.
How to Edit Filters in Gmail (or Delete them All Together)
If you want to edit or delete the Gmail filters, there are certain specific steps that need to be followed. They are as follows:
Step 1: Select the cog icon > see all settings.
Step 2: Now click on the filters and blocked addresses option.
Step 3: Lastly, click on the edit or delete filter as per your choice.
Following the step-by-step guide above, one can easily edit or delete the Gmail filters. So start cleaning your Gmail account and get relief from the anxiety of missing important ones.
7 Useful Gmail Filters to Arrange your Inbox
Here are the 7 best and most useful Gmail filters for all users to make their work easy and effective within a short period of time:
1. Auto-delete Unwanted E-mails
Getting the same kind of email every time you open your account can be frustrating. You can easily avoid unwanted emails from your account by clicking on the ‘block’ option.
In certain specific cases, when the spammers do not give an unsubscribe or block option, you can use filters. The auto-deletion filter is one of the best options that you can use. It will automatically delete all the unwanted emails and information that you do not want in your account.
2. Mark E-mails as Read
The emails that you get in your Gmail account must be of use and importance to you. By creating the ‘mark emails as read’ option, you can focus on the most important emails by ignoring those that are of little or no use at all.
3. Automatically Add Labels to the Emails
Gmail labels are one of the important options that you can use for your account. To automate label creation, you can follow the steps given below.
Step 1: Start by creating a filter based on senders’ email addresses or keywords present in the email.
Step 2: Now click on the ‘Apply a Label’ option from the drop-down menu.
4. Automatically Emptying Your Spam Inbox
Have you tried deleting those unwanted emails from your account? Don’t worry now. You can easily get rid of that problem by following the steps given below:
Step 1: Start by visiting the Gmail search bar and clicking on the filter icon.
Step 2: Now, from the drop-down menu, move to the ‘Include the Words’ option and type ‘Spam’ in it.
Step 3: Lastly, click on the Create filter option.
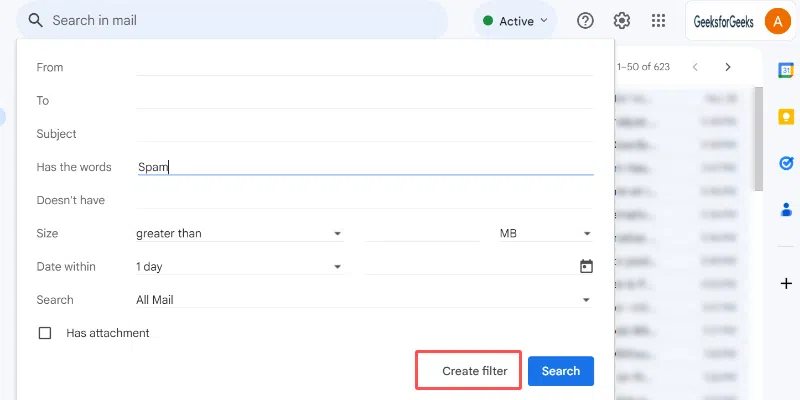
Step 4: Then, choose the ‘Delete it’ option and confirm the filter creation.

5. Automatically Reply to E-mails
Automatic responses are a great way to respond to all emails without waiting for your time and effort. A pre-written response has already been generated by you and sent to all the emails when needed. It is a good option for those users who receive a lot of emails every day.
6. Automatically Move all the Newsletters and Commercial E-mails to a Specific Folder in Gmail
By using the Filters option in Gmail, you can automatically move all the newsletters and commercial emails to a specific folder. Still confused? Don’t worry, we’ve got you covered.
Step 1: Start by opening the main menu of your Gmail account and clicking on the ‘More‘ option in the menu.
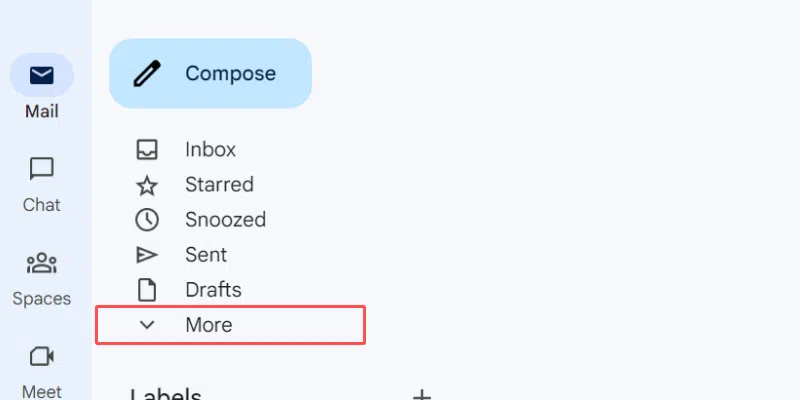
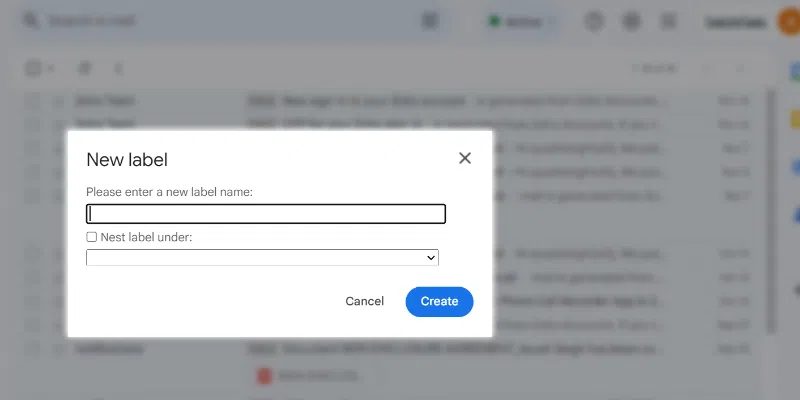
Step 2: Now click on the Create New Label option.
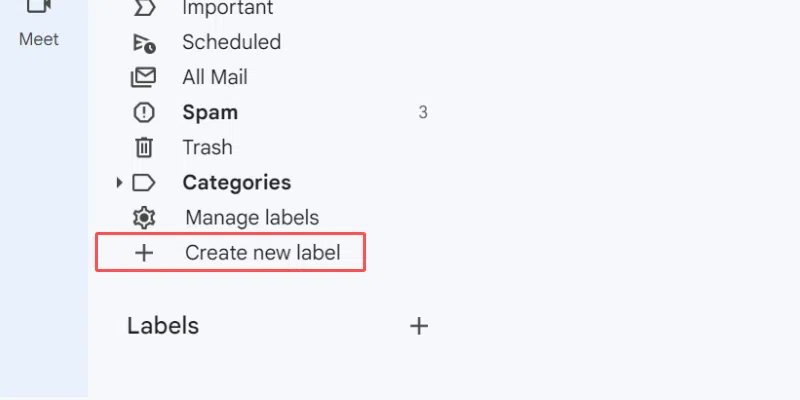
Step 3: One should now enter the label name and click on the create option.
After following these steps, you can automatically create Gmail filters to separate folders for commercial emails and newsletters.
7. Automatically Emptying Your Spam Folder
A spam folder is a space where you can find all your files and unwanted spam emails. A detailed guide on creating a separate spam folder is given below:
Step 1: Start by clicking on the Gmail search bar to open a filter form.
Step 2: Type “In Spam” and click on the create filter option.
Step 3: Click on the ‘Delete It’ option and then create a new filter.
Related Articles:
Conclusion
Gmail filters are an easy way through which you can classify the emails in your account. The above detailed information on Gmail filters and the best ones is given, so refer to it and clean your account now with the unwanted mail. Also, look out for the step-wise instructions to enable different Gmail filters.
7 Best Gmail Filters to Arrange Your Inbox – FAQs
1. Can I use search filters in Gmail?
Answer:
If you want to search for Gmail filters, you can use words or symbols called search operators to filter the Gmail account search results.
2. Can I see filters in Gmail Mobile?
Answer:
One should remember that Gmail’s advanced search filters are not available on mobile apps. The power-packed Gmail app has all the features on iOS and Android except this one.
3. Is there some option to select particular mails for deletion or marking in spam?
Answer:
Yes, there are proper functionalities for the user to mark tick in-front of the mails which they want to delete or mark as spam. It will protect the mails which are leftover. This is one of the best practice for storing and saving important info in your system.
Share your thoughts in the comments
Please Login to comment...