Artix Linux is a rolling-release, independently-maintained distribution that offers a choice between multiple init systems, including OpenRC, runit, and s6. This article provides a step-by-step guide on installing Artix Linux, empowering users to tailor their system to their preferred init system and enjoy a lightweight, customizable Linux experience.
What is Artix Linux?
Artix Linux is a rolling-release Linux distribution that belongs to the Arch Linux family. What sets Artix apart is its decision to forego the systemd init system in favor of other init systems such as OpenRC, runit, and s6. This choice attracts users who prefer alternative init systems and desire a lightweight, flexible, and user-centric system. Artix inherits Arch Linux’s philosophy of simplicity and customization, providing a minimal base that users can build upon according to their preferences. It supports various desktop environments and window managers, allowing users to use their system to suit their specific needs.
Features of Artix Linux:
- Init System Choice: Artix offers flexibility by allowing users to choose between different init systems, including OpenRC, runit, and s6, instead of the default systemd found in many other distributions. This gives users the freedom to select the init system that aligns with their preferences and requirements.
- Rolling Release Model: Following the Arch Linux model, Artix is a rolling-release distribution, which means that users receive continuous updates without the need for periodic system reinstallation. This helps in keeping the system up-to-date with the latest software and security patches.
- Arch Linux Compatibility: Artix is designed to be compatible with Arch Linux packages, repositories, and the Arch Build System (ABS). Users can leverage the extensive Arch Linux community and resources to enhance their Artix Linux experience.
- Minimal Base Installation: Artix provides a minimal base system upon installation, allowing users to customize and build their environment from the ground up. This minimalist approach promotes system efficiency and gives users more control over their computing environment.
How to Install Artix Linux?
In this section, we will see a detailed step-by-step procedure to install the Artix Linux Operating System. Follow the below-specified installation steps.
Step 1: Download the ISO File of Artix Linux
Open your web browser and go to the Artix Linux Downloads page. Make sure to choose the correct ISO file based on your preference for the desktop environment and the init system. For beginners, it’s recommended to select the Graphical ISO with Plasma and the runit init system. Look for the specific ISO file mentioned for Plasma with the runit init system. There might be multiple ISO options, so choose the one that matches your preferences. If you’re unsure, the Plasma desktop environment is a user-friendly choice. Click on the download link for the chosen ISO file. The download will start, and it may take some time depending on your internet connection speed.
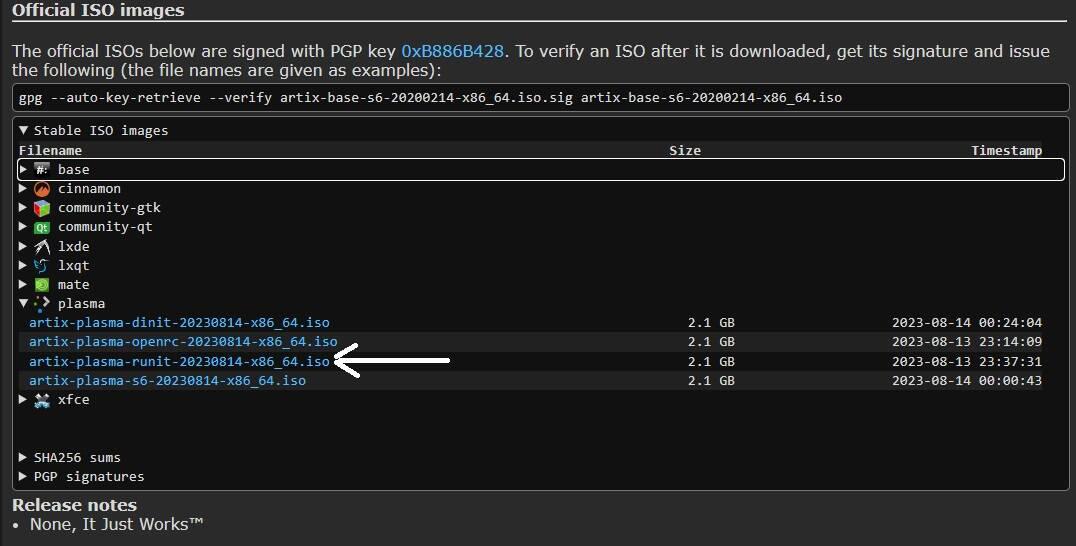
Downloading ISO File
Step 2: Create Bootable Media
After downloading the Artix Linux ISO, create a bootable USB drive using tools like Rufus or Balena Etcher. These tools write the ISO to the USB drive, making it bootable. Adjust your system’s BIOS settings to prioritize USB booting, enabling you to initiate the live Artix Linux session from the configured USB media.
Step 3: Selecting Boot Media
Once the live Artix Linux ISO boots, you’ll be presented with a boot options screen. Navigate using arrow keys and select preferences such as keyboard layout and language for the live ISO. Choose the “From CD/DVD/ISO” option to initiate the system, allowing you to explore Artix Linux without installing it permanently.
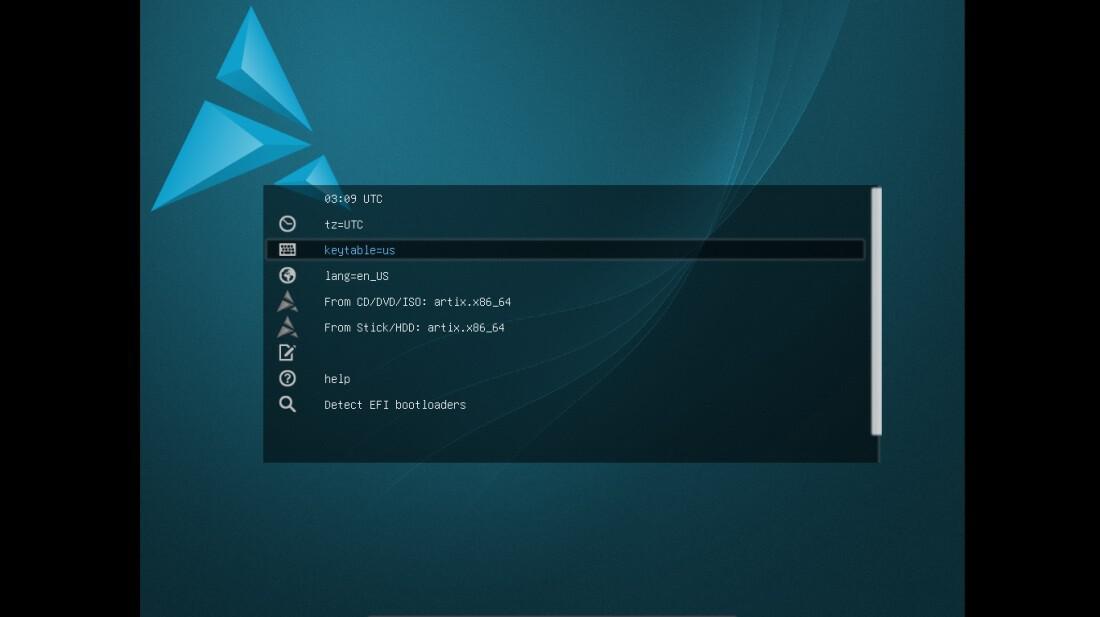
Selecting Boot Media
Step 4: Starting the Installer
Locate the “Install Artix” icon on the desktop’s top-left corner. Click on it to start the GUI installer, powered by Calamares. This user-friendly interface will smoothly guide you through the Artix Linux installation process, offering step-by-step instructions and configuration options.
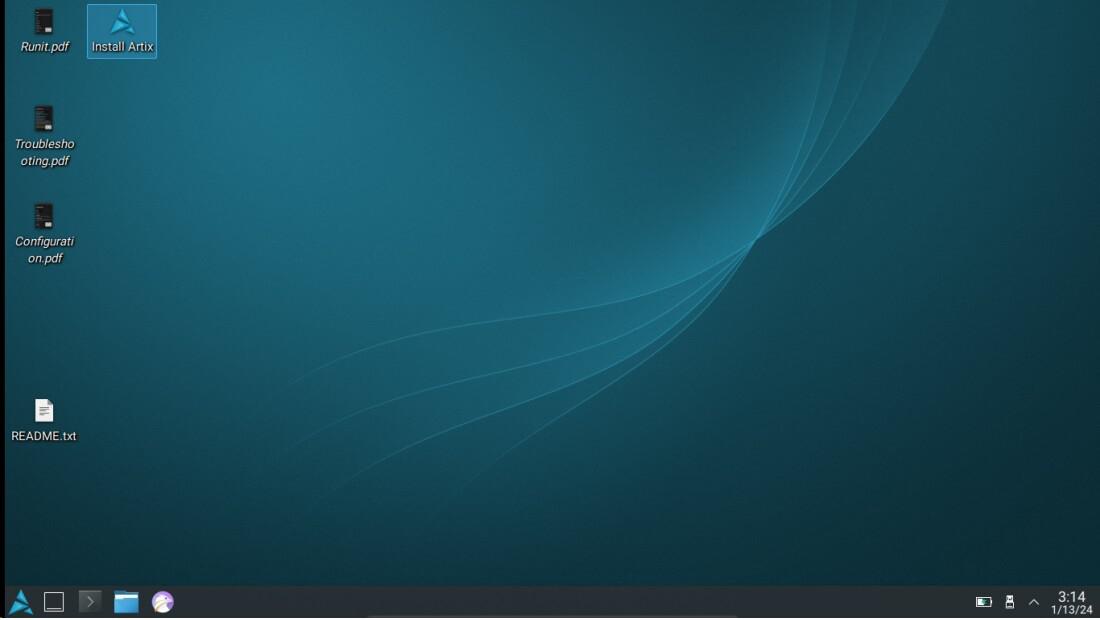
Starting the Installer
Step 5: Configuring Language Setting
Upon initiating the installer, it will prompt you to select your preferred language, typically defaulting to American English. In the left pane, you’ll see sequential installation steps. Choose your desired language and click “Next” to progress through the installation process. This ensures the system will be configured in your chosen language.
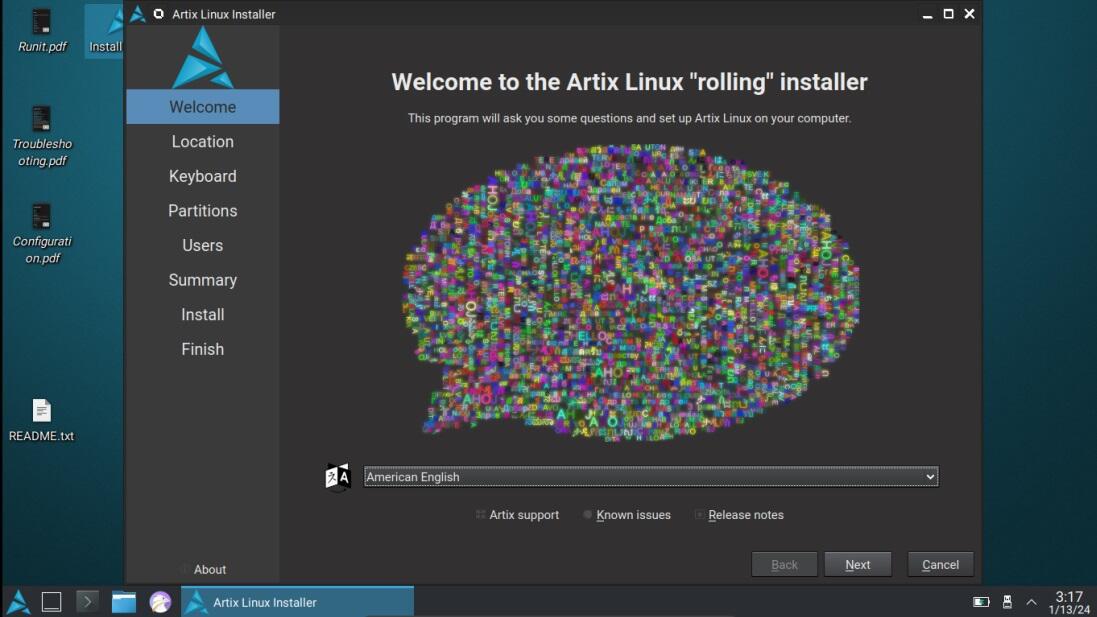
Configuring Language
Step 6: Configuring Location Setting
In this step, select your geographical region and set the local time for your system. You can either choose your country directly from the map or use the dropdown menu for precise selection. Once you’ve configured the location settings, click “Next” to continue with the installation process. This ensures accurate time and location settings for your Artix Linux system.

Configuring Location Setting
Step 7: Configuring Keyboard Layout Setting
In this step, select your preferred keyboard layout. The default is typically the QWERTY layout with US English. Choose your desired keyboard layout and language from the options provided. After making your selection, click “Next” at the bottom of the window to proceed with the installation. This ensures that your keyboard will function correctly with your chosen layout during your Artix Linux usage.
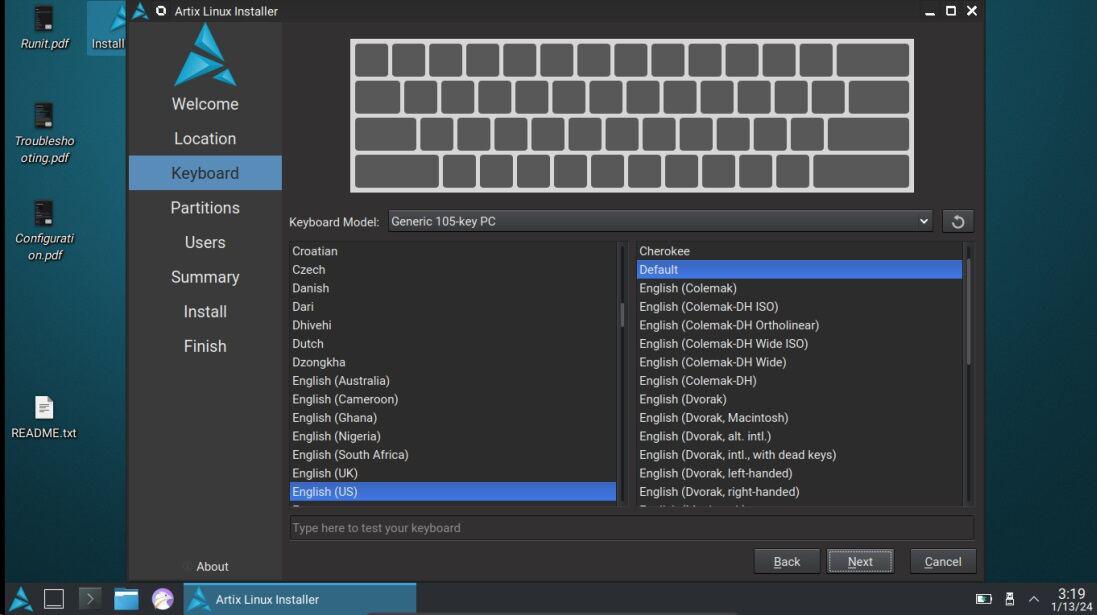
Configuring Keyboard Layout Setting
Step 8: Configuring Partition Setting
If you’re installing Artix on a new hard drive or want to remove any existing operating system, choose the “Erase disk” option. For a dual-boot setup or more complex partitioning, opt for the manual partitioning option. For a straightforward installation using the entire drive, select the desired partition and click “Next” to proceed.
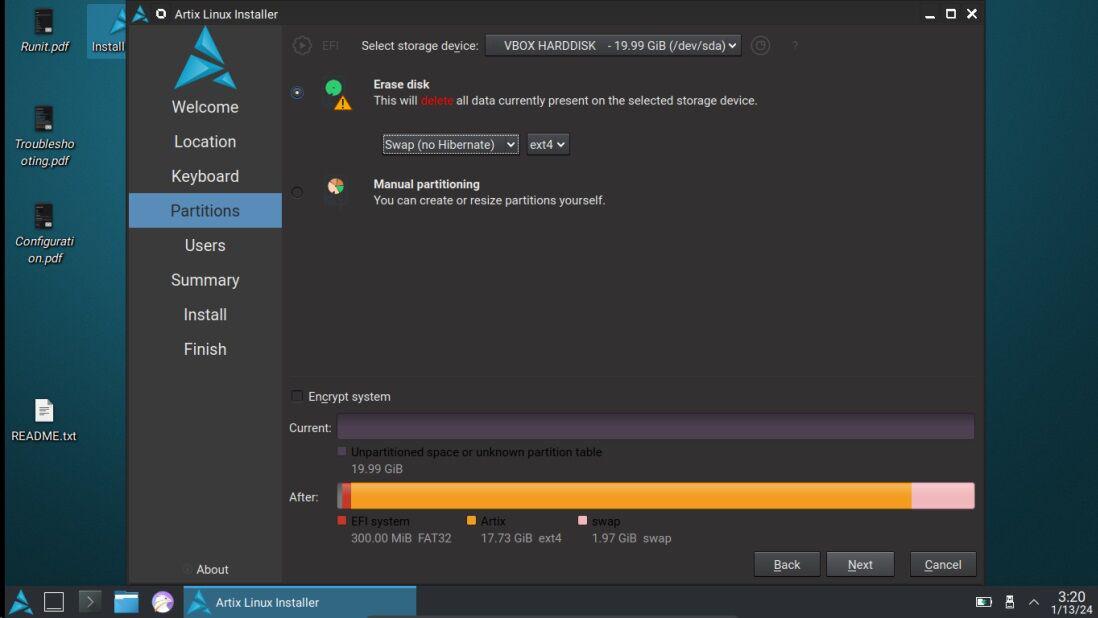
Configuring Partition Setting
Step 9: Setting User Account
Create a new user account for your system, distinct from the root user. Provide the username, your name, computer name, and password for your account. If you prefer using the same password for the root account, check the corresponding checkbox. After configuring your user details, click “Next” to proceed with the installation.
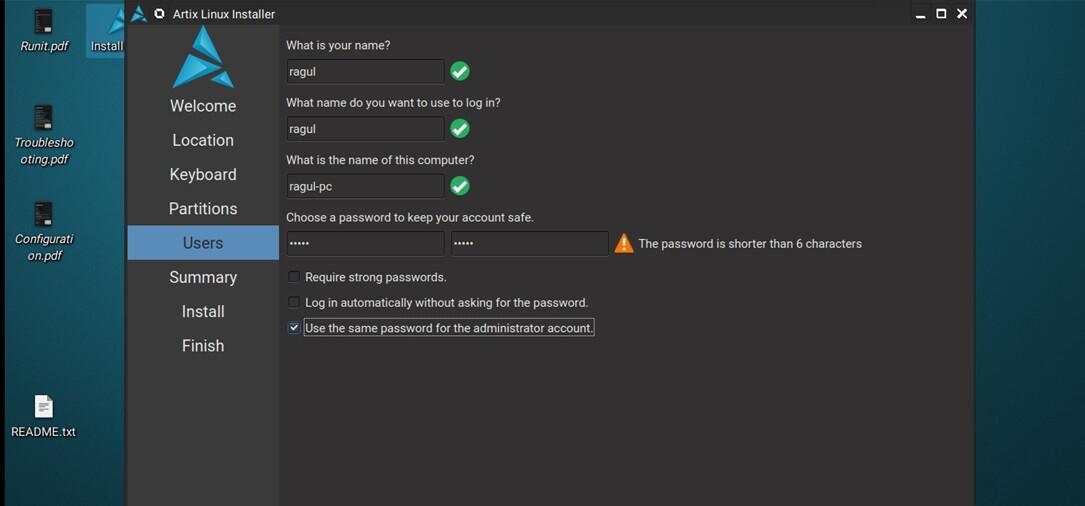
Setting User Account
Step 10: Verify Configuration
Review the details you’ve configured in the left pane and a summary of your installation will be displayed. Ensure everything is accurate, as modifications become permanent after installation. Click “Next” to accept the installation and initiate the process of installing Artix on your system.
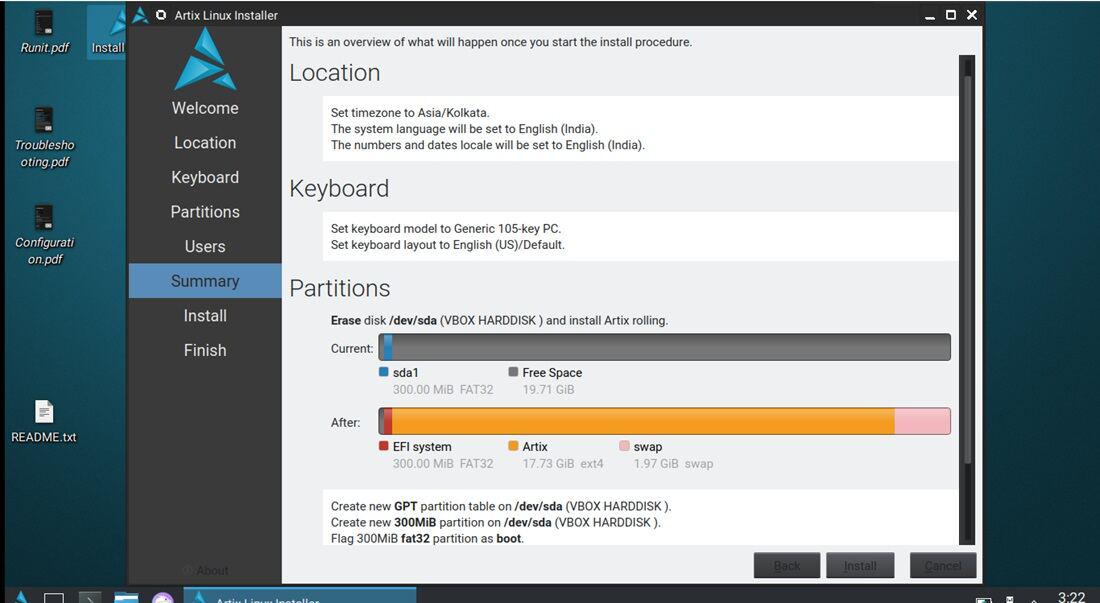
Verify the Configuration
Step 11: Completing Installation
After clicking the “Install” button, the automated installation process will commence, configuring and installing everything for your new Artix system. The duration may vary, typically taking 5 to 10 minutes based on your hardware specifications. Patiently wait for the installation to complete.
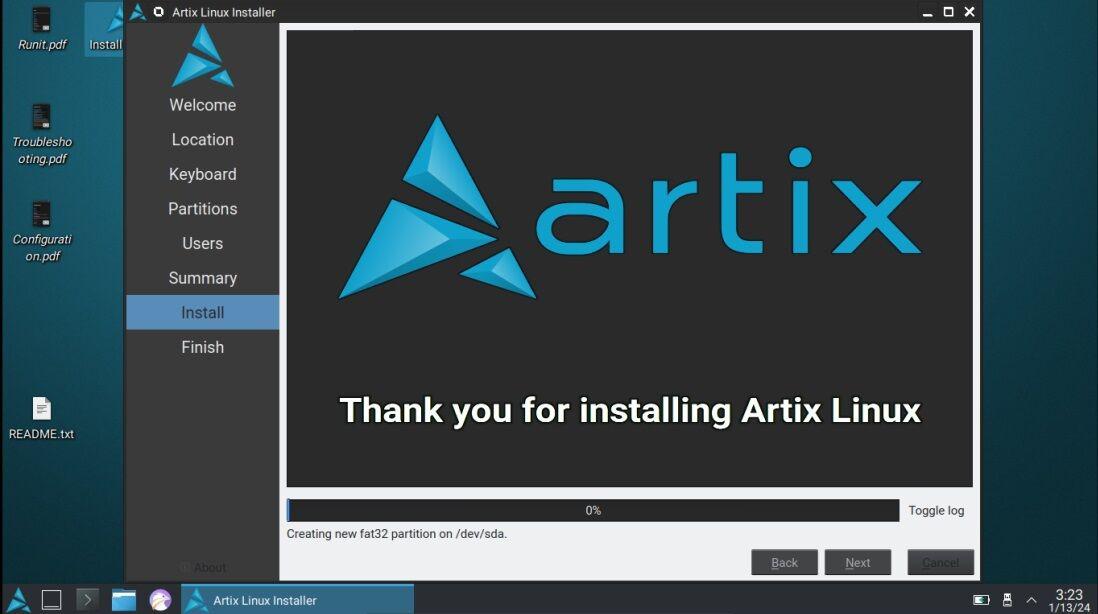
Completing Installation
Step 12: Boot to Artix Linux
After the installation is finished, reboot your system, ensuring to remove the bootable media (USB). Upon reboot, a GRUB menu will appear, allowing you to select the Artix Linux option. Click on “Artix Linux” to boot into your freshly installed Artix system.
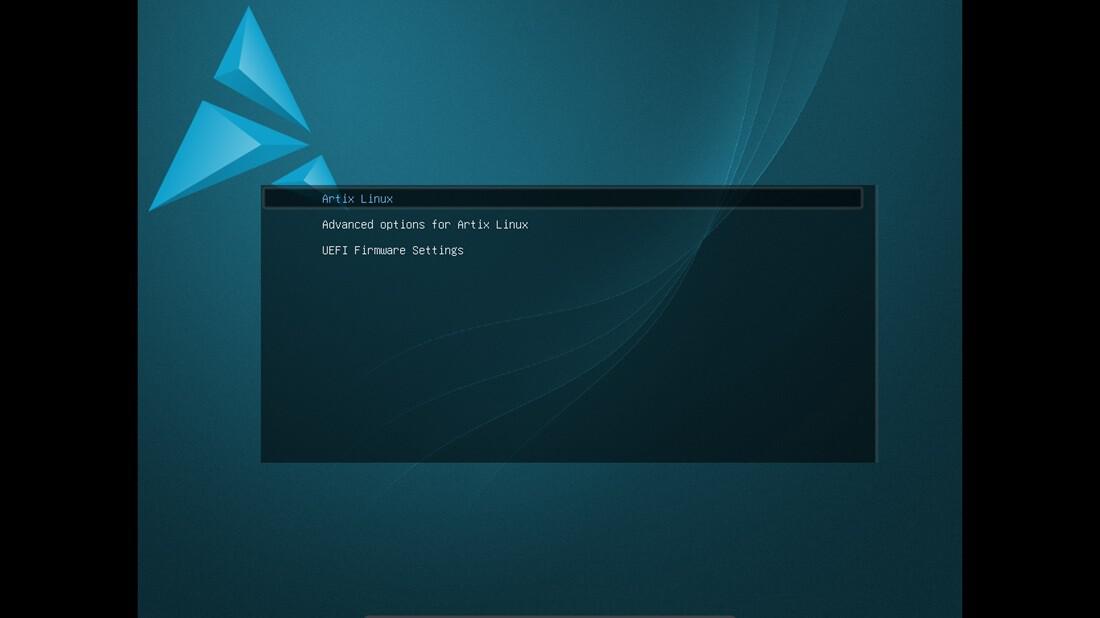
Boot to Artix Linux
Step 13: Login into Artix Linux
After booting into your Artix Linux system, a login screen will appear. Enter the username and password that you configured during the installation process. Once entered, click the “Login” button to access your Artix Linux system. This step ensures secure access to your personalized Artix environment.
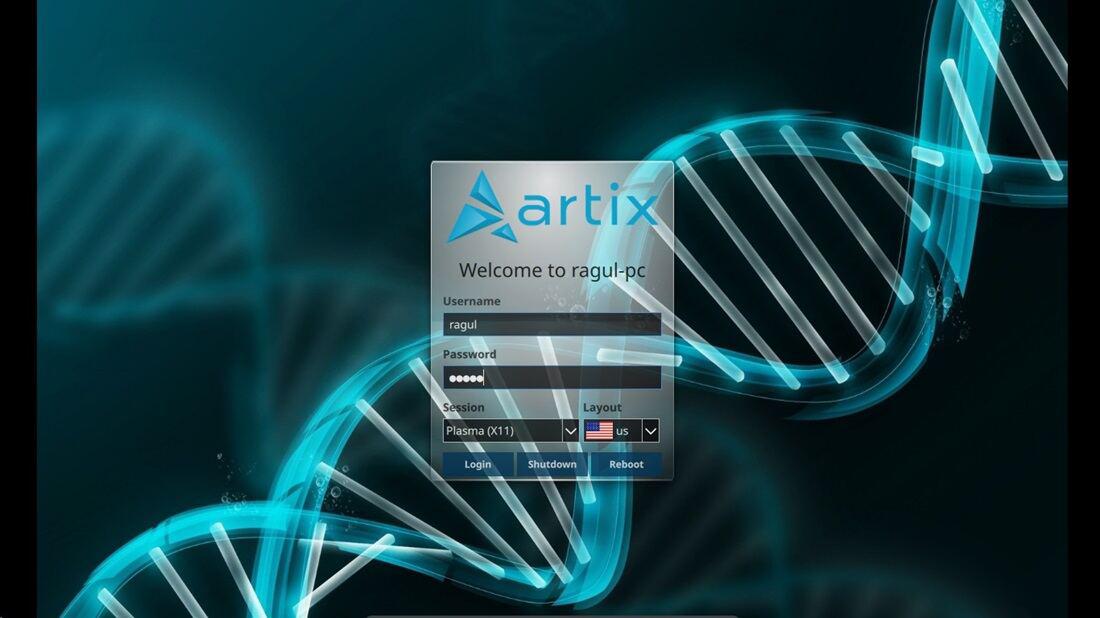
Login into Artix Linux
Step 14: Explore Artix Linux
Welcome to Artix Linux! You are now on the desktop of your freshly installed Artix system. Take some time to explore and enjoy your experience with this Arch Linux-based distribution. From here, you can customize your desktop, install additional software, and make Artix Linux your own.
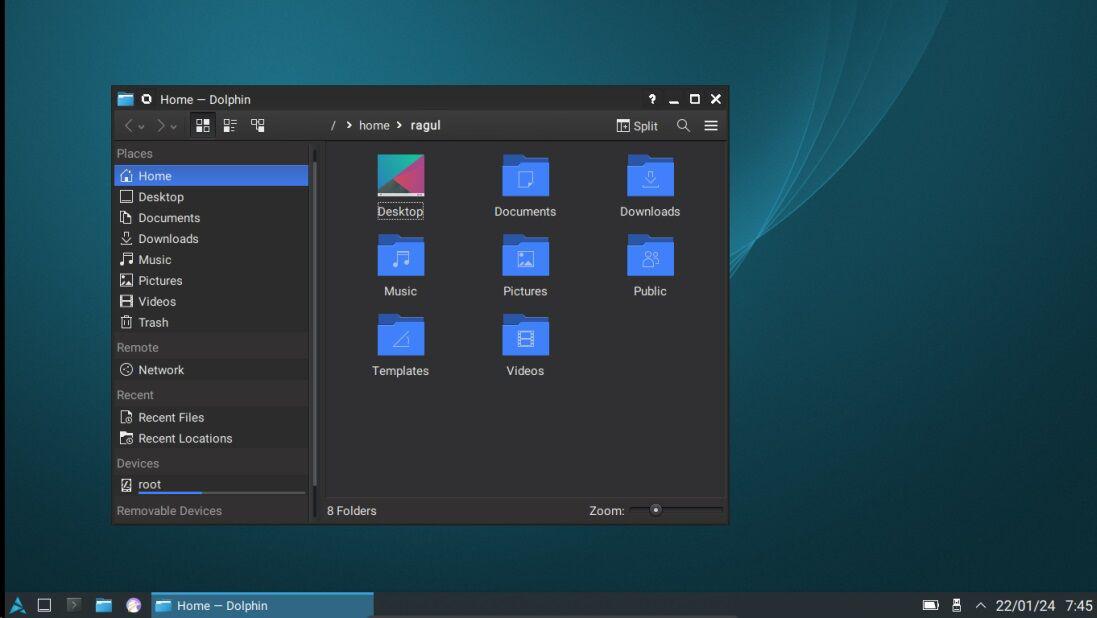
Explore Artix Linux
Frequently Asked Questions on Artix Linux – FAQs
Is Artix Linux beginner-friendly?
Artix Linux is considered more suitable for users with some Linux experience due to its Arch Linux base and lack of systemd. However, its community and documentation provide resources for users at various skill levels.
How do I install software on Artix Linux?
Artix Linux primarily uses the Pacman package manager. To install software, open a terminal and use the command sudo pacman -S package_name. You can also use graphical package managers like Octopi or Pamac.
Can I use AUR (Arch User Repository) packages on Artix Linux?
Yes, you can use AUR packages on Artix Linux. You need to use an AUR helper like yay or manually download and install packages using the makepkg command.
What init system does Artix Linux use?
Artix Linux provides multiple init system choices, including OpenRC, runit, and s6. During installation, users can select their preferred init system.
How can I troubleshoot boot issues in Artix Linux?
If you encounter boot problems, accessing the GRUB menu during startup and selecting the fallback option or using the live USB to chroot into your system are common troubleshooting steps. The Artix Linux wiki and forums provide detailed guides for resolving various issues.
Conclusion
In conclusion, Artix Linux offers a user-friendly and customizable experience, catering to those seeking an alternative to system-based distributions. Its flexibility with various init systems and compatibility with Arch Linux’s vast resources make it an appealing choice. The installation process, guided by the Calamares installer, streamlines setup, and once in the system, users can enjoy a well-configured Artix desktop environment. Overall, Artix stands as a robust option for users valuing simplicity, customization, and an Arch Linux foundation.
Share your thoughts in the comments
Please Login to comment...