How to Use useState() Hook in NextJS ?
Last Updated :
03 Oct, 2023
In this article, we will learn How to use useState() hook provided by the ‘react’ library in the NextJS project.
The React JS library includes the useState() hook. It is very useful in order to manage the state in our Next Js application. It allows us to add the state, and update the state based on the previous state. It provides us optimized and simple way to store the information from previous renders.
Syntax:
const [varName,setVarName] = useState(<initial_state>);
Setting up Next.js application:
npx create-next-app@latest
Note: As you create your Next Js application, respond to a few questions. Recommend making the default choice and moving on with it.
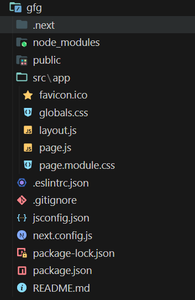
Project Structure:
Example 1: In this example, we will import the useState() hook from the react library. We are going to initialize the state at the top of the component, where we will provide name of the variable that will hold the current state, and name of the function that will be used to update the state. please add the below code in src/app/page.js file.
Javascript
"use client";
import { useState } from "react";
export default function Home() {
const [countClick, setCountClick] = useState(0);
const countClickHandler = () => {
setCountClick(countClick + 1);
};
return (
<center>
<h1>GeeksforGeeks</h1>
<h2> State value: {countClick} </h2>
<button onClick={countClickHandler}>
Click Me
</button>
</center>
);
}
|
Step to run the program: To run the application execute the below command from the root directory of the project:
npm run dev
Output:
Example 2: In this example, we will initialize the state with an object, and on click of a button we will change the value of one of its key i.e email.
Javascript
"use client";
import { useState } from "react";
export default function Home() {
const [gfgUser, setGfgUser] = useState({
id: "1",
name: "gfg",
email: "gfg",
domain: "cs",
});
const onUpdateClickHandler = () => {
setGfgUser((gfgUser) => {
return {
...gfgUser,
email: "gfg@gfg.com",
};
});
};
return (
<center>
<h1>GeeksforGeeks</h1>
<h2> State value </h2>
<h2> Id: {gfgUser.id} </h2>
<h2> Name: {gfgUser.name} </h2>
<h2> Email: {gfgUser.email} </h2>
<h2> Domain: {gfgUser.domain} </h2>
<button onClick={onUpdateClickHandler}>
Update Me
</button>
</center>
);
}
|
Step to run the program: To run the application execute the below command from the root directory of the project:
npm run dev
Output:
Share your thoughts in the comments
Please Login to comment...