Saving key event video clips with OpenCV
Last Updated :
08 Sep, 2023
OpenCV is an open-source and popular computer vision library that contains several computer vision algorithms. You can read, display, write and do lots of other operations on images and videos using OpenCV. The OpenCV module is generally used in popular programming languages like C++, Python, and Java. To save a video in OpenCV cv.VideoWriter() method is used.
In this article, we will try to save key event video clips with OpenCV in Python.
The only things you need to decide are the following:
- Deciding what will be your key event
- Writing the frames into a file when that key event occurs in your video.
Required Modules
pip install opencv-python
pip install numpy
Deciding the Key Event
The key events can be anything ranging from the appearance of any particular object on the screen to the appearance of any particular person on the camera. You can get creative with that.
For the sake of this tutorial, I’ll keep it simple and take the first case as my key event with slight modifications to it.
Main key event: The appearance of any red-coloured object on my camera
Explanation of Code
Importing Libraries
The code starts by importing the necessary libraries: cv2 for computer vision operations and Numpy for array manipulations.
Initializing Video Capture
The code initializes the video capture by creating a VideoCapture object. It can either capture frames from the default webcam (set as 0) or an external webcam (set as 1).
Initializing Video Processing Packages
This section initializes the video writer to save the processed frames as a video file. It defines the video codec (fourcc) as 'XVID', frames per second (fps) as 20.0, and frame size as (640, 480).
Define Color Range for Red Objects
The lower and upper limits of the red color range are defined using Numpy arrays. These values represent the minimum and maximum HSV values for the red color.
Write Frames to Output Video File
If a bounding box is found, the frame with the drawn rectangle is written to the output video file using the out.write() method.
Create a Mask for Red Color
A mask is created by applying the lower and upper limits to the HSV frame. The mask contains white pixels for regions that fall within the specified colour range and black pixels for the remaining regions.
Detect Red Objects Using Color Segmentation
A bounding box (bbox) is obtained by applying the cv2.boundingRect() function to the mask. This function identifies the minimum enclosing rectangle for the non-zero regions in the mask.
Draw Rectangles Around Detected Objects
If a bounding box is obtained (i.e., red objects are detected), a rectangle is drawn on the frame using cv2.rectangle(). The rectangle is drawn around the bounding box coordinates with a green colour and a thickness of 2.
Write Frames to Output Video File
If a bounding box is found, the frame with the drawn rectangle is written to the output video file using the out.write() method.
Code:
Python3
import cv2
import numpy as np
cap = cv2.VideoCapture(0)
fourcc = cv2.VideoWriter_fourcc(*'XVID')
out = cv2.VideoWriter('output.avi', fourcc, 20.0, (640, 480))
while True:
ret, frame = cap.read()
frame = cv2.flip(frame, 1)
hsv = cv2.cvtColor(frame, cv2.COLOR_BGR2HSV)
lower_limit = np.array([161, 155, 84])
upper_limit = np.array([179, 255,255])
mask = cv2.inRange(hsv, lower_limit, upper_limit)
bbox = cv2.boundingRect(mask)
if bbox is not None:
print("Object detection running:", bbox)
x, y, w, h = bbox
if w != 0 and h != 0:
print("Red objects in frame at ")
frame = cv2.rectangle(frame,
(x, y),
(x + w, y + h),
(0, 255, 0), 2)
out.write(frame)
else:
print("Object not detected")
cv2.imshow("Video Frame", frame)
if cv2.waitKey(40) & 0xFF==ord('q'):
cap.release()
out.release()
break
cv2.destroyAllWindows()
|
Output :
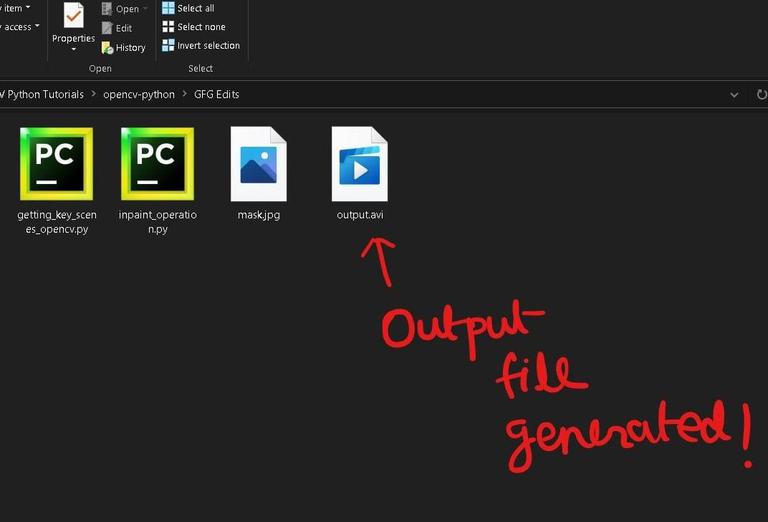
If you run the above block of code with all the necessary dependencies/packages installed on your system then the output will be a video file as shown in the above image. The whole run is shown in the following video:
Video Example 1:
Video Example 2 :
Share your thoughts in the comments
Please Login to comment...