ReactJS testInstance.children Property
Last Updated :
05 Jun, 2021
React.js library is all about splitting the app into several components. Each Component has its own lifecycle. React provides us some in-built methods that we can override at particular stages in the life-cycle of the component.
In this article, we will know how to use testInstance.children property. The testInstance.children property is used to get the children to test instances of the test instance.
Creating React Application And Installing Module:
-
Step 1: Create a React application using the following command
npx create-react-app foldername
-
Step 2: After creating your project folder i.e. foldername, move to it using the following command.
cd foldername
Project Structure: It will look like the following.

Step 3: After creating the ReactJS application, Install the required module using the following command:
npm install react-test-renderer
Example 1:
App.js
import React from 'react';
import TestRenderer from 'react-test-renderer';
const App = () => {
function func(){
const renderer = TestRenderer.create(
<div>
GeeksforGeeks
<div>
TestRenderer.children property
</div>
</div>
);
const mychildren = renderer.root;
console.log(mychildren.children);
}
func();
return <>
</>;
}
export default App
|
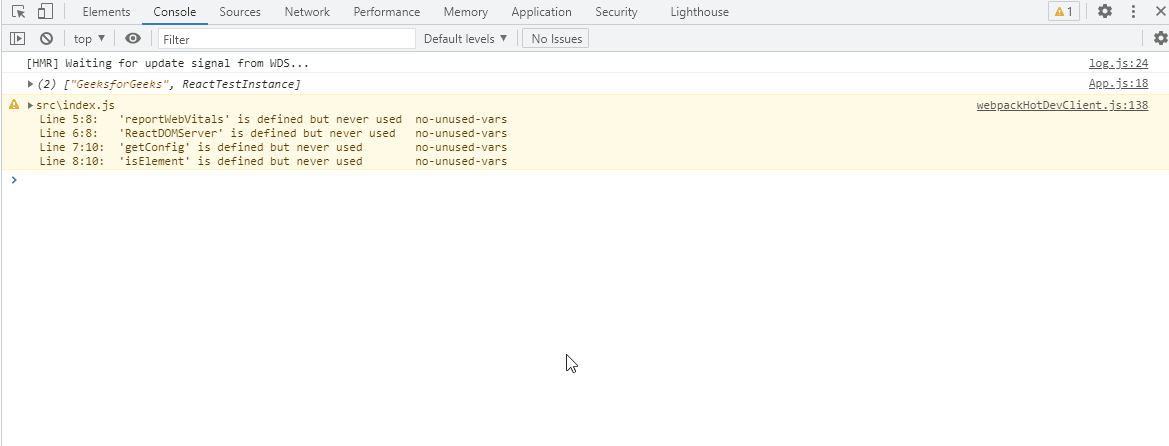
Output:
Reference: https://reactjs.org/docs/test-renderer.html#testinstancechildren
Share your thoughts in the comments
Please Login to comment...