ReactJS testInstance.props Property
Last Updated :
05 Jun, 2021
React.js library is all about splitting the app into several components. Each Component has its own lifecycle. React provides us some in-built methods that we can override at particular stages in the life-cycle of the component.
In this article, we will know how to use testInstance.props property. The testInstance.props property is used to get a prop which is corresponding to the test instance.
Creating React Application And Installing Module:
-
Step 1: Create a React application using the following command
npx create-react-app foldername
-
Step 2: After creating your project folder i.e. foldername, move to it using the following command.
cd foldername
- Step 3: After creating the ReactJS application, Install the required module using the following command:
npm install react-test-renderer
Project Structure: It will look like the following.

Example 1:
Javascript
import React from 'react';
import TestRenderer from 'react-test-renderer';
const App = () => {
function func(){
const renderer = TestRenderer.create(
<div>
GeeksforGeeks
<div>
TestRenderer.props property
</div>
</div>
);
const myprops = renderer.root;
console.log(myprops.props);
}
func();
return <>
</>;
}
export default App
|
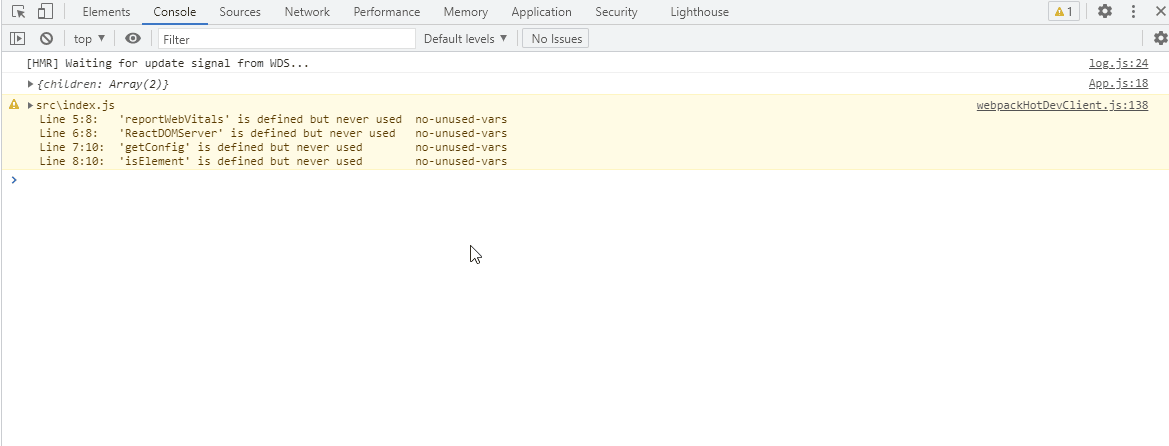
Output:
Reference: https://reactjs.org/docs/test-renderer.html#testinstanceprops
Like Article
Suggest improvement
Share your thoughts in the comments
Please Login to comment...