PyCharm Introduction – A Beginner’s Guide
Last Updated :
04 Oct, 2023
PyCharm is a sturdy and characteristic-packed IDE that many Python builders swear with the aid of, it is not without its negative aspects. These limitations consist of useful resource consumption, a getting-to-know curve, price for the Professional Edition, slower startup instances, and constrained language support. It’s critical for builders to not forget their precise desires and options while selecting an IDE, as the “best” IDE can vary depending on the context and individual requirements.
Why Choose PyCharm?
Before we dive into the set-up procedure, let’s short talk about why PyCharm is a desired preference among Python developers:
- Feature-wealthy Environment: PyCharm offers a comprehensive set of capabilities for Python improvement, along with code crowning glory, debugging, version manipulation integration, and more.
- Smart Code Assistance: It provides wise code final touch and guidelines, which could appreciably speed up your coding method and reduce mistakes.
- Cross-Platform Support: PyCharm is to be had for Windows, macOS, and Linux, making it on hand to a huge variety of builders.
- Community and Professional Versions: You can pick between the unfastened Community version and the extra characteristic-rich Professional version, depending on your needs and budget.
Now that you understand why PyCharm is a popular preference, let’s get started with the setup.
Overview of PyCharm
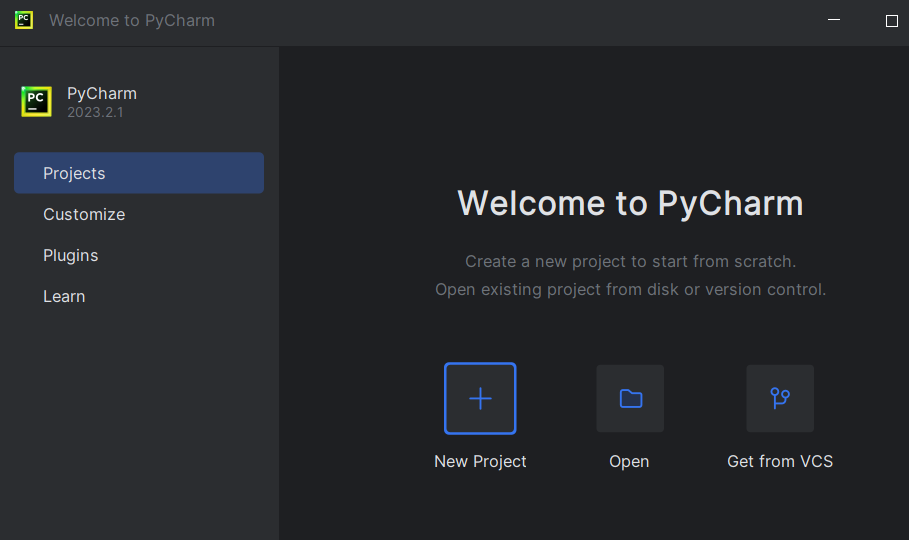
Navigate to your Applications folder, find PyCharm, and double-click it to launch the IDE. Here you get an option for creating a new project or opening an existing project.
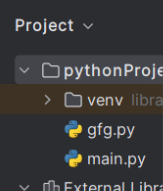
Here you can see the hierarchy of file that are present in proper order with there file extension.
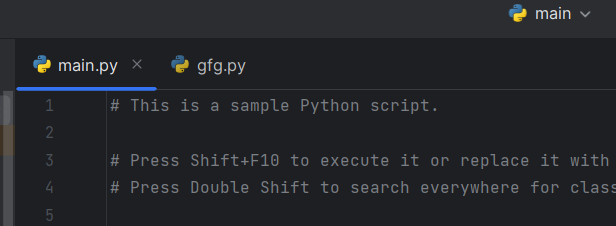
Here you can see the working file, and easily navigated by clicking on that tab.
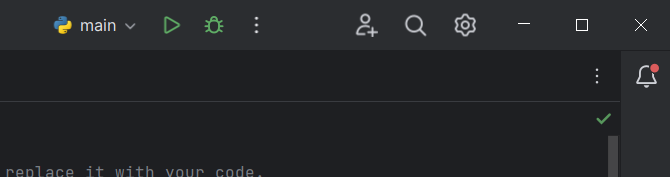
The Green play button to run your code and the bug sign represent code DEBUGGING.
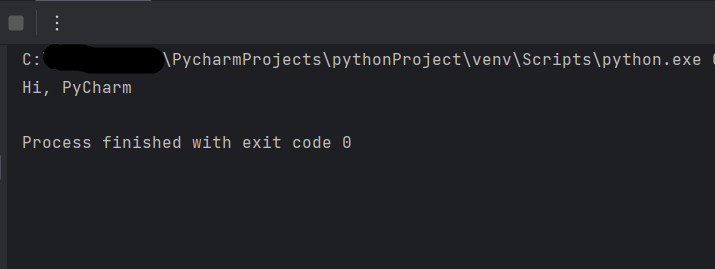
This is the terminal where we see output of the running program.
When you move your your cursor and right click you will get many option to create new file or folder, cut, move, paste and many option according to your need.
.png)
By clicking on upper ribbon, you can access a wide range of features and functions within PyCharm. Depending on your specific development needs, you may find yourself frequently using options from the “File” menu for project management, the “Edit” menu for code editing, and the “View” menu for customizing your workspace.
.png)
Here are some common settings and configurations you can adjust using the “Settings” button in PyCharm:
- Editor Settings: Customize code formatting, indentation, code style, and various editor behaviors.
- Interpreter Settings: Configure Python interpreters for your projects, including virtual environments and external interpreters.
- Version Control: Set up version control systems like Git, configure repositories, and define commit and push behaviors.
- Appearance & Behavior: Adjust themes, fonts, and UI-related settings. You can also enable or disable features like code inspections and code folding.
- Keymap: Customize keybindings and keyboard shortcuts to match your preferred coding style.
- Plugins: Manage and install additional plugins and extensions to extend PyCharm’s functionality.
- Project Settings: Configure project-specific settings like project structure, deployment options, and run/debug configurations.
- Build, Execution, Deployment: Control how your code is built, executed, and deployed. You can specify run configurations, deployment servers, and more.
.png)
Exploring and becoming familiar with these menu options can significantly enhance your productivity when working with PyCharm, as they provide quick access to essential features and settings that streamline your Python development workflow.
Share your thoughts in the comments
Please Login to comment...