Liquify Tool in Photoshop
Last Updated :
15 Feb, 2024
The Liquify tool in Adobe Photoshop is an incredibly flexible and precise tool for picture manipulation. It is a strong tool for image editing. The liquify tool in Adobe Photoshop is an effective tool for image manipulation since it can pull, push, pucker, reflect, rotate, and inflate any component of an image without compromising quality. Retouching and rearranging images to emphasize specific features is a common usage for it. Using this tool to design, smooth, and create mind-bending artistic effects is like performing virtual plastic surgery on your photographs. It simplifies the process of fixing visual distortion and wrinkles. The Liquify tool is very useful in the Photoshop industry.
Although the Liquify Tool itself lacks particular types, its interface is packed with options. These include various tools, each with a specific function, such as the Face Tool, Bloat Tool, Pucker Tool, Push Left Tool, Reconstruct Tool, Smooth Tool, Twirl Clockwise Tool, Freeze Mask Tool, and Thaw Mask Tool.
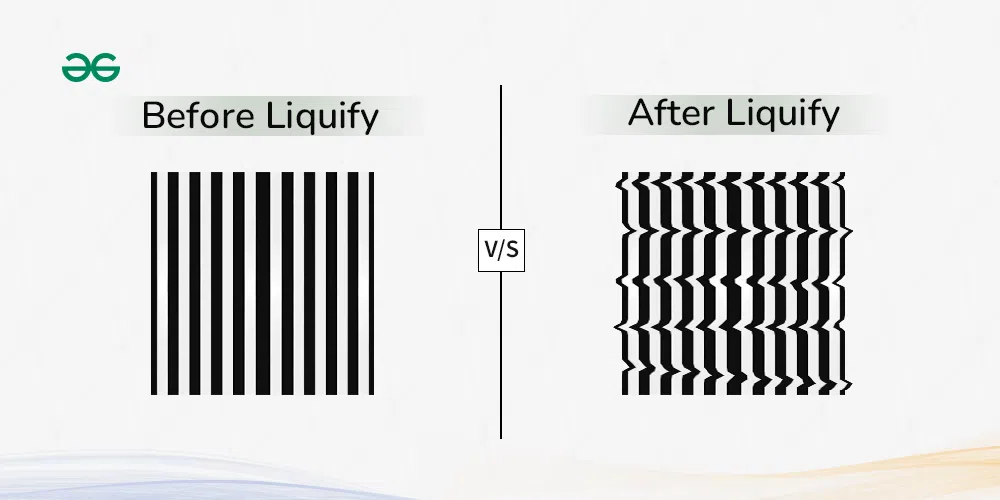
Liquify
Features of the Liquify Tool
There are a variety of brushes so you can choose from a variety of brush sizes and forms to precisely target certain areas with greater precision when in close range to a laser. There are a couple of tools each tool has a certain purpose. Below are a few of the most widely utilized ones:
- Forward Warp Tool: By pushing and pulling pixels, the Forward Warp Tool bends and distorts objects.
- Reconstruct Tool: This tool restores parts to their original state.
- Smooth Tool: This tool is used to eliminate wrinkles, flaws, and unwanted textures from an image.
- Twirl Clockwise Tool: This tool creates ripple-like effects that resemble spinning vortices.
- Bloat Tool: This tool is used to make portions of the image larger and more extended.
- Pucker Tool: This tool is only meant to be used on areas that shrink and contract.
- Push Left/Right Tools: These tools are used to slide pixels in the chosen horizontal direction.
- Freeze Mask Tool: This tool’s purpose is to protect specific areas from Liquify ‘s effects.
- Thaw Mask Tool: To thaw out previously frozen parts, use the Thaw Mask tool in the Freeze Mask tool.
- Face Tool: The Face Tool primarily targets and modifies facial features, including the lips, nose, and eyes.
Uses of Liquify Tool
Object Distortion:
- Purpose: To produce abstract or surreal effects, by warping and twisting the items inside an image.
- How: Use this tool to creatively manipulate and bend things within the images.
- Example: Imagine the objects like bending buildings, stretching cars, or melting faces within the images.
Portrait retouching:
- Purpose: It Modify or improve the subject’s appearance by adjusting face characteristics such as the lips, nose, and eyes.
- How: Use to improve face features, make use of tools such as the Bloat Tool, Forward Wrap Tool, and others.
- Example: Enlarging the eyes, refining of jawlines, smoothing the wrinkles, or even reshaping the noses for a more polished look.
Body Contouring:
- Purpose: It Reshape and sculpt the body to get a creative or artistic look.
- How: Use this tool to alter the body proportions and the curves.
- Example: Adding muscle definition, sliming waists, or creating exaggerated curves.
Manipulation of clothing:
- Purpose: Add movement to static garments or improve the way they flow.
- How: Using the Liquify Tool to adjust how your clothes move and take on new forms.
- Example: Adding the flow and movements to the clothes and create wrinkles or folds, or even change the style of an outfit.
Benefits of Liquify Tool
- Real-Time Review: You can Observe the modifications instantly see your edits as you work on it, Allowing for quick adjustments and fine tuning.
- Precision: It uses the several brush sizes, pressure, and other tool specific settings to achieve the exact effect as you desire.
- Not harmful: The original image is preserved because Liquify works on a different layer, so you can always revert to your original if needed.
How to Create?
- Open Adobe Photoshop and Load the image you want to manipulate.
- Open the Image and select layer.
- Select the duplicate layer as indicated in image below and make a duplicate Layer.
- Now go to Filter and Select the Liquify to Open the Liquify Workspace.
- Here you can choose the Tool as per your need or Select a specific tool (e.g., Face Tool) from the toolbar.
- Adjust the Settings by Modifying in brush size, pressure, and other specific-tool settings.
- Apply the Changes by Clicking and dragging over the image to apply changes.
- To view the modifications of the image, utilize the Preview option below.
- Click OK to apply the modifications and to close the Liquify workspace, if you’re pleased with the outcome of your work.
Examples of Liquify Tool
- Fashion photography: To produce more visually appealing fashion shots, utilize the Liquify tool to alter clothing or create dynamic movement.
- Enhancement of Portraits: The Liquify tool can be used to amplify face characteristics, alter body type, and enlarge eyes. By highlighting the nose, lips, and eyes, it draws the viewer’s attention to the portrait’s beauty.
- Creative Distortion: Bending topography or architectural components to produce stunning effects is known as creative distortion.
Conclusion
In conclusion, the Liquify Tool in Photoshop is a tremendously helpful tool for improving digital images and creating new artistic possibilities. For digital artists and photographers, its quick response, adaptability, and non-destructive qualities make it a popular option. When we used it carefully, the Liquify Tool can transform flat photographs into striking, dynamic artwork. Accept the modifications made by the Liquify tool, unleash your creative side, and watch as your concepts come to life with every drag and click. With the help of Liquify, you can explore more and uncover hidden potential in images that at first glance seem interesting.
Share your thoughts in the comments
Please Login to comment...