JUnit 5 – @Disabled
Last Updated :
13 Dec, 2023
JUnit 5 is a widely used testing framework in the Java ecosystem. It is the successor of JUnit 4 and is designed to address its limitations. JUnit framework allows the developers to write and run the tests for their Java code. allows to use of the following features.
- It ensures that the code functions correctly and continues to work as expected when changes are made.
- JUnit 5 provides a variety of annotations and one such annotation is @Disabled.
In this article, let us understand about @Disabled annotation in JUnit 5.
@Disabled in JUnit 5
@Disabled annotation in JUnit 5 is used to mark a method that should be disabled or ignored during the test execution. When this @Disabled annotation is applied at the class level, all the underlying test methods are disabled. It is similar to @Ignore annotation in JUnit 4.
Examples of @Disabled
In general, the @Disabled annotation has both method-level and class-level use cases. Let us understand the both method-level and class-level usages of @Disabled annotation.
1. Method-level
In the below code, we can find the use of @Disabled annotation on a method.
Java
import org.junit.jupiter.api.Disabled;
import org.junit.jupiter.api.Test;
public class Testcase1 {
@Disabled
@Test
public void testMethod1() {
}
@Test
public void testMethod2() {
}
}
|
2. Class-level
In the below code, we can find the use of @Disabled annotation on a class containing many test cases.
Java
import org.junit.jupiter.api.Disabled;
import org.junit.jupiter.api.Test;
@Disabled
public class Testcase1 {
@Test
public void testMethod1() {
}
@Test
public void testMethod2() {
}
}
|
Step By Step Implementation
Step 1: Creation of Project
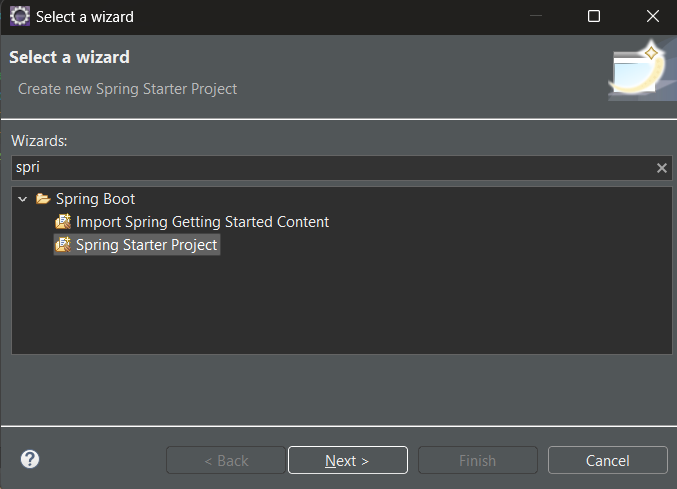
- Go to the file menu click new and navigate to Spring Starters project. If you don’t find the Spring Starters project immediately after the new one, then click other and find the Spring Starters project.
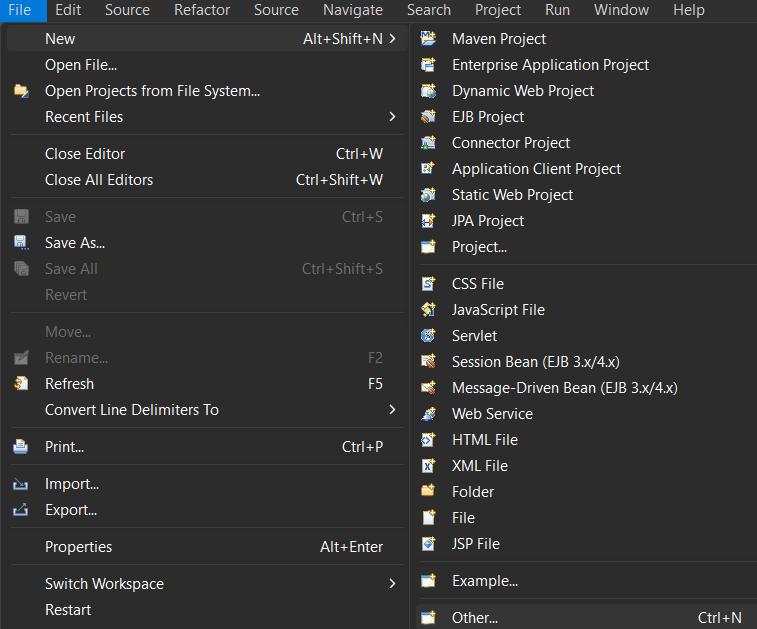
- File > new > Spring Starters project.
- Name your project and configure the default options given if necessary.
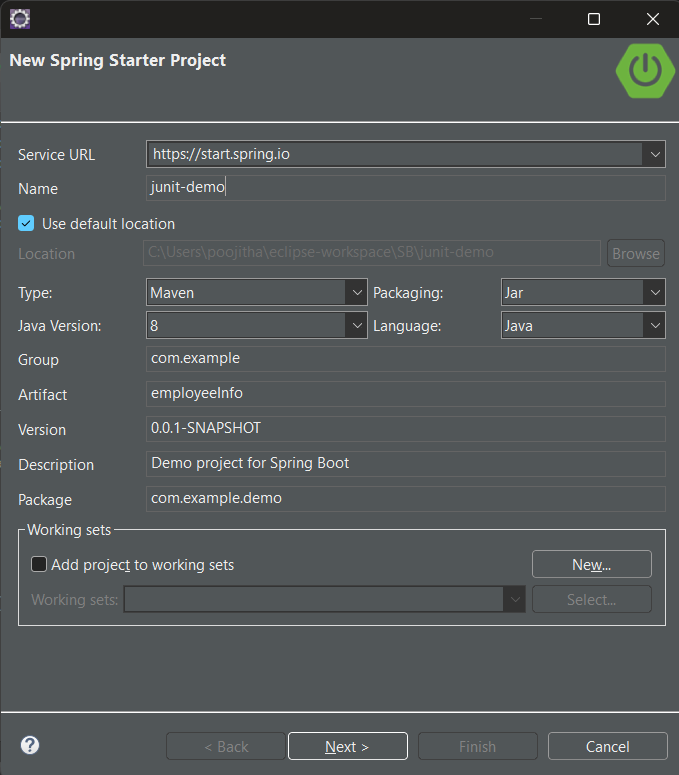
- Necessary Configurations:
- Type: Maven
- Packaging: Jar
- Java Version: 8
- Language: Java
- Make sure that, you have chosen the type as ‘Maven‘ ( You can also choose `Gradle`, but for the demonstration, I am using Maven build management tool) and the version of Java should be at least 8.
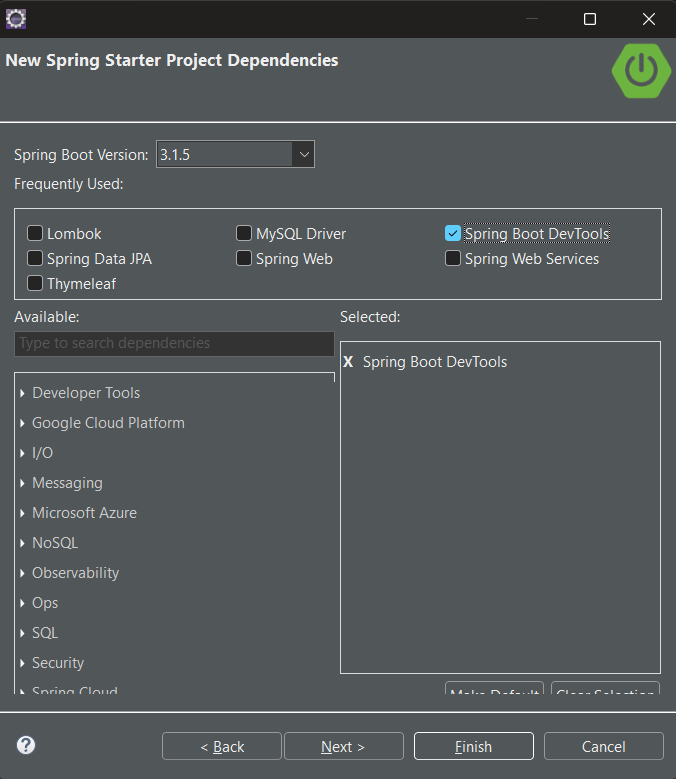
- Add dependencies If you need any, otherwise, click `finish`.
Step 2: Adding dependencies
Let us configure our pom.xml file with the following dependencies:
JUnit Jupiter API:
The JUnit Jupiter API is the part of JUnit 5 framework which provides annotations, assertions, and other features for defining and running test cases and serves as a programming model for writing tests in Java.
To add the JUnit Jupiter API in your Spring Boot Application, use the following dependency in your pom.xml file under dependencies.
XML
<dependency>
<groupId>org.junit.jupiter</groupId>
<artifactId>junit-jupiter-api</artifactId>
<version>5.8.0</version>
<scope>test</scope>
</dependency>
|
Project Setup
Now, that the project setup is ready, let us look into an example to understand how to write and run test cases of JUnit using the Maven tool.
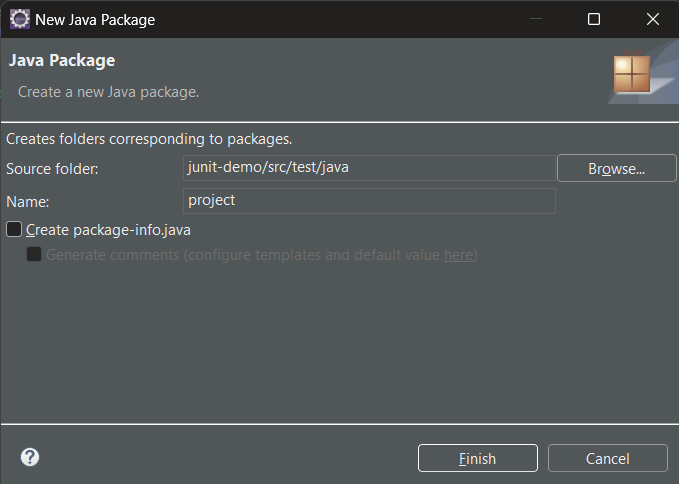
- Step 1: Create a new package in the src/test/java, right-click on src/test/java > new > package.
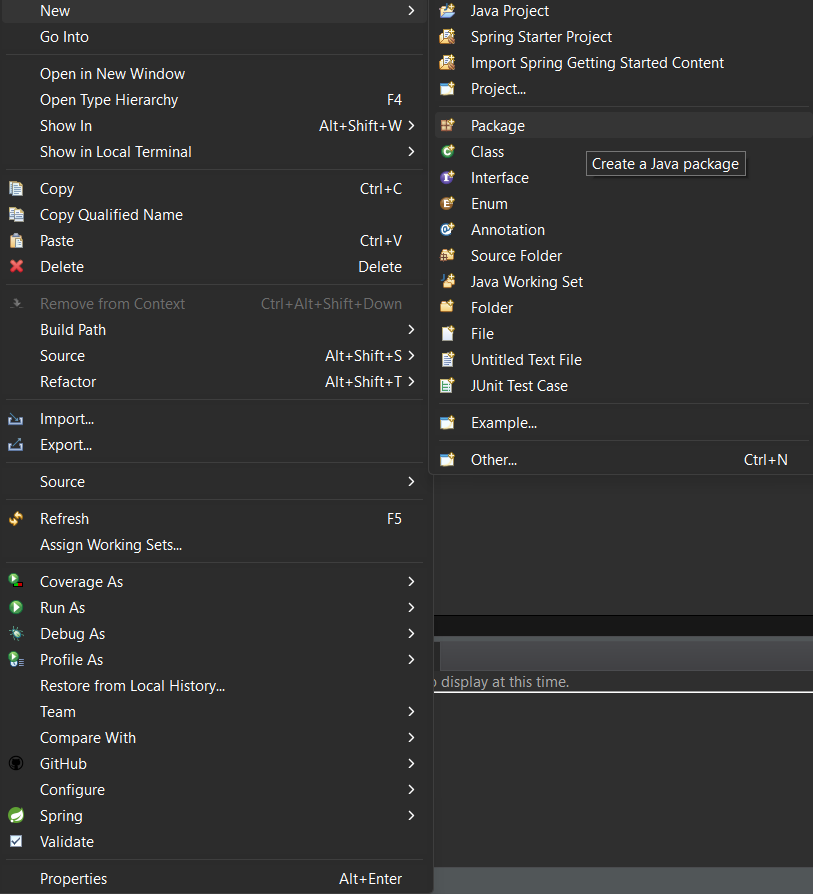
- Extra available configuration for Package is below
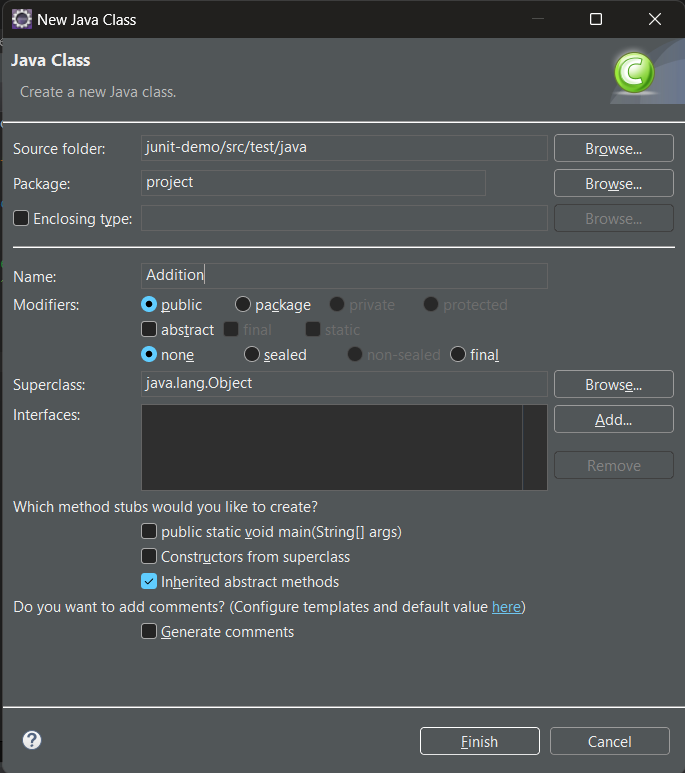
- Step 2: Create a class in the package and name it, for this illustration we will name it Addition.java to create a class, right-click on package > new > class.
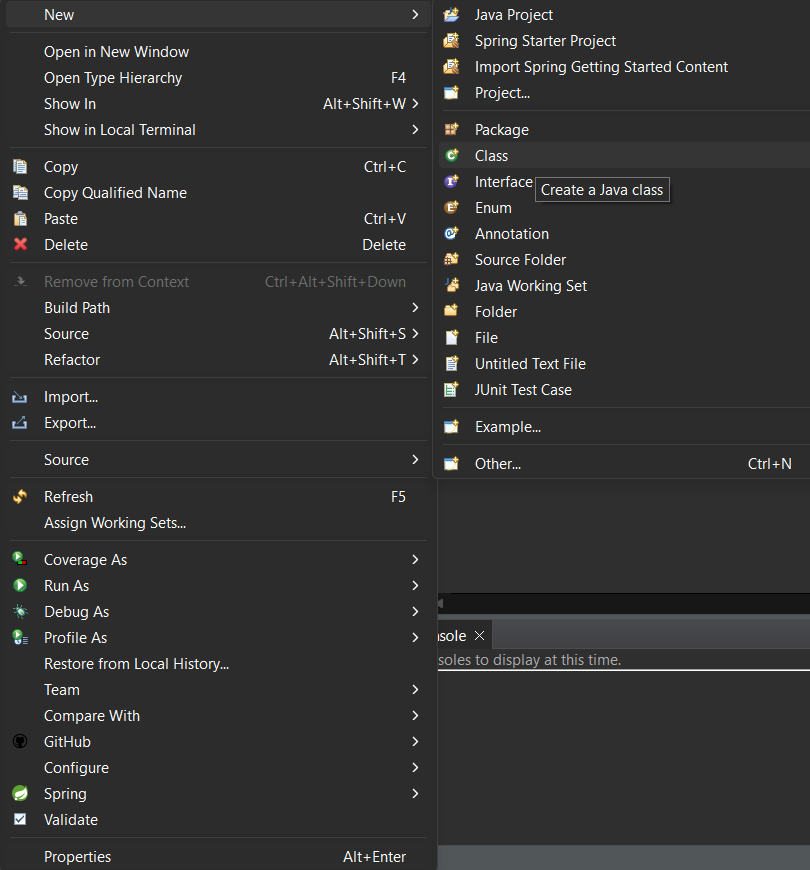
- New Java Class configuration options is below
- Step 3: write the logic which you want to test in Addition.java.
Java
package project;
public class Addition {
public int sum(int a, int b) {
return a+b;
}
}
|
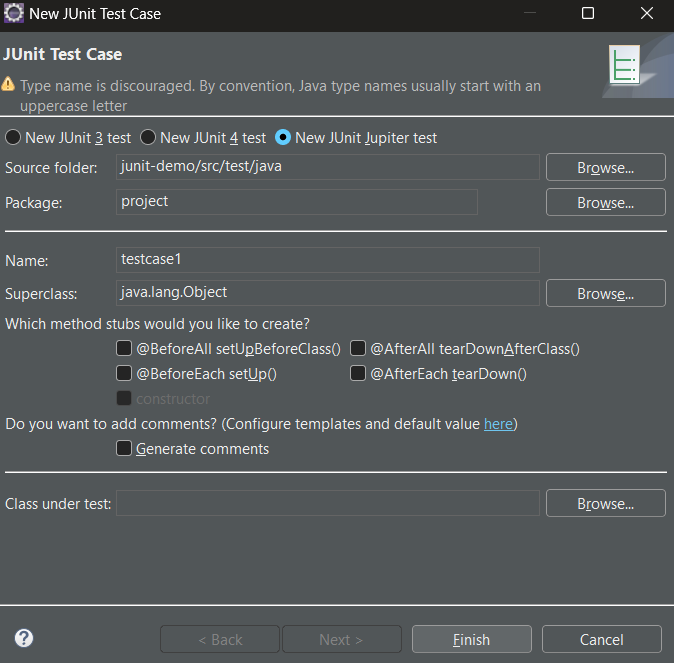
- Step 4: Now, create a test case inside the package by right click on the package > new > others > java > JUnit > JUnit test case.
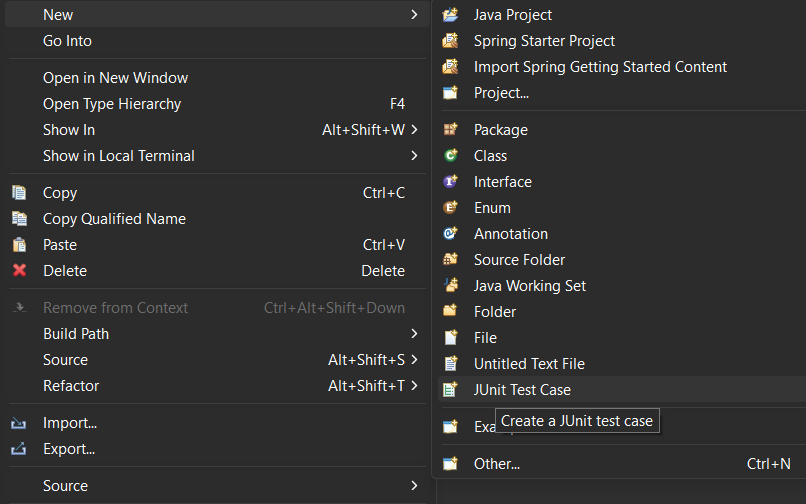
- New JUnit Test case configuration is below
Example 1:
Test Script: Let us write the first test case i.e. Testcase1, inside it we have two methods named test1, and test2.
Java
package project;
import static org.junit.jupiter.api.Assertions.*;
import org.junit.jupiter.api.Disabled;
import org.junit.jupiter.api.Test;
class Testcase1 {
@Test @Disabled void test1()
{
Addition addition = new Addition();
int actual = addition.sum(2, 3);
int expected = 5;
assertEquals(actual, expected);
System.out.print("Test is executed");
}
@Test void test2()
{
Addition addition = new Addition();
int actual = addition.sum(2, 3);
int expected = 5;
assertEquals(actual, expected);
System.out.print("Test is executed");
}
}
|
Explanation of the above program:
In the above example, we have provided method-level implementation for @Disabled annotation. To do this, we have defined two test methods annotated with @Test, those are test1 and test2 descriptions, and details for them are below.
- In both methods, we have provided the Same implementation,
- but for the test1 method, we have added the @Disabled annotation.
- In the implementation part, we are creating the addition object for the Addition class
- It will store the calculated sum in a variable called actual and the expected sum in a variable called expected
- we have also used assertEquals to verify whether the actual and expected values are equal or not.
Steps to run the application:
To run the application or project, navigate to your project in the project explorer, right-click on the project > Run as > Spring Boot App.

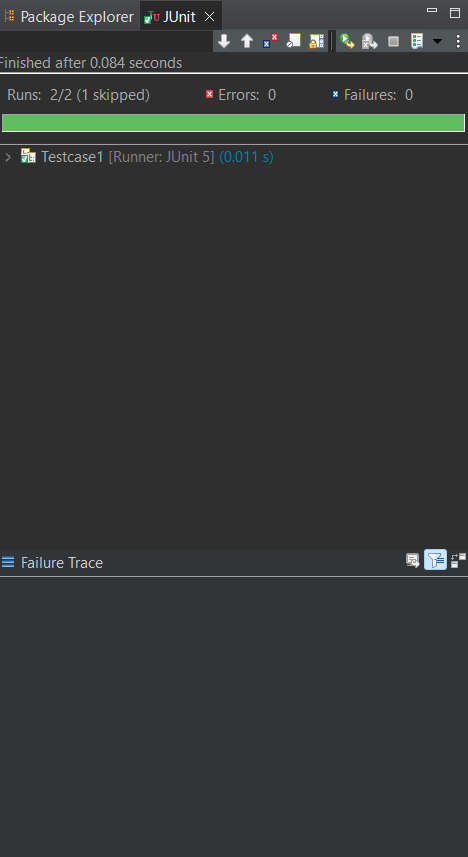
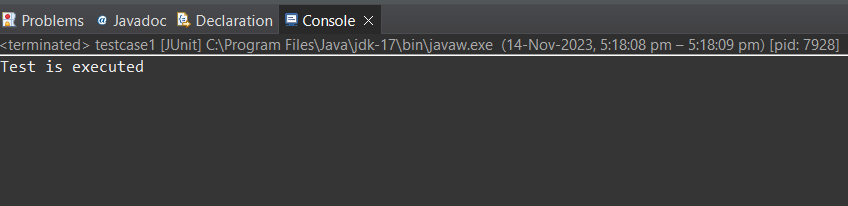
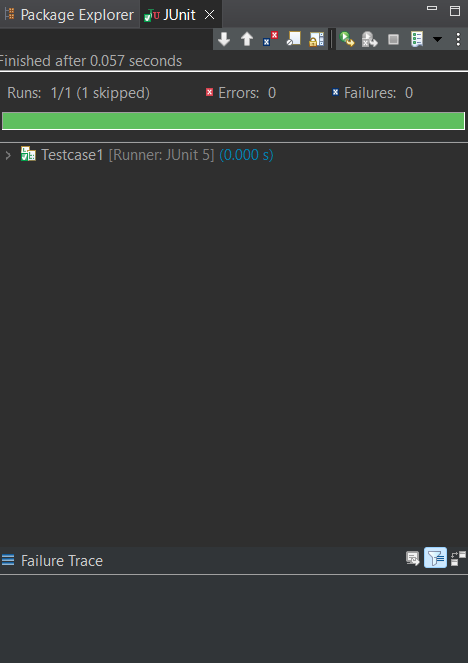
Output:
- JUnit view: The below picture depicts Testcase 1 executed in 0.011s
- Console view: The image depicts the log of test case execution.
Example 2:
Test Script: Let us write the first test case i.e. Testcase2.
Java
package project;
import static org.junit.jupiter.api.Assertions.*;
import org.junit.jupiter.api.Disabled;
import org.junit.jupiter.api.Test;
@Disabled
class Testcase2 {
@Test void test()
{
Addition addition = new Addition();
int actual = addition.sum(2, 3);
int expected = 5;
assertEquals(actual, expected);
System.out.print("Test is executed");
}
}
|
Explanation:
In the above test case, we have provided class-level implementation for @Disabled annotation.
- In the Testcase2 class, we have the method called test annotated with @Test
- the class contains creating the addition object for the Addition class
- The method will store the calculated sum in a variable called actual and the expected sum in a variable called expected
- we have also used assertEquals to verify whether the actual and expected values are equal or not.
Output:
- Console view: Nothing is displayed on the console because the test class is disabled
Conclusion
Overall we have covered @Disabled annotation in detail, also we different use cases of @Disabled annotation in JUnit 5 Testing on
- Testing Class – will skip the complete class from execution
- Testing Methods – will skip only the annotated methods.
Share your thoughts in the comments
Please Login to comment...