jQuery UI Tooltips hide option
Last Updated :
25 Feb, 2021
jQuery UI consists of GUI widgets, visual effects, and themes implemented using jQuery, CSS, and HTML. jQuery UI is great for building UI interfaces for the webpages. jQuery UI tooltip widget helps us to add new themes and allows for customization. In this article, we will see how to use hide option in jQuery UI tooltip. The hide option is used to add the animation effect while hiding in the tooltip. By default, the value is True.
Syntax:
$( ".selector" ).tooltips(
   { hide : true }
);
Parameters:
- Boolean: If set to false, there is no hiding effect.
- Number: The time(ms) after which the tooltips will hide.
- String: The string is used for the selected effect for the hiding of the tooltip. The effect will be used for hiding using the default duration and easing.
- Object: The tooltip is hidden using an object as a value where effect, easing, duration, and delay properties are provided.
Approach:
- First, add jQuery UI scripts needed for your project.
<link href=”https://code.jquery.com/ui/1.10.4/themes/ui-lightness/jquery-ui.css” rel=”stylesheet”>
<script src=”https://code.jquery.com/jquery-1.10.2.js”></script>
<script src=”https://code.jquery.com/ui/1.10.4/jquery-ui.js”></script>
Example 1: The following example demonstrates the hide option with Boolean type for the tooltip.
HTML
<!doctype html>
<html lang="en">
<head>
<meta charset="utf-8">
<link href=
rel="stylesheet">
<script src=
</script>
<script src=
</script>
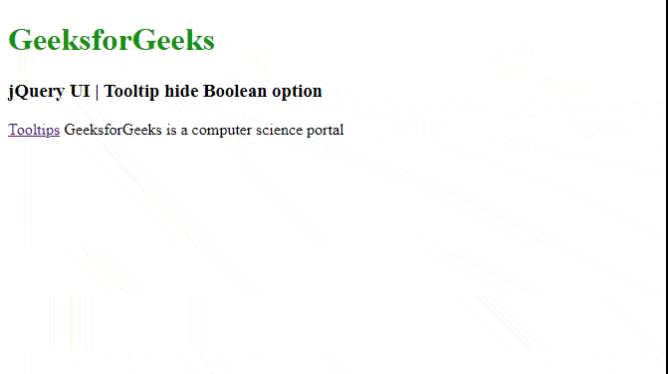
<h1 style="color:green;">
GeeksforGeeks
</h1>
<h3>
jQuery UI | Tooltip hide Boolean option
</h3>
</head>
<body>
<p id="p1">
<a href="#" title="This is a tooltip">Tooltips</a>
GeeksforGeeks is a computer science portal</p>
<script>
$(document).ready(function() {
$("#p1").tooltip({
hide: { true }
});
});
</script>
</body>
</html>
|
Output:
Tooltip hide
On click of the Tooltips link, we get the following tooltip as output.
This is a tooltip
Example 2: The following example demonstrates the hiding of the tooltip with the explode animation effect with 400 ms of time. The use of the explode as String and 400ms as Number option is shown here.
HTML
<!doctype html>
<html lang="en">
<head>
<meta charset="utf-8">
<link href=
rel="stylesheet">
</script>
</script>
<h1 style="color:green;">
GeeksforGeeks
</h1>
<h3>
jQuery UI | Tooltip hide option
</h3>
<script>
$(function () {
$("#gfg1").tooltip({
hide: { effect: "explode", duration: 400 }
});
$("#gfg1").tooltip();
$("#gfg2").tooltip();
});
</script>
</head>
<body>
<label for="name">Name:</label>
<input id="gfg1" title="GeeksforGeeks">
<p><a id="gfg2" href="" title="GeeksforGeeks">
Click here!
</a></p>
</body>
</html>
|
Output:

Example 3: The following example demonstrates the hiding animation with slideUp option within 200ms of time.
HTML
<!doctype html>
<html lang="en">
<head>
<meta charset="utf-8">
<link href=
rel="stylesheet">
</script>
<h1 style="color: green;">
GeeksforGeeks
</h1>
<h3>
jQuery UI | Tooltip hide SlideUp option
</h3>
<script>
$(function () {
$("#gfg1").tooltip({
hide: { effect: "slideUp", duration: 200 }
});
$("#gfg1").tooltip();
$("#gfg2").tooltip();
});
</script>
</head>
<body>
<label for="name">Name:</label>
<input id="gfg1" title="GeeksforGeeks">
<p><a id="gfg2" href="" title="GeeksforGeeks">
Click here!
</a></p>
</body>
</html>
|
Output:

Reference: https://api.jqueryui.com/category/widgets/
Share your thoughts in the comments
Please Login to comment...