How to Install “”ifconfig”” Command in My Ubuntu Docker Image?
Last Updated :
07 May, 2024
Docker images are templates that include all the code, libraries, dependencies, and runtime required to run an application. They guarantee consistency and portability across several systems, which makes them indispensable in containerized contexts. Docker images make it simple to scale, deploy, and manage applications, which promotes quicker development cycles and improved teamwork. Containers are isolated environments where programs run, and developers use Docker images to construct them. These environments are perfect for contemporary software development approaches like microservices and CI/CD pipelines. All things considered, Docker images provide the framework for creating, compiling, and launching apps in a lightweight and portable way.
Use of ifconfig
The “ifconfig” command in a Docker image is used to view and manage network interfaces within the container. It allows users to inspect network configurations, such as IP addresses, netmasks, and network adapters, facilitating network troubleshooting and configuration within the container environment.
Step by step to install “ifconfig” command in Ubuntu Docker Image
Step 1: Create the docker file by following the below command and add the docker commands on it.
vi Dockerfile

Step 2: Paste the below instructions into the Dockerfile.
FROM ubuntu
CMD [ "/bin/bash" ]
FROM ubuntu: It tells Docker to use the official Ubuntu image as the starting point.CMD ["/bin/bash"]: This line sets the default command to start a Bash shell when a container is
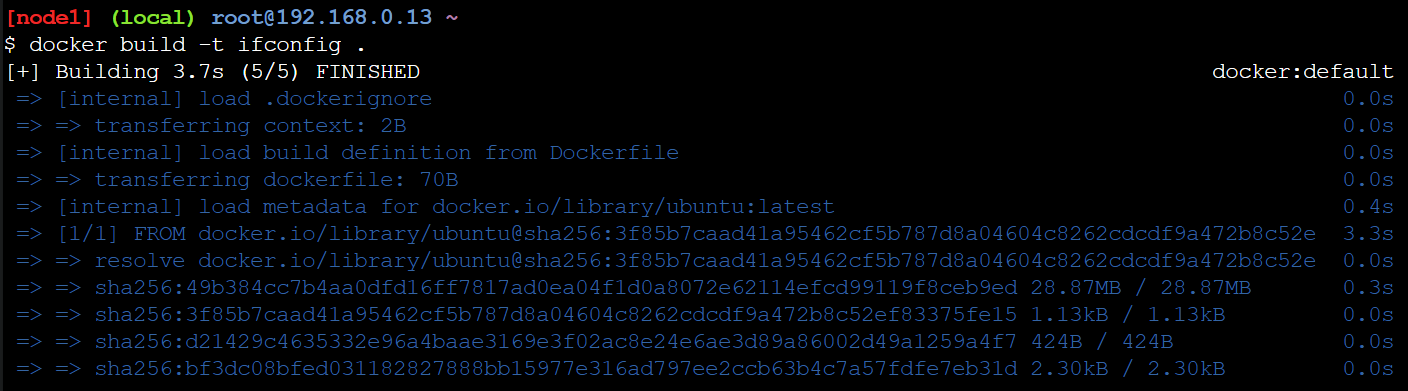
Step 3: Build the docker image by using the below command.
docker build -t ifconfig .
Step 4: List the docker images by following command. Here is the docker image created with the name of ifconfig.
docker images

Step 5: Run the docker container by using the below command.
docker run -itd <image-id>
list the running conatiners by using the below command.
docker ps

Step 6: Enter into the docker container by using the below command.
docker exec -it <container-id> /bin/bash
After enter execute the ifconfig command. The result was command not found.
ifconfig

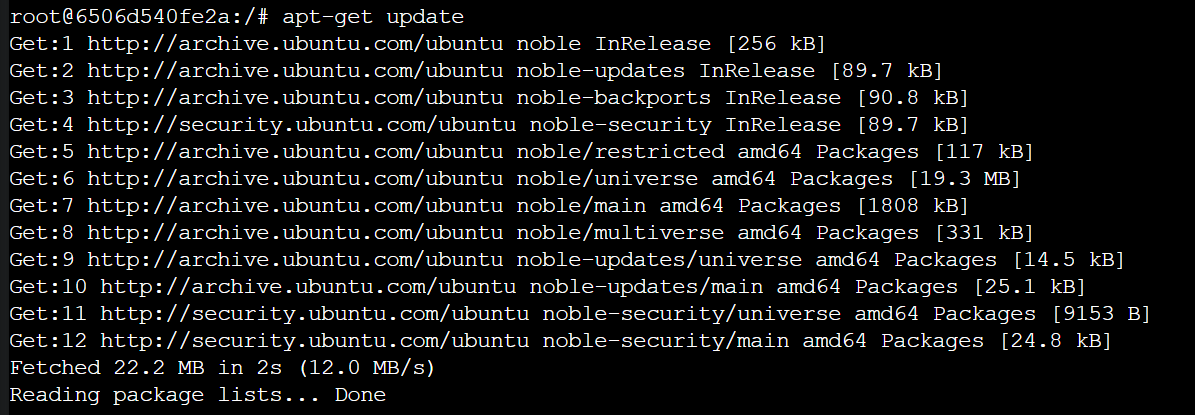
Step 7: Update the packages by executing the below command. Packages updated successfully.
apt-get update
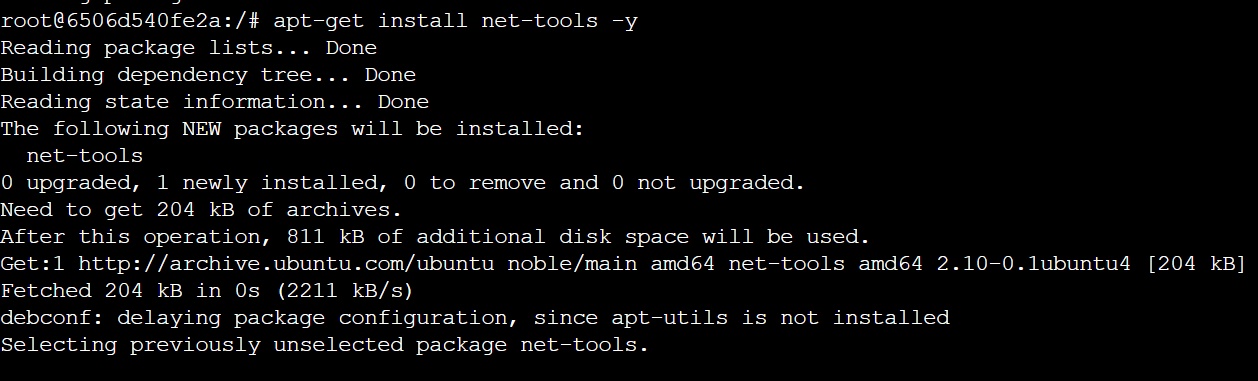
Step 8: Install the net tools by clicking the below command.
apt-get install net-tools -y
apt-get install: Command to install packages.net-tools: Name of the package to be installed, which contains networking utilities like ifconfig.-y: Flag to automatically answer “yes” to any prompts that would normally require user input during the installation process, ensuring it proceeds without interruption.
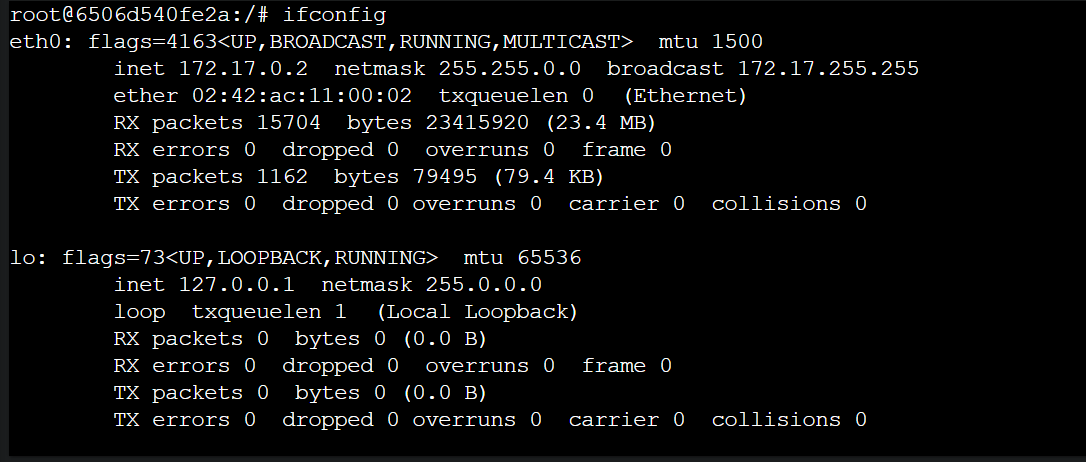
Step 9: Now verify the ifconfig. The command executed successfully.
ifconfig
Step 10: List the docker images by executing the below command.
docker ps
Commit the docker conatiner by using the below command this will convert the conatiner into the image.
docker commit <container-id> <image-name>:<tag>
docker commit: Command to create a new image from changes to a container.<container-id>: The ID of the container you want to create an image from.<image-name>:<tag>: Specifies the name and tag for the new image. The tag is optional but useful for versioning. This creates a new image with the specified name and tag, incorporating any changes made to the container since it was created.

Step 11: List the docker images by using the below command. You can observer the clear difference of image size. The ifconfig command was successfully installed into the image.
docker images

Step 12: For thr verification purpose we can run again the container using the below below command.
docker run -itd --name <container-name> <image-name>:<tag>
List the containerts using the below command.
docker ps

Enter into the container by using the below command.
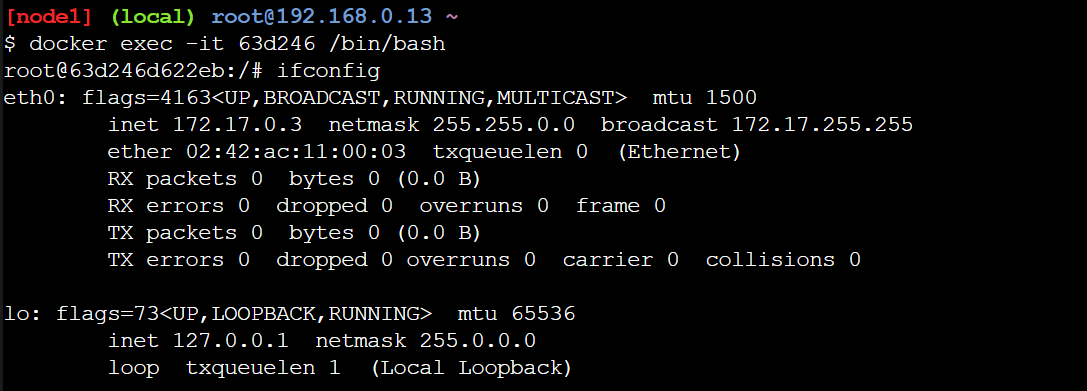
docker exec -it <container-id> /bin/bash
docker exec: Command used to execute a command inside a running container.-it: Options that enable interactive mode (-i) and allocate a pseudo-TTY (-t), allowing you to interact with the container’s shell.<container-id>: The ID of the running container you want to interact with./bin/bash: Specifies the command to execute inside the container. In this case, it starts a Bash shell, providing you with an interactive command-line interface (CLI) within the container, allowing you to run commands and perform operations.
Step 13: Again verify the ifconfig command in the container. Working successfuly into the container.
ifconfig
Conclusion
An Ubuntu Docker image can be installed with the “ifconfig” command using the methodical instructions provided in this article. The significance of Docker images in containerized settings is first discussed, and then the installation procedure is demonstrated using concise commands and instructions. Through these procedures, users may easily add important networking tools to Docker images, guaranteeing that their containers are equipped with the tools they need for troubleshooting and network configuration. The adaptability of Docker images and containers in contemporary software development approaches, such microservices and CI/CD pipelines, is also highlighted in the essay. All things considered, developers can design environments that are efficient, lightweight, and portable based on the needs of their particular applications by becoming proficient with Docker image customization.
Install “”ifconfig”” Command on ubuntu Docker image – FAQs
How to install ifconfig command in Ubuntu?
Using Ubuntu’s “apt-get” package management, you can install the “ifconfig” tool. The “ifconfig” utility can be installed along with the “net-tools” package by using the command sudo apt-get install net-tools. This utility gives users the utilities they need for network administration and troubleshooting, making it indispensable for controlling network interfaces and configurations on Ubuntu computers.
How to install command in docker container?
Using package managers like apt-get or yum inside the container’s environment, you can install commands in a Docker container and add the utilities or dependencies required to satisfy application needs. As an alternative, you can add instructions to Dockerfiles that automate command installations during image builds so that your Docker images are consistent across deployments.
How to install docker image?
To install a Docker image, first download it to your local computer using the command “docker pull <image-name>” from a registry. Then, use the command “docker run <image-name>” to launch a container from the image.
How to get ip on docker container?
By executing the docker inspect command after the container ID or name and then filtering the output to extract the IP address field, you can find the IP address of a Docker container. As an alternative, you can get the IP address straight away by using the docker inspect command with a format specifier.
How to install SSH inside a docker container?
To install SSH inside a Docker container:
- Use the Dockerfile to install SSH packages like OpenSSH.
- Ensure SSH is properly configured and started in the container.
Share your thoughts in the comments
Please Login to comment...