Image Gallery GUI using Django
Last Updated :
17 Oct, 2023
Django, a powerful web framework for Python, makes it relatively easy to create a robust and user-friendly Image Gallery Graphical User Interface (GUI) for your web application. In this article, we’ll guide you through the process of building an Image Gallery GUI using Django.
Image Gallery GUI using Django
An Image Gallery GUI using Django is a web application that allows users to view and manage a collection of images stored in a database through a user-friendly graphical interface.
Setting Up the Project Folder
django-admin startproject <project_name>
cd <project_name>
python manage.py startapp gallery
model.py: Here we have created a Product table with name, description, price, image, created_at, and updated_at fields in the table.
Python3
from django.db import models
class Product(models.Model):
name = models.CharField(max_length=255)
description = models.TextField()
image = models.ImageField(upload_to='products/')
created_at = models.DateTimeField(auto_now_add=True)
updated_at = models.DateTimeField(auto_now=True)
def __str__(self):
return self.name
|
admin.py: Here we are registering our table in the admin.
from django.contrib import admin
from .models import Product
# Register your models here.
admin.site.register(Product)
views.py: Here, the product_list render all the product images from the database and pass to the HTML file for user interface.
Python3
from django.shortcuts import render
from .models import Product
from django.http import HttpResponse
def product_list(request):
products = Product.objects.all()
return render(request, 'index.html', {'products': products})
def home(request):
return HttpResponse('Hello, World!')
|
urls.py: Define the URL patterns in the urls.py file of the catalog app to map views to URLs.
Python3
from django.urls import path
from . import views
urlpatterns = [
path('/home', views.home, name='home'),
path('', views.product_list, name='product_list'),
]
|
Image Gallery GUI
These HTML templates use Django template language ({% … %}) to render dynamic data from your Django models. In the product list template, it loops through the products queryset and displays each product’s name, description, price, and an image. The product detail template shows detailed information about a single product and provides a link to go back to the product list.
Create two folders one is templates and second is static Folder. create the index.html file in templates folder and paste the below code.
index.html
Python3
<!DOCTYPE html>
<html lang="en">
<head>
<meta charset="UTF-8">
<title>Product Catalog</title>
<style>
/* Add CSS styles for flex container and items */
.product-list {
display: flex;
flex-wrap: wrap; /* Allow items to wrap to the next row if necessary */
justify-content: space-between; /* Space items evenly along the main axis */
list-style: none; /* Remove list styles */
padding: 0;
}
.product-item {
flex: 1; /* Grow to fill available space evenly */
max-width: 30%; /* Limit item width to avoid overcrowding */
margin: 10px; /* Add spacing between items */
border: 1px solid
padding: 10px;
text-align: center;
}
</style>
</head>
<body>
<h1>Product Catalog</h1>
<ul class="product-list">
{% for product in products %}
<li class="product-item">
<a href="#">
<img src="{{ product.image.url }}" alt="{{ product.name }}" width="200">
</a>
<h2>{{ product.name }}</h2>
<p>{{ product.description }}</p>
</li>
{% endfor %}
</ul>
</body>
</html>
|
Setting Up Static and Media Files
Configure Django to serve static and media files during development. In your project’s settings.py file, add the following:
# Static files (CSS, JavaScript, images)
STATIC_URL = '/static/'
STATICFILES_DIRS = [BASE_DIR / "static"]
# Media files (uploaded user files)
MEDIA_URL = '/media/'
MEDIA_ROOT = BASE_DIR / "media"
# Default primary key field type
# https://docs.djangoproject.com/en/4.1/ref/settings/#default-auto-field
DEFAULT_AUTO_FIELD = 'django.db.models.BigAutoField'
urls.py: Add the necessary URL patterns for serving media files in your project’s urls.py.
Python3
from django.contrib import admin
from django.urls import path, include
from django.conf.urls.static import static
from django.conf import settings
urlpatterns = [
path('admin/', admin.site.urls),
path('', include('gallery.urls')),
] + static(settings.MEDIA_URL, document_root=settings.MEDIA_ROOT)
|
Deploy the Project
Create a super user to add data into the data base by the following command:
python manage.py createsuperuser

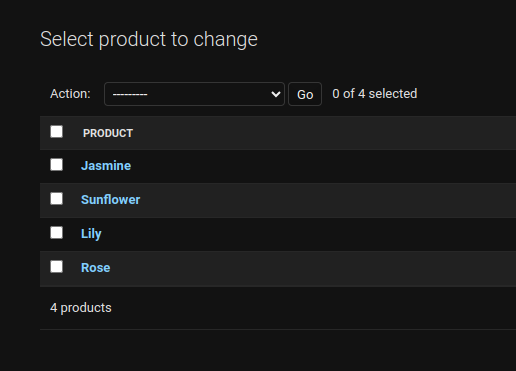
Now, Go to the http://127.0.0.1:8000/admin/ and add the Images, name and its description.
Migrate the data into the database.
python manage.py makemigrations
python manage.py migrate
Deploy the project
python manage.py runserver
Output:
.png)
Share your thoughts in the comments
Please Login to comment...