“Binary Large Object-Based Storage (BLOB)” stands for Binary Large Object. It is a storage type where files of any size and type can be stored, ranging from gigabytes to terabytes to petabytes and beyond. This seemingly infinite storage is unstructured and is distinct from databases or data warehouses.
Types Of Azure Blob Storage
- Block Blob: Used for storing large datasets irrespective of their type or size.
- Append Blob: Specifically designed for storing log files or logging data. It is optimized for append operations.
- Page Blob: Suited for fast paging operations, such as storing the RAM structure related to VMs in blob storage.
Features Offered By Azure Blob Storage
Azure Blob Storage offers a variety of features that make it ideal for image and video storage, such as:
- Scalability: Blob Storage can scale to meet any storage needs, from a few gigabytes to petabytes of data.
- Availability: Blob Storage is highly available, with a 99.9% uptime guarantee.
- Durability: Blob Storage is highly durable, with 99.999999999% durability for objects stored in the geo-redundant storage tier.
- Performance: Blob Storage offers high performance for both read and write operations.
- Security: Blob Storage offers a variety of security features to protect your data, such as encryption, role-based access control, and auditing.
Some Simple Tips For Storing Images And Videos In Azure Blob Storage
- Create an Azure Blob Storage account.
- Create a container in your storage account.
- Upload the images and videos that you want to store in a container.
Once your media is uploaded to storage, you can access them from anywhere in the world using an HTTP or HTTPS client request by changing the permission of the container without logging in to your storage account.
How Can Azure Blob Storage Be Used For Image And Video Storage?
- Websites and web applications: Blob Storage can be used to store and deliver images and videos for websites and web applications.
- E-commerce platforms: Blob Storage can be used to store and deliver product images and videos for e-commerce platforms.
- Media and entertainment platforms: Blob Storage can be used to store and deliver movies, TV shows, and other media content for media and entertainment platforms.
- Social media platforms: Blob Storage can be used to store and deliver user-generated images and videos for social media platforms.
- Gaming platforms: Blob Storage can be used to store and deliver game assets, such as textures, models, and animations, for gaming platforms.
The main purpose of using cloud services is to save costs and access a service without any interception. For that, we can use the Azure Blob Storage Pricing Planner.
Project: Media Storage Application
Now, we are going to build a Python web application from scratch using the Flask framework, and we will use Azure Blob Storage to store our images and videos. Let’s get started!
Tech Stack: HTML & Flask (Python)
GitHub Student Developer Pack for Students to Avail Free Microsoft Azure 100$ Credits: Apply Now
Step 1: Creating a Blob Storage Account in Azure
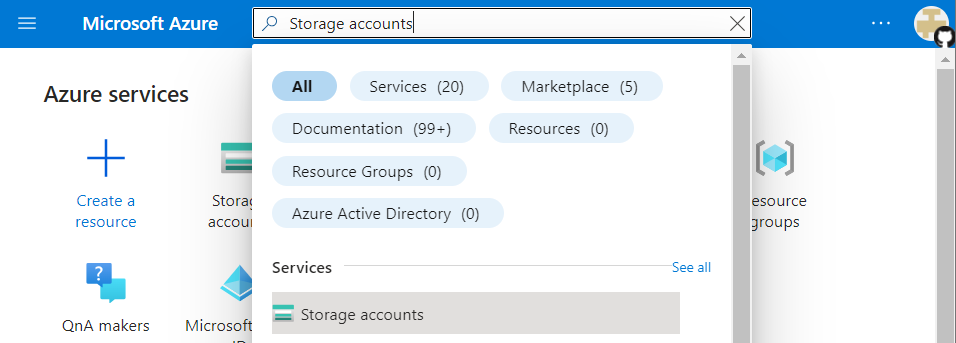
Go to the Azure Portal and log in to your account.In the portal’s search bar, search “Storage accounts” and click on it.
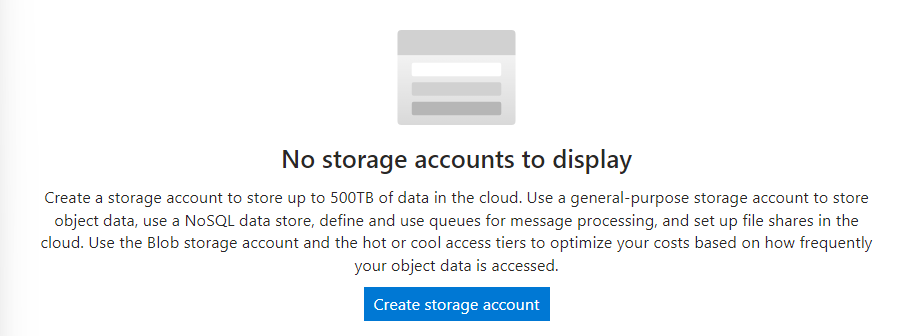
- After opening the Storage Accounts window, click on Create Storage Accounts.
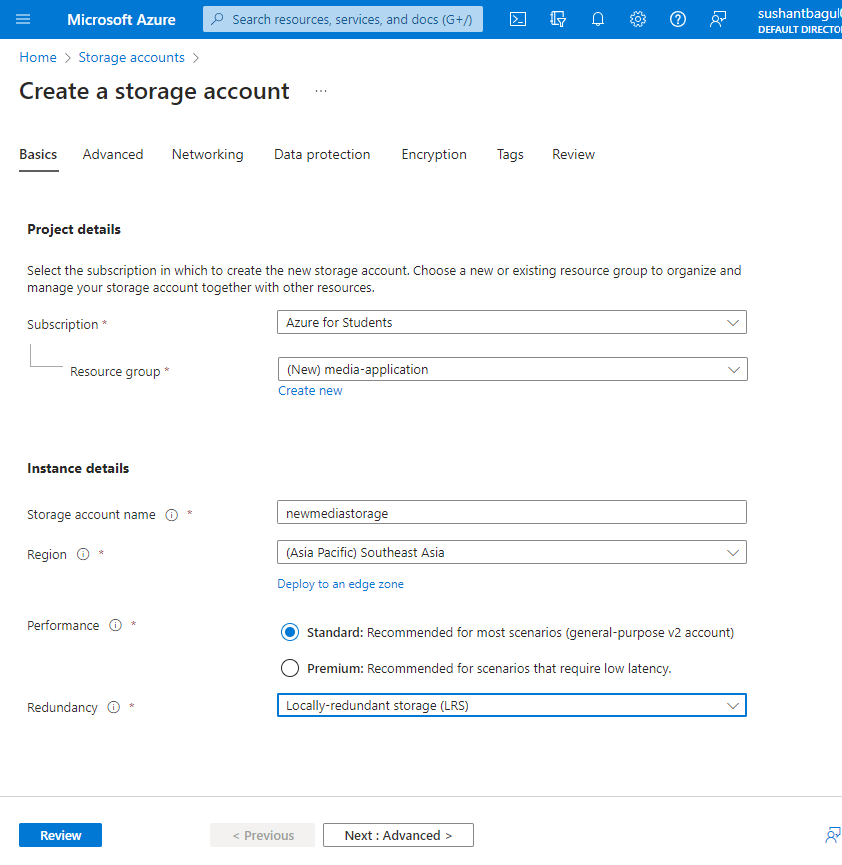
- Fill in the required details, click on review, wait for validation, and click on create.
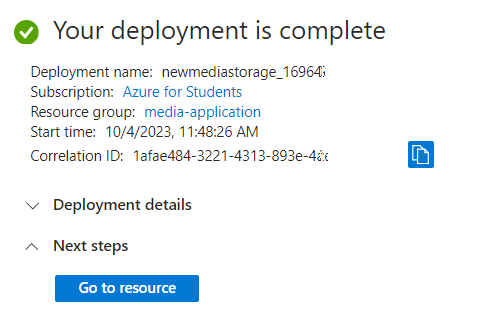
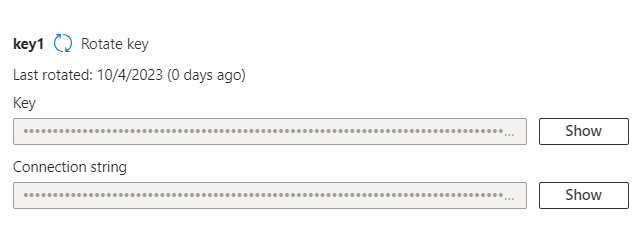
After the successful creation of the storage account, Click on ‘Go to resource’, Click on Access keys from the left navigation bar, and Copy the ‘key1 connection string’.
Step 2: Creating a sample website to interact with our blob storage
To build a website to use our Azure blob storage, we are using VS Code. The prerequisite is that you have Python and a flask setup in VS Code.
1. Developing a frontend part
Create a folder with the name you want. Create another folder inside that folder with the name ‘templates’, and in that folder, create an HTML file with the name ‘index.html’.
- Define the document type and language .
Add the document type declaration and specify the document’s language as follows:
HTML
<!DOCTYPE html>
<html lang="en">
|
Add the `<head>` section:Inside the `<head>` section, include the Bootstrap CSS stylesheet by adding a `<link>` element with the appropriate `href` attribute.
Create the `<body>` Section:Inside the `<body>` section, you can start building the page’s content. Here, we begin with a navigation bar and a container for the main content.
HTML
<body>
<nav class="navbar navbar-expand-lg navbar-dark bg-primary">
<div class="container">
<a class="navbar-brand" href="/">Media Application</a>
</div>
</nav>
<div class="container">
</div>
</body>
|
Add a Card for File Upload:
Within the main content container, create a card for uploading files. Include the form element with the necessary attributes.
HTML
<div class="card" style="margin: 1em 0; padding: 1em 0 0 0; align-items: center;">
<h3>Upload new File</h3>
<div class="form-group">
<form method="post" action="/upload-media" enctype="multipart/form-data">
<div style="display: flex;">
<input type="file" accept=".png, .jpeg, .jpg, .gif" name="media" multiple class="form-control" style="margin-right: 1em;">
<input type="submit" class="btn btn-primary">
</div>
</form>
</div>
</div>
|
- Display images and videos:
Below the file upload card, display images and videos using template tags. You may use `{% for… %}` loops to iterate through lists of images and videos.
HTML
<div style='display: flex; justify-content: space-between; flex-wrap: wrap;'>
{% for image in images %}
<img src="{{ image }}" width="auto" height="200" style="margin: 0.5em 0;"/>
{% endfor %}
{% for video in videos %}
<video width="320" height="240" controls style="margin: 0.5em 0;">
<source src="{{ video }}" type="video/mp4">
Your browser does not support the video tag.
</video>
{% endfor %}
</div>
|
Close the HTML document.Finally, close the HTML document with the `</html>` tag.
Save and test:
Save your HTML file with an appropriate name (e.g., `index.html`) and open it in a web browser to test its appearance and functionality.
This code will create a web page with a navigation bar, a file upload card, and the ability to display images and videos using template variables. Make sure you have a web framework or server set up to handle the dynamic content specified by `{% for… %}` loops and template variables like `{{ image }}` and `{{ video }}`.
The final index.html file will look like this:
HTML
<!DOCTYPE html>
<html lang="en">
<head>
</head>
<body>
<nav class="navbar navbar-expand-lg navbar-dark bg-primary">
<div class="container">
<a class="navbar-brand" href="/">Media Application</a>
</div>
</nav>
<div class="container">
<div class="card" style="margin: 1em 0; padding: 1em 0 0 0; align-items: center;">
<h3>Upload new File</h3>
<div class="form-group">
<form method="post" action="/upload-media" enctype="multipart/form-data">
<div style="display: flex;">
<input type="file" accept=".png, .jpeg, .jpg, .gif" name="media" multiple class="form-control" style="margin-right: 1em;">
<input type="submit" class="btn btn-primary">
</div>
</form>
</div>
</div>
<div style='display: flex; justify-content: space-between; flex-wrap: wrap;'>
{% for image in images %}
<img src="{{ image }}" width="auto" height="200" style="margin: 0.5em 0;"/>
{% endfor %}
{% for video in videos %}
<video width="320" height="240" controls style="margin: 0.5em 0;">
<source src="{{ video }}" type="video/mp4">
Your browser does not support the video tag.
</video>
{% endfor %}
</div>
</div>
</body>
</html>
|
2. Developing a backend part
Now we have to connect our designed frontend with the blob storage account. For that, we will use Python’s Flask framework to create a connection with blob storage and create appropriate functions to work on the front end properly.
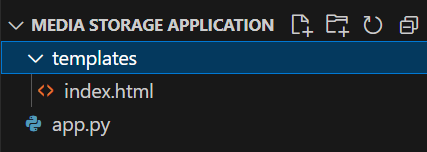
Create an ‘app.py’ file inside the folder that we created at the beginning of the frontend design part. Now the structure of the folder looks like this:
- Install the Azure Blob Storage Python package.
In our cmd/terminal of VS Code, we’ll install the Azure Blob Storage client library. This will allow us to access the Azure Blob Storage from the code.

Python3
pip install azure-storage-blob
|
Store Blob Storage Connection String as an environment variable.
We’ll be storing the connection string as an environment variable locally, as it is more secure than storing it in the code. For that, use the following command in the VS Code terminal by replacing ” <yourconnectionstring>” with your AZURE_STORAGE_CONNECTION_STRING.

Python3
set AZURE_STORAGE_CONNECTION_STRING "<yourconnectionstring>"
export AZURE_STORAGE_CONNECTION_STRING="<yourconnectionstring>"
|
- Import the necessary modules in app.py:
– `os`: helps in using operating system-dependent functionalities.
– ‘BlobServiceClient’: an Azure SDK class to interact with Azure Blob Storage.
– ‘Flask’,’request’,’redirect’,’render_template’ : Modules from the Flask framework to build and manage the web application.
Python
import os
from azure.storage.blob import BlobServiceClient
from flask import Flask, request, redirect, render_template
|
- Initialize Flask Application:
- Retrieve the Azure Blob Storage Connection String:
This string is used to authenticate and interact with your Azure Blob Storage account. The code assumes it’s saved in the variable `AZURE_STORAGE_CONNECTION_STRING`.
Python3
connect_str = 'AZURE_STORAGE_CONNECTION_STRING'
if not connect_str:
raise ValueError("Please set the AZURE_STORAGE_CONNECTION_STRING environment variable")
|
- Connect to the Blob Service Client:
Using the connection string, you initiate a connection to Azure Blob Storage.
Python3
blob_service_client = BlobServiceClient.from_connection_string(conn_str=connect_str)
|
- Create or retrieve the container.
Containers in Azure Blob Storage are like directories. The code attempts to get a container named “media”. If it doesn’t exist, it creates one.
Python3
try:
container_client = blob_service_client.get_container_client(container=container_name)
container_client.get_container_properties()
except Exception as e:
print(e)
print("Creating container...")
container_client = blob_service_client.create_container(container_name)
|
– `/`: Displays the media by listing blobs (files) in the Azure container. It then categorizes them into images and videos based on file extensions and sends these lists to the `index.html` template.
– `/upload-media`: handles the uploading of media files to Azure Blob Storage.
Python3
@app.route("/")
def view_media():
...
return render_template('index.html', images=images, videos=videos)
@app.route("/upload-media", methods=["POST"])
def upload_media():
...
return redirect('/')
|
If this script is executed directly (not imported as a module), the Flask application will run in debug mode.
Python3
if __name__ == "__main__":
app.run(debug=True)
|
In summary, this code sets up a Flask application with routes to display media stored in Azure Blob Storage and to upload new media files.
The final app.py file will look like this:
Python3
import os
from azure.storage.blob import BlobServiceClient
from flask import Flask, request, redirect, render_template
app = Flask(__name__)
connect_str = 'AZURE_STORAGE_CONNECTION_STRING'
if not connect_str:
raise ValueError("Please set the AZURE_STORAGE_CONNECTION_STRING environment variable")
container_name = "media"
blob_service_client = BlobServiceClient.from_connection_string(conn_str=connect_str)
try:
container_client = blob_service_client.get_container_client(container=container_name)
container_client.get_container_properties()
except Exception as e:
print(e)
print("Creating container...")
container_client = blob_service_client.create_container(container_name)
@app.route("/")
def view_media():
blob_items = container_client.list_blobs()
images = []
videos = []
for blob in blob_items:
blob_client = container_client.get_blob_client(blob=blob.name)
if blob.name.endswith(('.png', '.jpeg', '.jpg', '.gif')):
images.append(blob_client.url)
elif blob.name.endswith(('.mp4', '.webm', '.ogg')):
videos.append(blob_client.url)
return render_template('index.html', images=images, videos=videos)
@app.route("/upload-media", methods=["POST"])
def upload_media():
for file in request.files.getlist("media"):
try:
container_client.upload_blob(file.filename, file)
except Exception as e:
print(e)
print("Ignoring duplicate filenames")
return redirect('/')
if __name__ == "__main__":
app.run(debug=True)
|
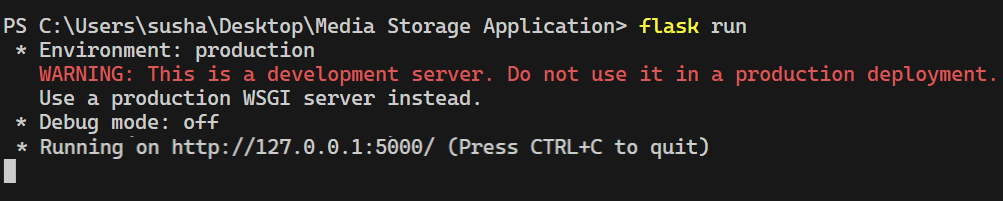
Run the media application.
Save both files, and after that, run the ‘flask run’ command in the terminal of the VS Code.
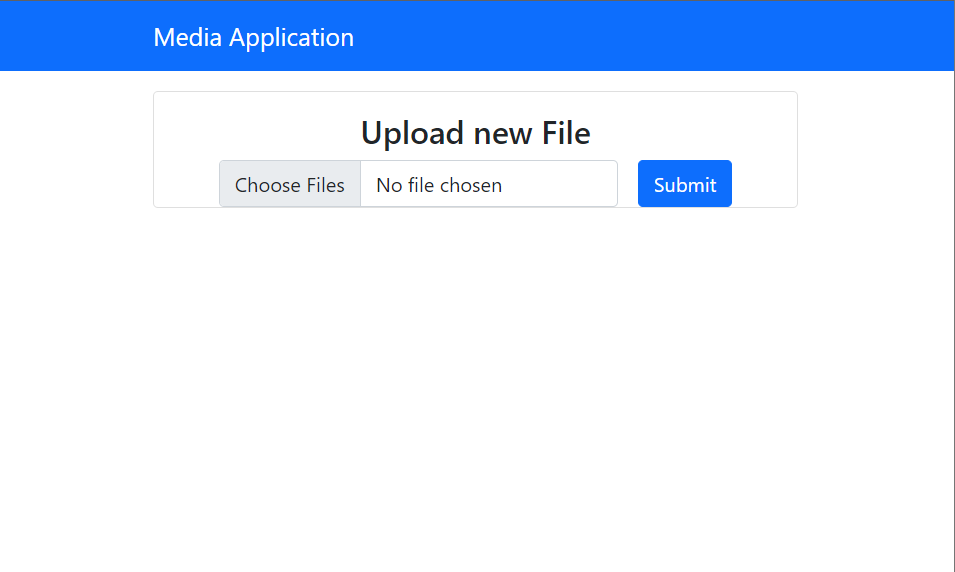
After opening the localhost URL, the interface will look like this:
Enabling Access To Media For Display On The Website
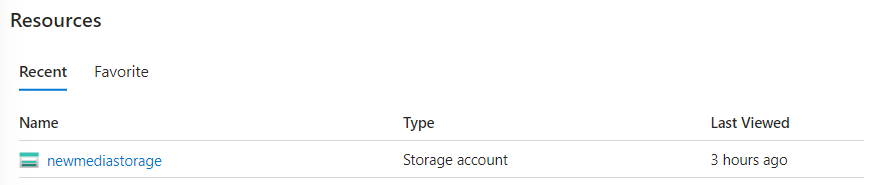
Open the Azure portal and log in with your account.In recent history, we opened a storage account that we created at the beginning.
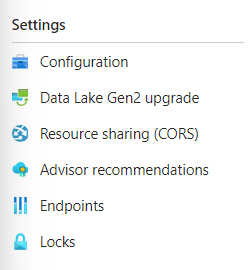
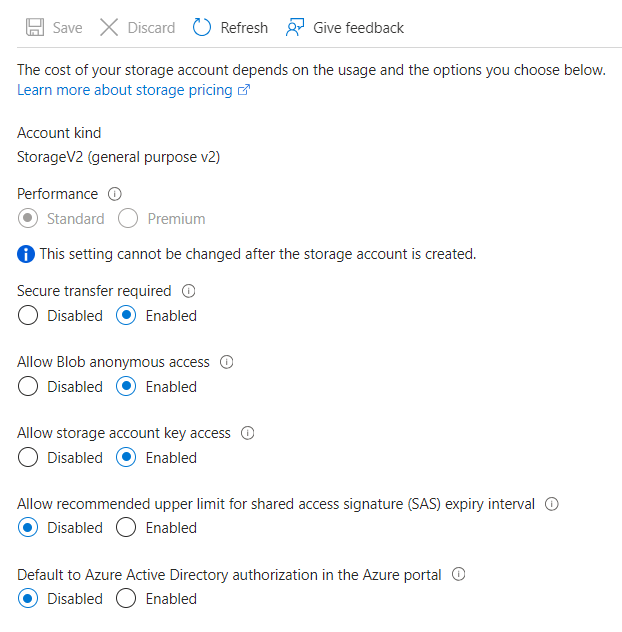
From the left navigation bar, go to configuration and enable ‘allow blob anonymous access’.
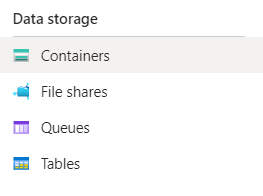
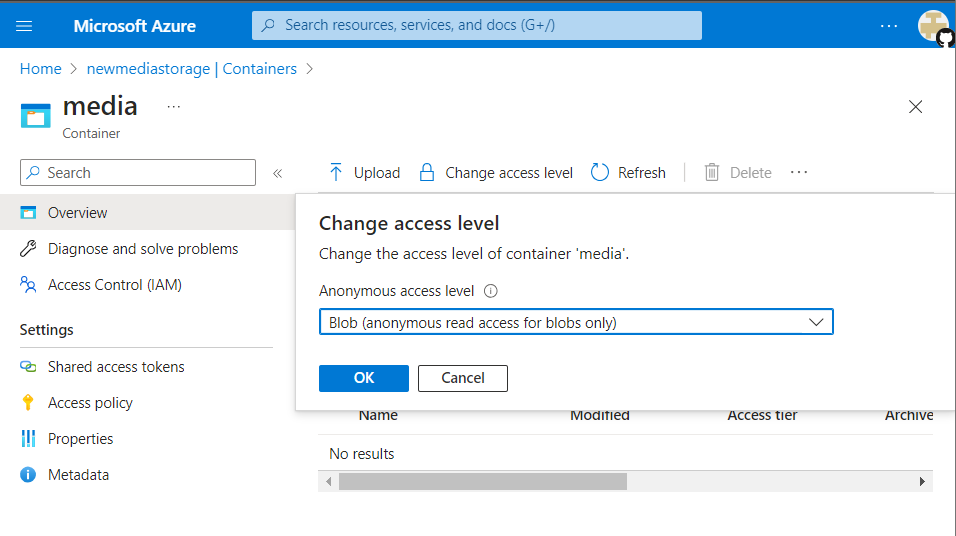
After that, go to containers from the left navigation bar and open the ‘media’ container. Now select the access level to ‘Blob (anonymous read access for blobs only).’
Watch Our Project in Action
Conclusion
Congratulations! We’ve completed the project. We’ve built a media application that accepts photos and videos, uploads them, and displays them. We’ve used Azure Blob Storage to store our pictures and videos, and then they will be displayed within our Flask application.
FAQs On Image And Video Storage With Azure Blob Storage: Media Applications
1. What is Azure Blob Storage?
Azure Blob Storage is a service that offers a storage type known as “Binary Large Object-Based Storage (BLOB).” It allows users to store files of any size, from gigabytes to petabytes and beyond. This storage is unstructured, making it distinct from databases or data warehouses.
2. What Are The Main Types Of Blob Storage And Their Use Cases?
There are three main types:
- Block Blob: Used for storing large datasets irrespective of their type or size.
- Append Blob: Designed specifically for storing log files or logging data and is optimized for append operations.
- Page Blob: Suited for fast paging operations, like storing the RAM structure related to VMs in blob storage.
Share your thoughts in the comments
Please Login to comment...