If you truly are a geek at heart, you’ve ended up with a broken system at least once in your life and yes while it can be enjoyable to troubleshoot the issues and correct them, more often than not you will simply be reinstalling your entire OS and its never that fun at all having to go through all that tedium – downloading and installing all your apps, resetting configuration, signing into all your accounts; it’s gonna eat up your entire weekend.
So, what’s the solution?
Well, you could just not break your system(yeah, right), or just install Timeshift.
In this article, you will learn how to set up and install Time Shift on Fedora with BTRFS disk format.
What is Timeshift?
Timeshift is a system backup tool like Time Machine in Mac OS.
To put it crudely, It allows you to make snapshots of the system along with its configuration and settings. It’s a nifty tool if you ever happen to break your system.
Some Core features-
- Having the ability to take automatic snapshots.
- Manual snapshot option.
- Hourly, daily, weekly, monthly, snapshot feature.
- Support for BTRFS file systems.
But on Fedora-based systems it’s not as easy as just installing and setting it up, you have to configure a few things here and there while installing the OS itself. This article talks about how to set up timeshift in fedora-based systems.
Fedora uses BTRFS but…
Fedora indeed uses the BTRFS system but Timeshift was created with Ubuntu-based systems in mind and the default sub-volume name layout in those systems starts with “@” i.e. “@” for the root sub-volume and “@home” for the home sub-volume.
Fedora uses BTRFS but doesn’t use this naming scheme for its sub-volumes “by default”, you have to manually configure the sub-volumes to match the layout compatible with timeshift.
How to set up Timeshift in Fedora?
Now onto the fun part (yay! But this is not Arch). In this section, I will show you how to setup up Timeshift in Fedora with a BTRFS file system.
Step 1 Booting into USB
Boot into the installation media
Installation home screen
Step 2 Language
Select language and hit continue.
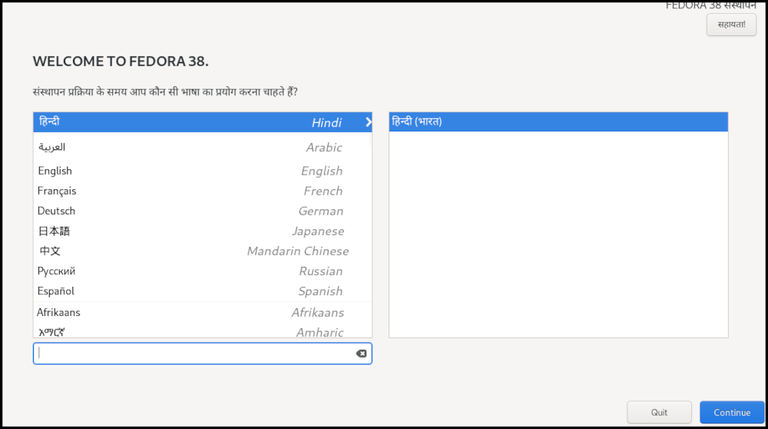
Select language
Step 3 Keyboard layout
Choose your keyboard layout and time zone on the next screen.
Select a keyboard layout and timezone
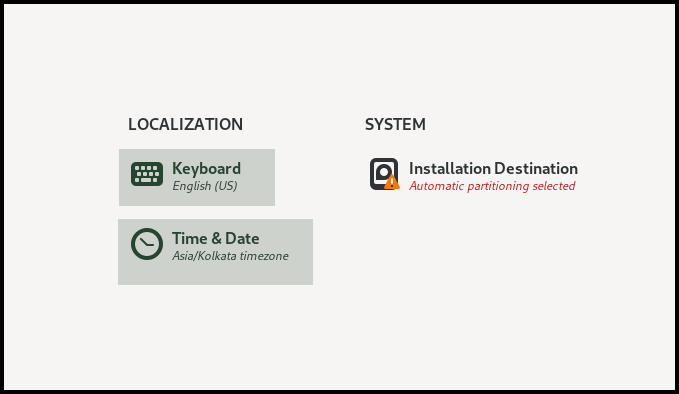
Step 4 Destination
Click on the installation destination
Select the installation destination option
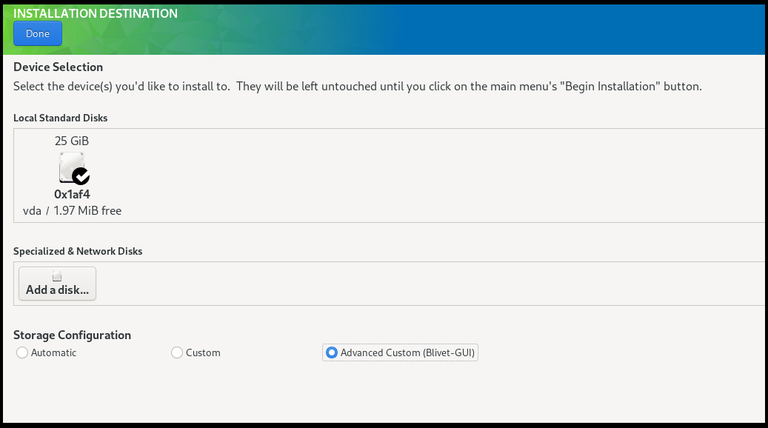
Step 5 Advanced Custom
Click on the radio button titled “Advanced Custom (Blivet-GUI)” and click done.
Advanced custom partitioning
We can see that we have 25 GB available on our hard disk, we will have to partition this into 3 partitions, i.e. boot partition, EFI partition and root partition which would have our two sub-volumes root and home.
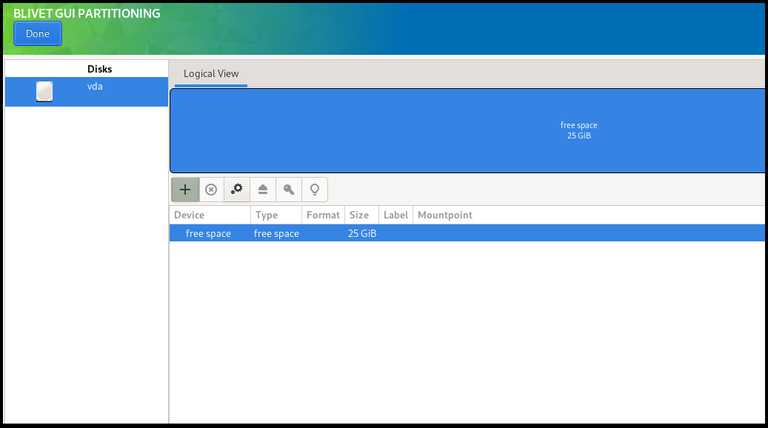
Partitioning page
We are not going to create a swap partition, as Fedora uses Zram instead of Swap on disk.
Step 6 EFI partition
We will first create the EFI partition, for that, click on the plus icon
- Enter the size as 600 MiB
- Select the file system as “EFI system partition”
- Enter the mount point as “/boot/efi”
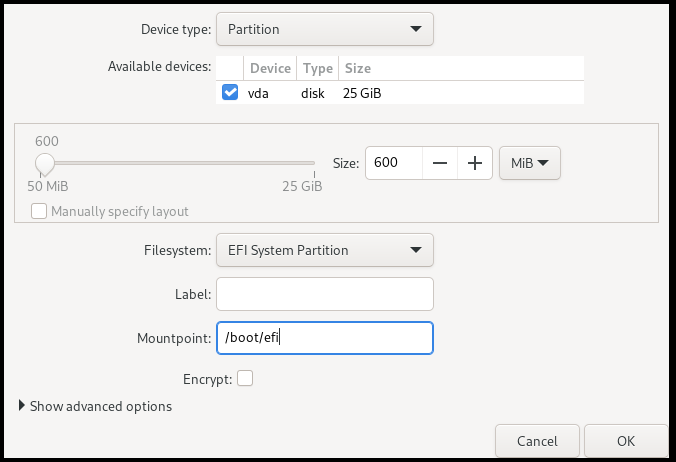
Boot EFI partitioning
Step 7 Boot partition
Now we will create the boot partition. Click on free space and click on the plus icon once again.
- Enter the size as 1024 Mib
- Select the file system as ext4
- Enter the mount point as “/boot”
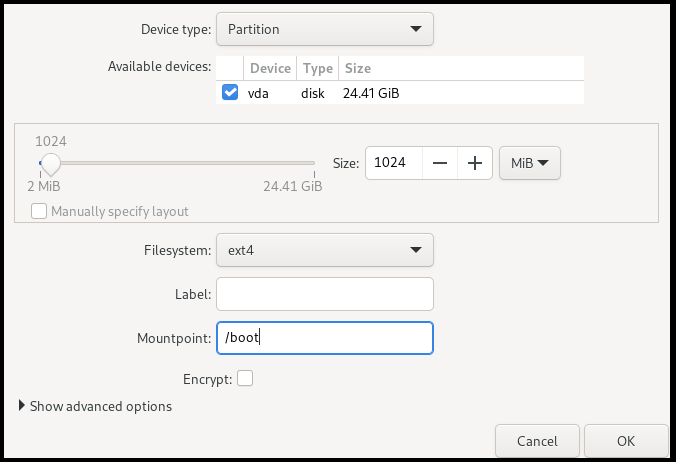
Boot partitioning
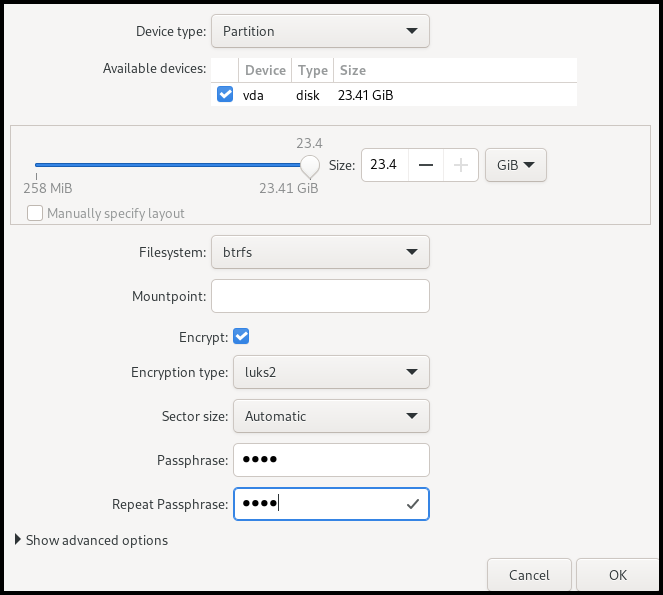
Step 8 BTRFS partition
Now we will allocate the remaining space for our BTRFS partition.
- Enter the remaining size
- Select the file system as BTRFS
- Encrypt your hard drive, this is optional but recommended, especially for portable devices like laptops where you always have the risk of your data getting into a third party’s hands because of it getting stolen or lost. This also holds true if your laptop ever malfunctions and you give it to repair, encrypting your data will ensure that the technician is unable to access it. You can follow the following steps to encrypt your laptop:
- Check the “Encrypt” checkbox
- Leave “Encryption type” and “Sector size” untouched.
- Enter your passphrase which is strong but easy to remember(you will have to enter each time you boot your computer).
- Re-enter the passphrase
BTRFS partitioning
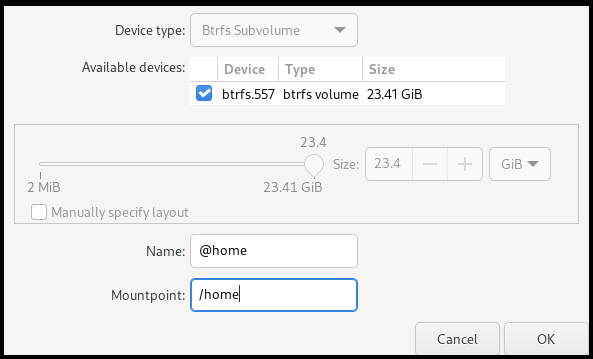
Step 9 Creating subvolumes
Now we will have to create the BTRFS sub-volumes for root and home.
Creating root subvolume
To create the root subvolume-
- Select the primary BTRFS partition which was created and hit the plus icon.
- Now enter the name as “@”
- And, enter the mount point as “/”

Creating root subvolume
Creating Home subvolume
To create the home subvolume –
- Once again select the BTRFS partition and hit the plus icon.
- Enter name as “@home”
- And mount point as “/home”
Creating home subvolume
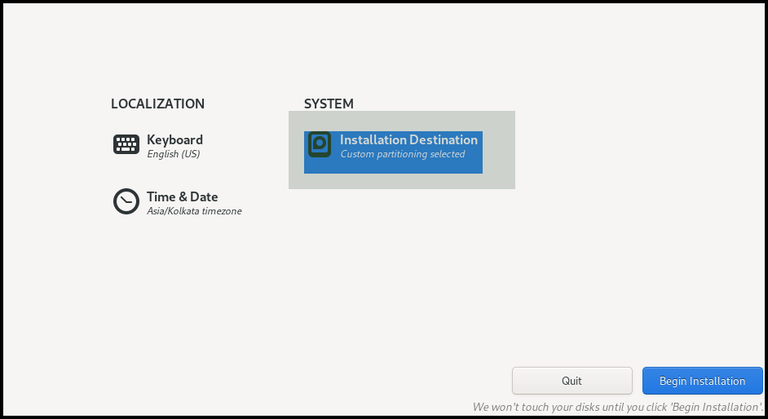
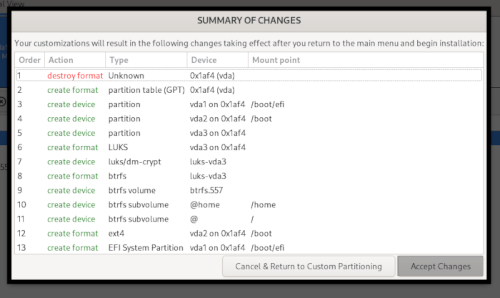
Step 10 Almost done
Click on done and accept all the changes.
Accepting changes
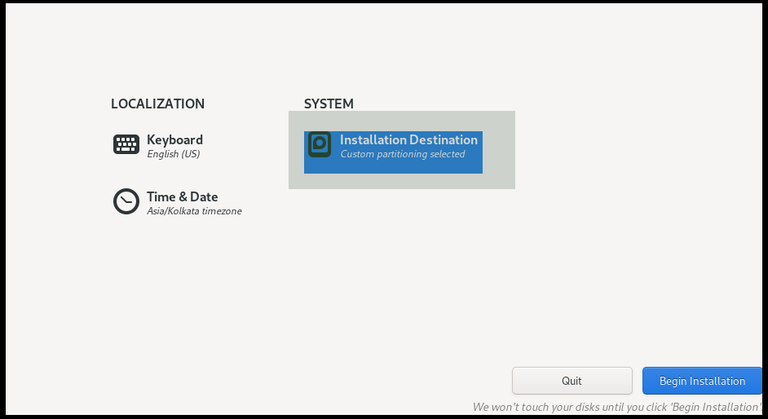
Step 11 Let’s begin
Install Fedora.
Begin installation
Installing Time Shift
Ok, that was long(sighs), but now we are done with installing Fedora and it’s time to install Timeshift.
- Open up the terminal and enter the following command to install time shift on your system.
sudo dnf install timeshift
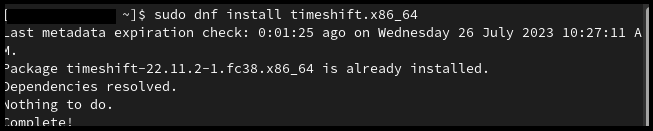
Installing Timeshift
Configuring Timeshift
Step 1: RSYNC vs BTRFS
Open Time Shift enter your administrative password when prompted and you will be greeted with a screen to choose between BTRFS and RSYNC. Choose BTRFS as we have that as our file system.
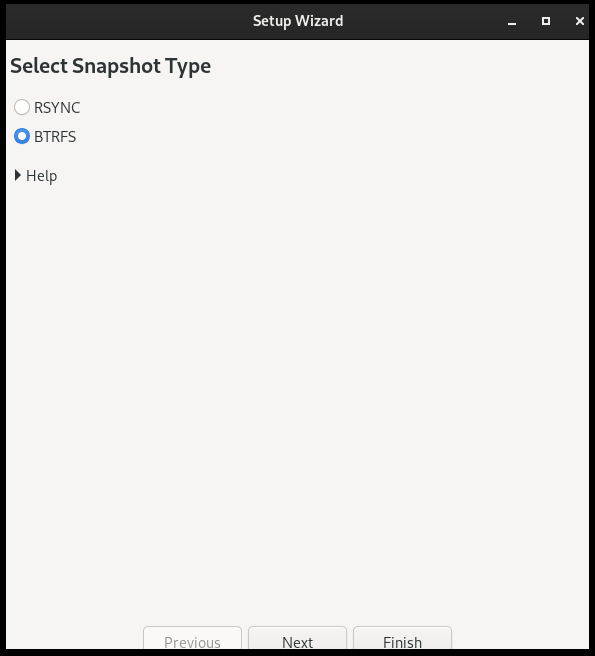
Choosing BTRFS
Step 2: Choosing a location
Now select the location where you want to save the snapshot, I recommend saving the snapshot on an external device or a secondary, internal hard disk so that you can restore your snapshot in case something were to happen to your primary drive.
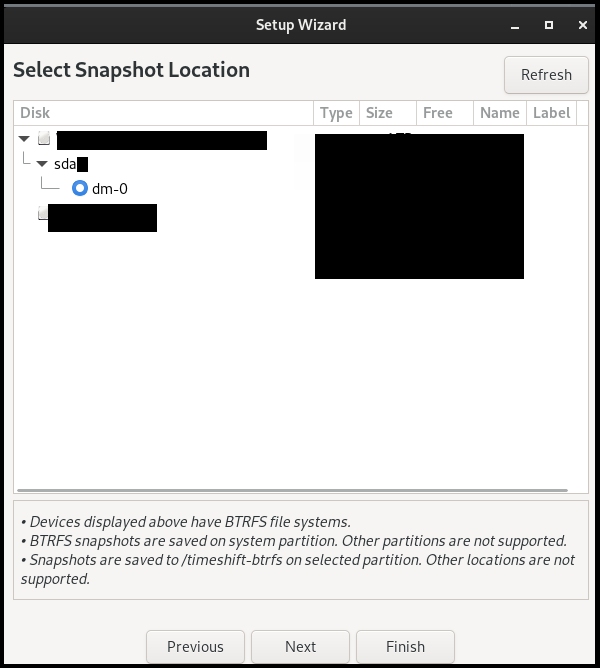
Select location for the snapshot
Step 3: Snapshot levels
Now select the Snapshot levels, I recommend keeping 4 monthly, 4 weekly and 5 daily, your mileage may vary, and if you tinker a lot with your system then it will serve you well if you keep hourly backups as well and click next.
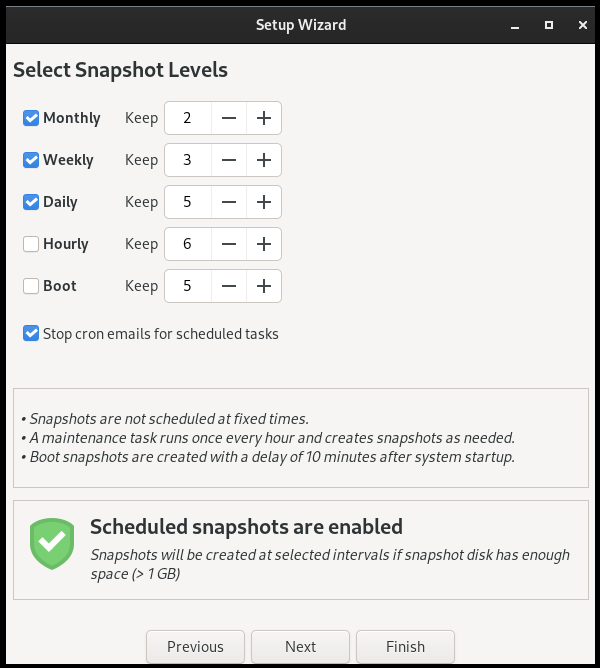
Selecting the snapshot levels
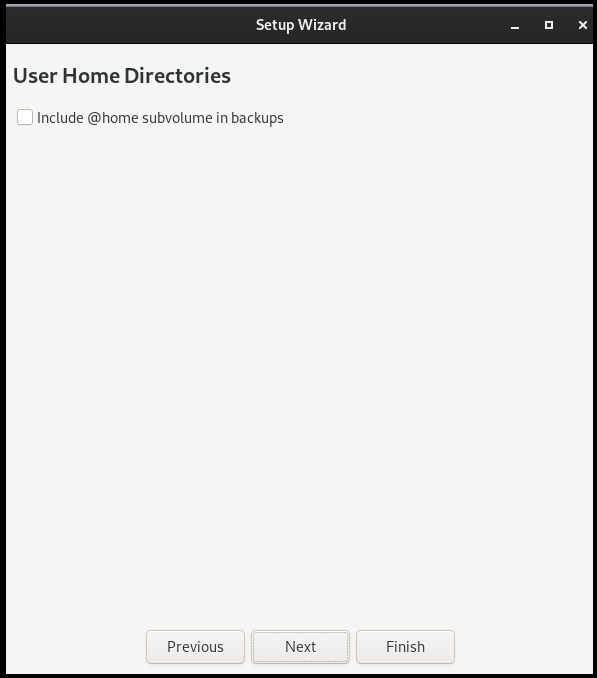
Step 4: Home snapshot
Now, you will have to choose if you want to have a home snapshot or not. I will advise against it because if you chose to revert back to a snapshot then it will reset your system and the files in your home directory to the previous state and you might lose some of the documents and modifications that you currently have in your system. Now, click next after making your decision.
Home snapshot
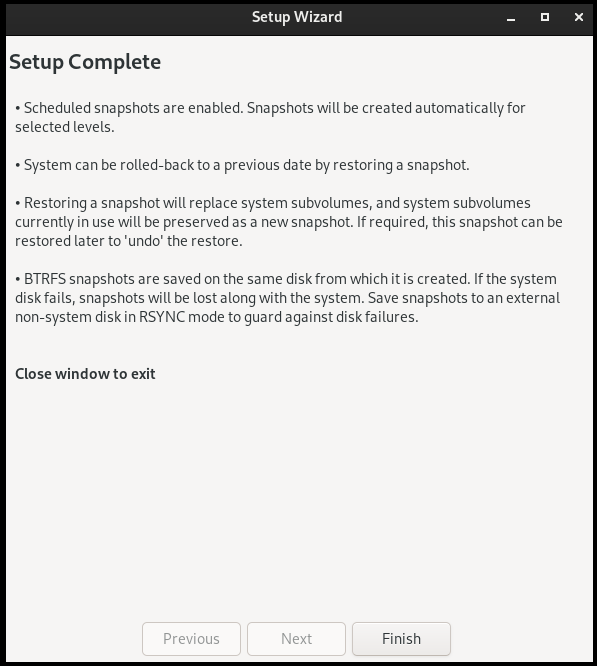
Step 5: Finish
Now the setup is done and hit “Finish” to exit the wizard.
Finish
Getting started with Timeshift in Fedora
Navigating through Timeshift is pretty easy.
Creating Snapshots
To create a snapshot just hit “Create” and it will create a snapshot of your system.
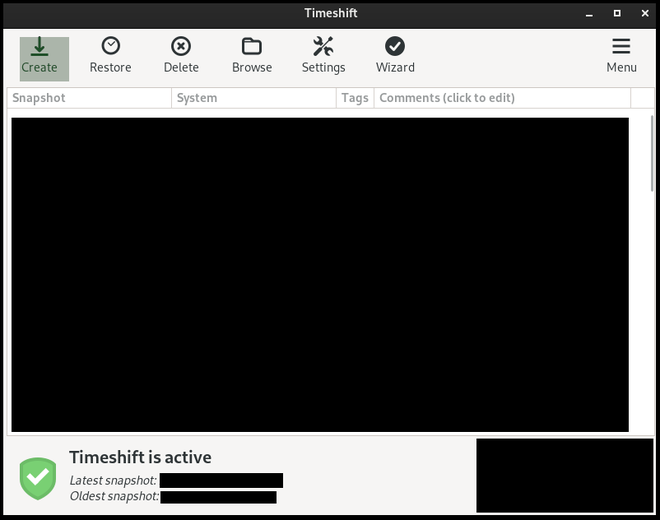
Create snapshot
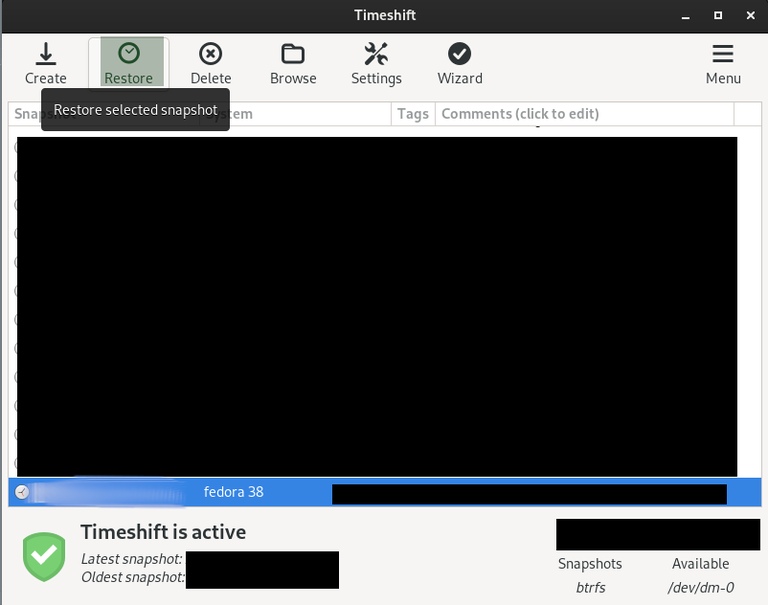
Restoring Snapshots
Step 1
In order to restore a snapshot, you must first select the desired snapshot and then click on “Restore”.
Restoring snapshot
Step 2
Now hit “Next” to restore to that snapshot.
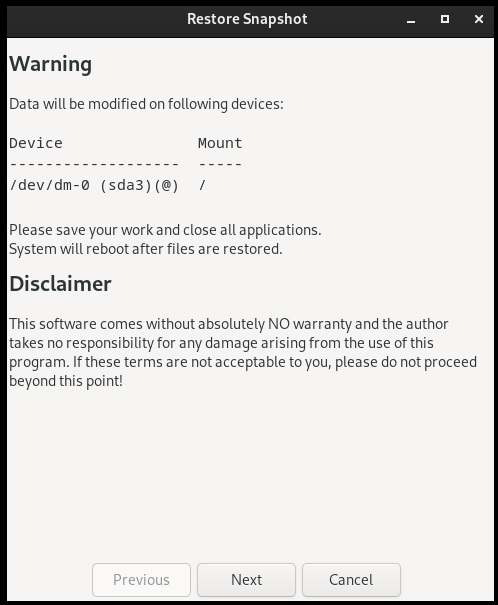
Warning before restoring
Conclusion
It’s always better to be safe than sorry, that’s why you should always make backups, this includes system and file backups(both are different), and Timeshift is a great, well-maintained and time-tested utility which will help you do just that.
Share your thoughts in the comments
Please Login to comment...