How to pass data into table from a form using React Components ?
Last Updated :
11 Dec, 2023
React JS is a front-end library used to build UI components. This article will help to learn to pass data into a table from a form using React Components. This will be done using two React components named Table and Form. We will enter data into a form, which will be displayed in the table on ‘submit’.
Prerequisites:
Approach:
- App Component:
App.js renders a basic greeting message and includes the TableData component.- Serves as the main component orchestrating the application’s structure.
- TableData Component:
- Manages and displays student data in a table using state and mapping through the data.
- Integrates a form (
StudentForm) to add new entries, updating the overall data state.
- StudentForm Component:
- Captures student information through a form with name and city fields.
- Communicates with the parent (
TableData) using a function prop to transfer new student data.
- Data Handling:
TableData manages the overall state of student data and updates it when a new student is added.- The
StudentForm component facilitates the transfer of entered data back to the parent (TableData).
Steps to create React Application And Installing Module:
Step 1: Create a React application using the following command.
npx create-react-app
Step 2: After creating your project folder(i.e. my-first-app), move to it by using the following command.
cd my-first-app
Step 3: Create a dummy JSON file; that initially contains the following one object and save it as data.json
[ {"id":1,"name":"Akshit","city":"Moradabad"} ]
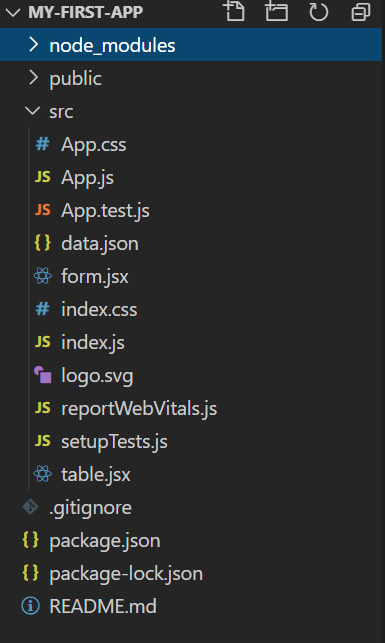
Project Structure:
The updated dependencies in package.json file will look like:
"dependencies": {
    "react": "^18.2.0",
    "react-dom": "^18.2.0",
    "react-scripts": "5.0.1",
    "web-vitals": "^2.1.4",
}
Example: Now write down the following code in respective files.
Javascript
import TableData from "./form";
function App() {
return (
<div className="App">
<h1>Hello Geeks!!!</h1>
<TableData />
</div>
);
}
export default App;
|
Javascript
import React, { useState } from 'react';
import StudentForm from './form';
import jsonData from './data.json';
function TableData() {
const [studentData, setStudentData] = useState(jsonData);
const tableRows = studentData.map((info) => {
return (
<tr>
<td>{info.id}</td>
<td>{info.name}</td>
<td>{info.city}</td>
</tr>
);
});
const addRows = (data) => {
const totalStudents = studentData.length;
data.id = totalStudents + 1;
const updatedStudentData = [...studentData];
updatedStudentData.push(data);
setStudentData(updatedStudentData);
};
return (
<div>
<table className="table table-stripped">
<thead>
<tr>
<th>Sr.NO</th>
<th>Name</th>
<th>City</th>
</tr>
</thead>
<tbody>{tableRows}</tbody>
</table>
<StudentForm func={addRows} />
</div>
);
}
export default TableData;
|
Javascript
import React, { useState } from 'react';
function StudentForm(props) {
const [name, setName] = useState('');
const [city, setCity] = useState('');
const changeName = (event) => {
setName(event.target.value);
};
const changeCity = (event) => {
setCity(event.target.value);
};
const transferValue = (event) => {
event.preventDefault();
const val = {
name,
city,
};
props.func(val);
clearState();
};
const clearState = () => {
setName('');
setCity('');
};
return (
<div>
<label>Name</label>
<input type="text" value={name} onChange={changeName} />
<label>City</label>
<input type="text" value={city} onChange={changeCity} />
<button onClick={transferValue}> Click Me</button>
</div>
);
}
export default StudentForm;
|
Step to Run Application: Run the application using the following command from the root directory of the project.
npm start
Output: Now open your browser and go to http://localhost:3000:
Share your thoughts in the comments
Please Login to comment...