How To Manage Your YouTube Account Settings- Quick Steps
Profile: Click on your profile picture, and update your name and picture.
Privacy: Go to “Manage your Google Account,” tweak who sees your activity.
Notifications: Click the bell icon, and customize what notifications you get.
Subscriptions: Visit “Subscriptions,” organize or unsubscribe.
Playback: In “Settings,” adjust video quality.
Recommendations: Explore the “Home” tab, and customize your feed.
Security: Enable two-step verification in “Security.”
Welcome to the world of YouTube, where videos come alive and connections thrive! Ready to take charge of your YouTube experience? In this guide, we’ll breeze through managing your account settings, from privacy tweaks to personalized recommendations. Think of it as your backstage pass to a smoother and tailored journey on YouTube.
How to Access YouTube Account Settings
Step 1: Open YouTube
Open YouTube on your Desktop by going through youtube.com and logging into your account.
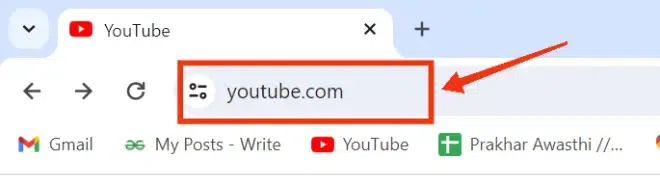
Open YouTube
Step 2: Click on your Profile
After opening YouTube on your Desktop click on your profile icon located on the top-right corner of the interface.
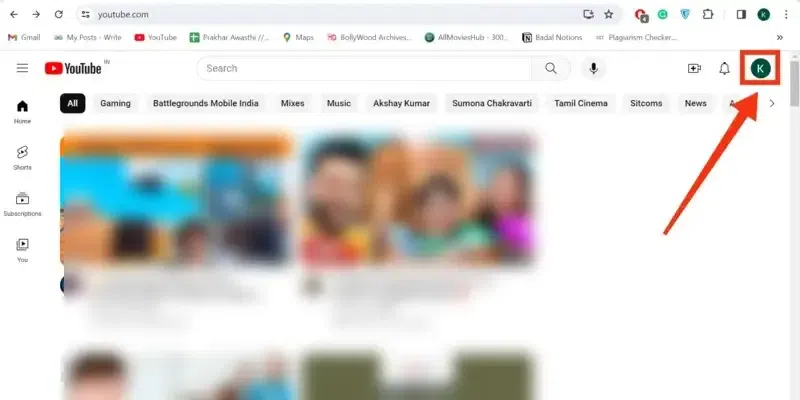
Click on your Profile
Step 2: Go to the Settings
After clicking on your profile select “Settings” from the drop-down menu that appears, it will take you to YouTube Settings where you can manage everything about your account.
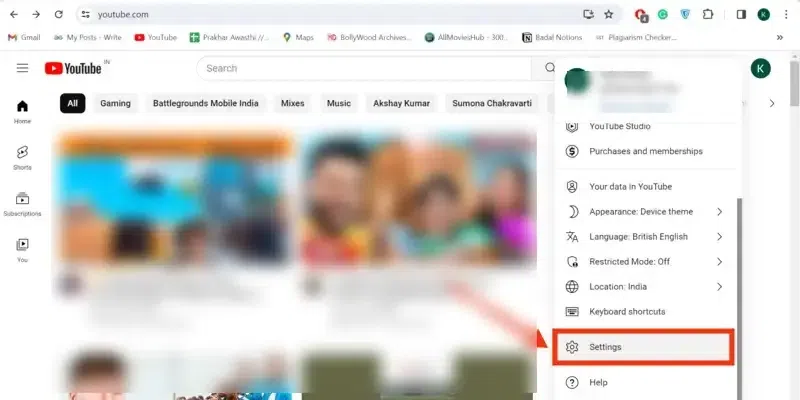
Go to the Settings
Step 4: Manage Account Settings
Now in this step click on your Channel name to move further in YouTube Settings.
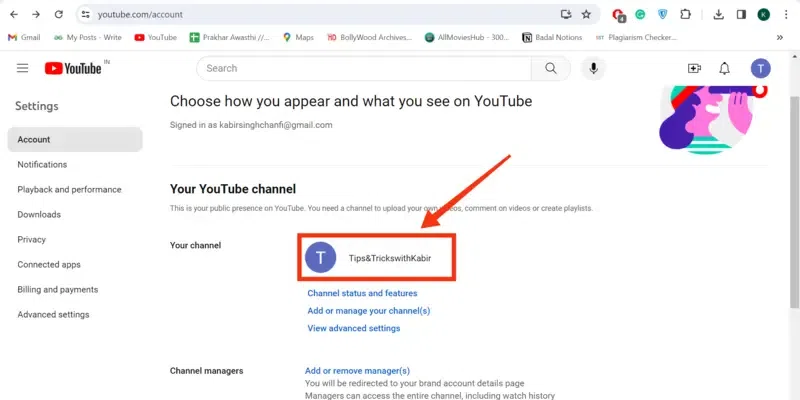
Account Settings Reached >> Manage Account Settings
How to Manage Google Account Settings
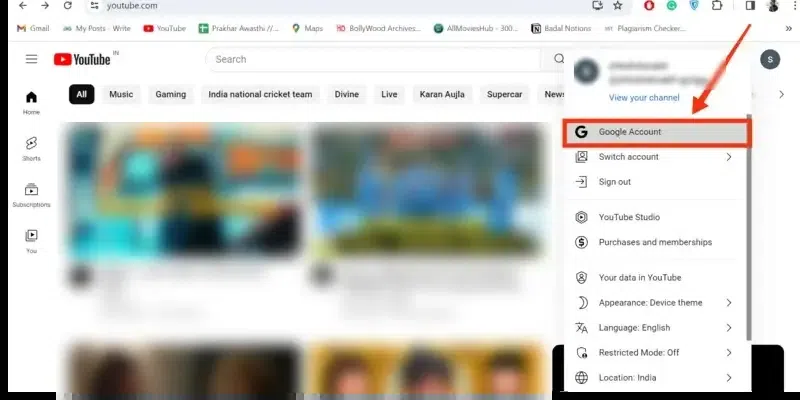
Step 1: Click on your Profile and Select “Google Account”
Open Google YouTube and go to your profile by clicking on it and selecting “Google Account” from the menu.
Step 2: Manage Personal Profile
In this tab, you can manage your profile on Google YouTube.
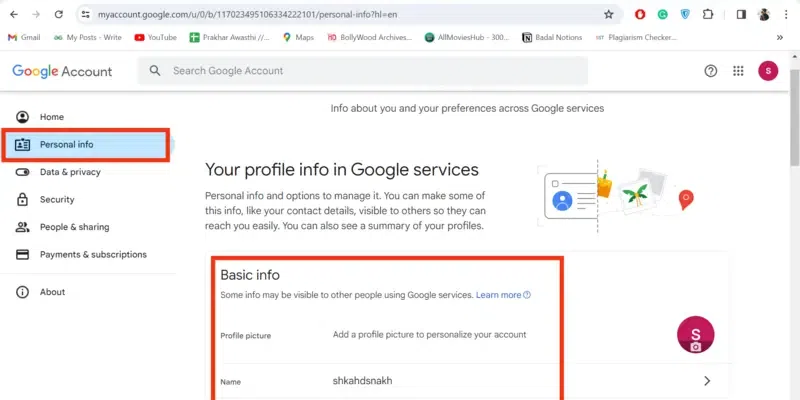
Manage Personal Info
Step 4: Check Data & Privacy Settings
Perform a Data and Privacy checkup to ensure all the privacies are maintained or not.
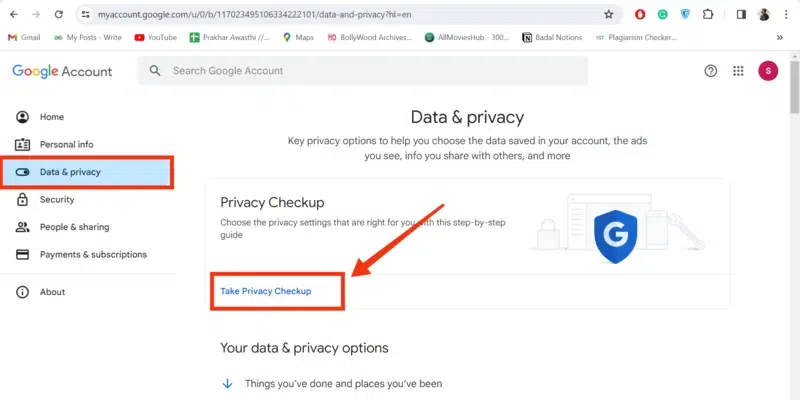
Manage Data & Privacy Settings
Step 4: Manage Security
Click on the Security tab to review security tips and make your account secure.
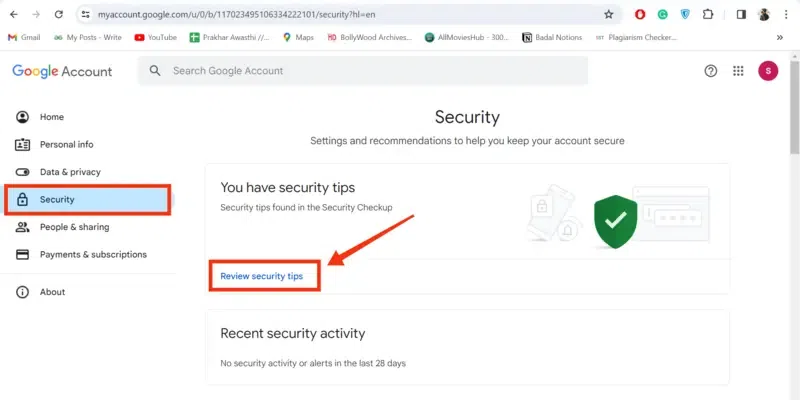
Manage Security Settings
How to Adjust Your Channel Settings
Step 1: Click on Profile and Select YouTube Studio
Open YouTube on your Desktop and click on your profile located at the top-right corner of the interface, then select “YouTube Studio” from the menu that appears.

Click on Profile and Select YouTube Studio
Step 2: Select “Settings”
To manage more settings of your channel click on the “Settings” button present on the bottom-left corner of the interface. This will open a dialog box on the screen containing all the basic and advanced settings of your YouTube Channel.
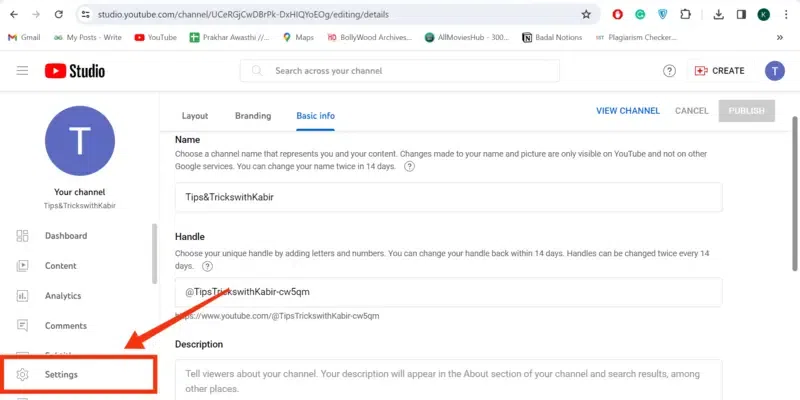
Click on “Settings”
Step 3: Manage Currency
In the General tab, you can manage your currency given by YouTube when your channel gets monetized and you reach the number of subscribers asked by YouTube to earn.
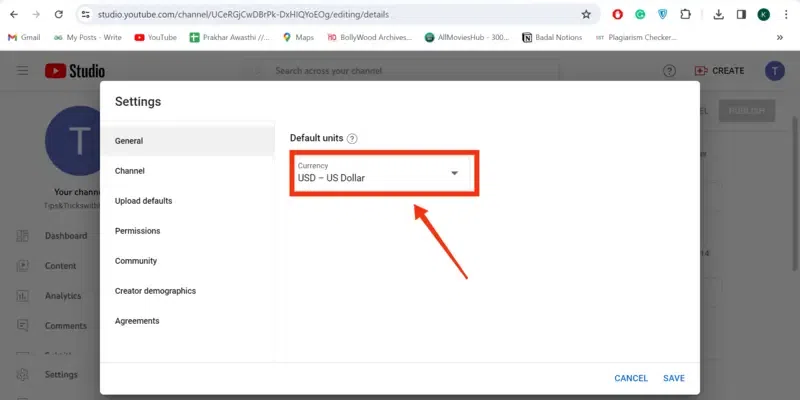
Manage Currency
Step 4: Choose your Country and Add Keywords
The Channel tab and the Basic Info section contain your country name and keywords to be entered, so you can simply choose your country by clicking on the “Country of Residence” and you can add the keyword in the box given under the Country name.
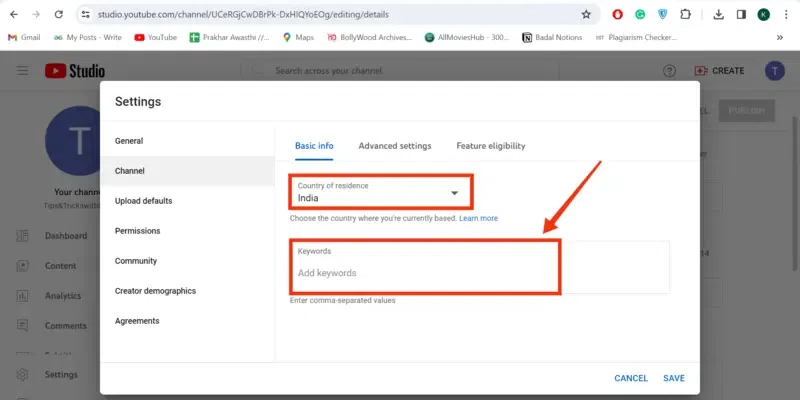
Choose your Country >> Add Keyword
Step 5: Click “Manage Permission” Tab and Manage Permissions
You can also manage permissions on YouTube by going through the Permissions tab and clicking on the “Manage Permissions” button or if you want to move the permission you can go with the “Move Permissions” button.
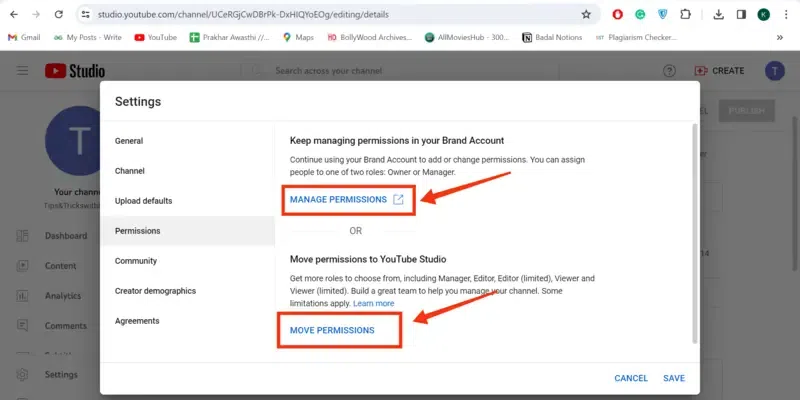
Manage Permission >> Move Permissions
Access YouTube Account Privacy Settings
Step 1: Click on your Profile and Select “Settings”
Visit YouTube and go to Settings by clicking on your profile and selecting “Settings” from the menu.
Click on your Profile and Select “Settings”
Step 2: Select the Privacy Tab and Manage Subscription
After coming to the YouTube Settings select the Privacy tab and manage the subscription to private by switching the toggle to on or off.
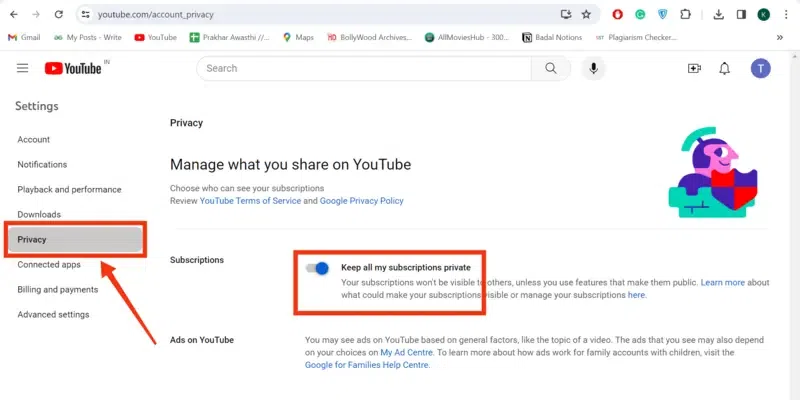
Select Privacy Tab >> Manage Subscription Toggle
How to Delete or Move Account Under Advanced Settings
Step 1: Go to Settings
Open YouTube and go to the YouTube Settings by clicking on your profile and selecting “Settings” from the menu.
Go to Settings
Step 2: Click on Advanced Settings and Delete or Move your Channel
After coming to the YouTube Settings click on the “Advanced Settings” tab and operate Deleting or Moving your channel.
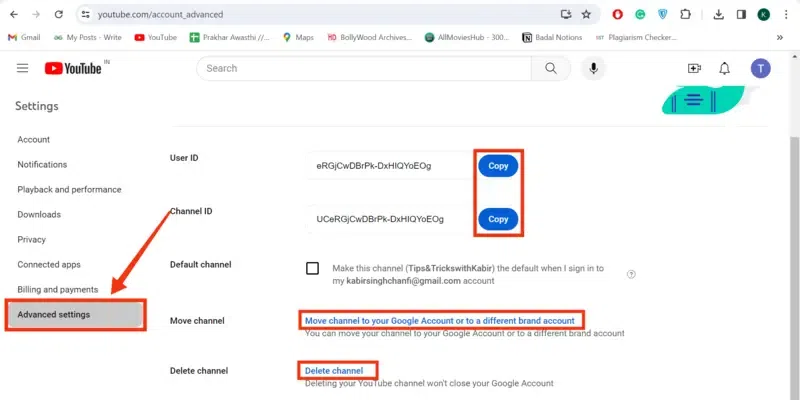
Click on “Advanced Settings” >> Delete or Move your Channel
Step 3: Enter your Password
Enter your account password to know that it’s you and continue your operation.
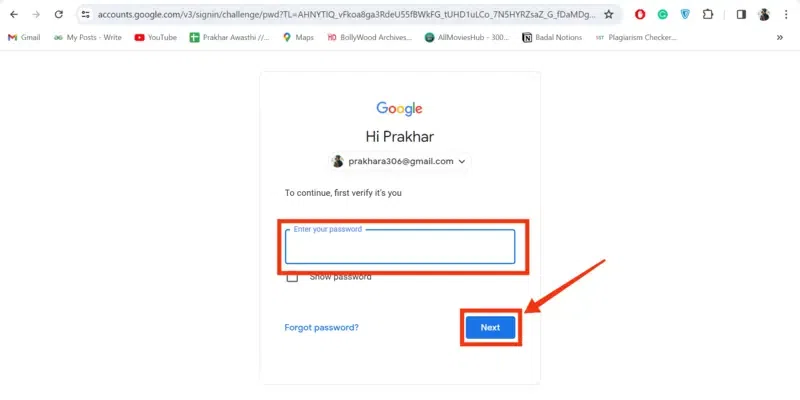
Enter your Password
How To Configure YouTube Advanced Settings
Step 1: Click on your Profile and Select YouTube Studio
Open YouTube click on your profile to open the menu and select “YouTube Studio” from the menu.
lick on your Profile and Select YouTube Studio
Step 2: Click on “Settings”
Now click on the Settings button located on the bottom-left side of the interface.

Click on Settings
Step 3: Select the “Channel” Tab and Click on “Advanced Settings”
After clicking on the Settings button a dialog box will appear on the screen, from it select the Channel tab and click on Advanced Settings to manage it.
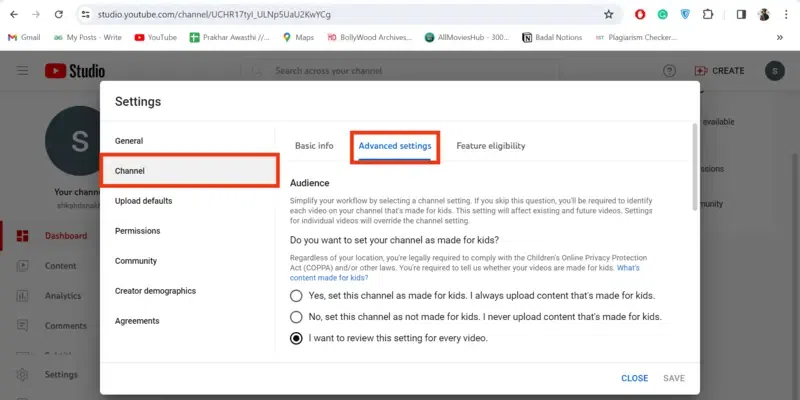
Select Channel Tab >> Click on Advanced Settings
Benefits Of YouTube Advanced Settings
Visibility:- Using Advanced Setting you can manage your channel’s visibility that your subscriber’s count will be private or not.
Monetize:- Advanced Settings include Monetization settings which are the main factor for working on YouTube and you can turn on or off the monetization using YouTube Advanced Settings.
Promotion:- For Promotion advanced setting plays an important role as it maintains many factors such as Optimize Metadata, Custom Thumbnail, and branding, etc.
Marketing:- Advanced Settings helps in maintaining Search Engine Optimization which plays a crucial role in Advanced Settings
How To Manage Your YouTube Account Settings on Mobile
Step 1: Open the Google YouTube Mobile App
To open YouTube on your Mobile, navigate to the YouTube icon and give it a click.
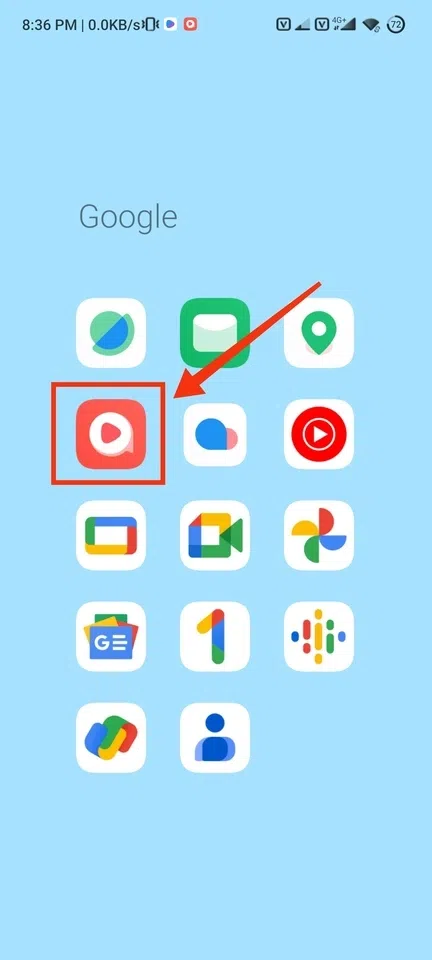
Open YouTube Mobile App
Step 2: Go to your Profile and Click on “View Channel”
After opening your Mobile app click on your profile and click on the “View Channel” button present next to your profile.
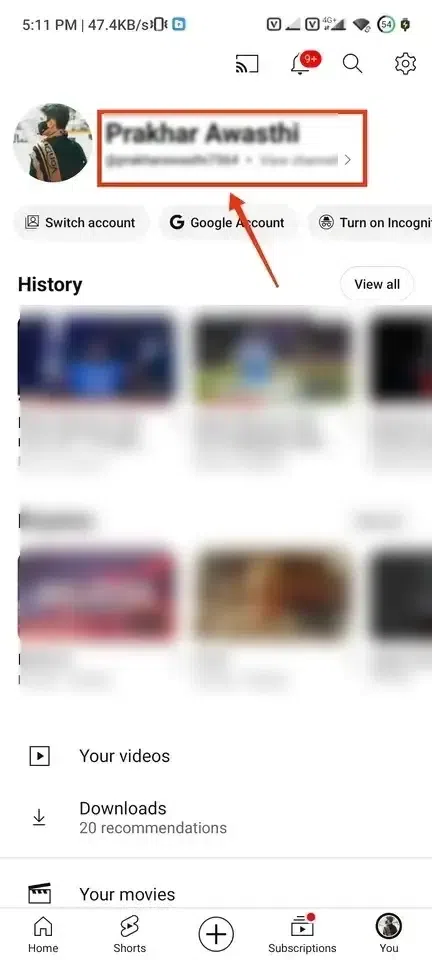
Go to your Profile and Click on “View Channel”
Step 3: Click on “Pencil Icon”
Now on the next page search for the “Pencil” Icon and click on it to customize the channel.
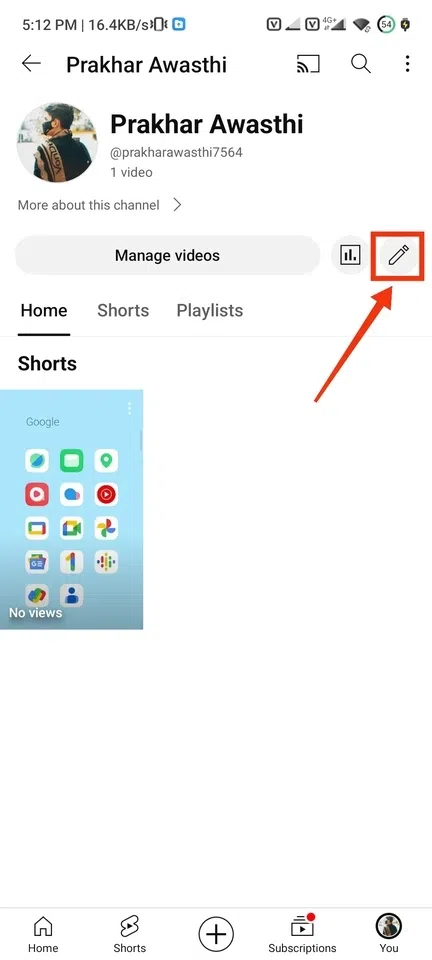
Click on “Pencil Icon”
Step 4: Manage Profile Picture
The page that appears on the screen will contain the profile information and you can also edit it, to edit your profile click on the camera icon present on the profile and then click on the Pencil icon present next to your name to edit your name.
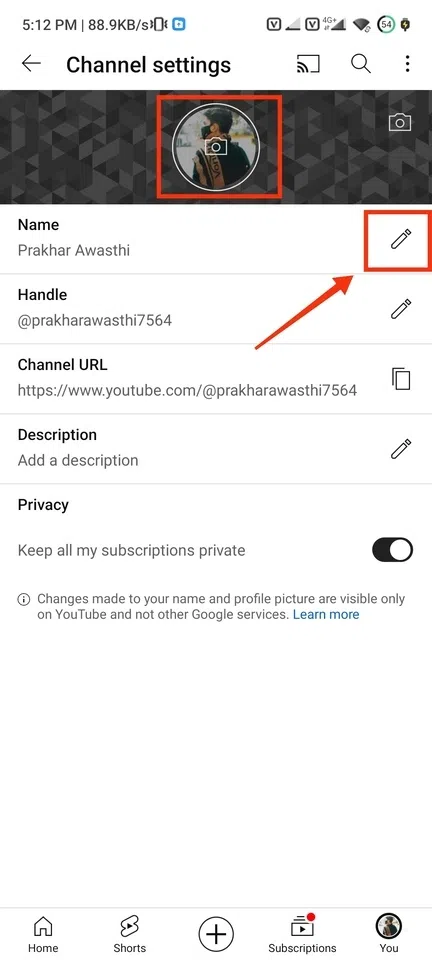
Manage Profile Picture >> Click on Name to Edit
Step 5: Enter your Name and Click “Save”
Now you can change the name and after changing your name click on the “Save” button.
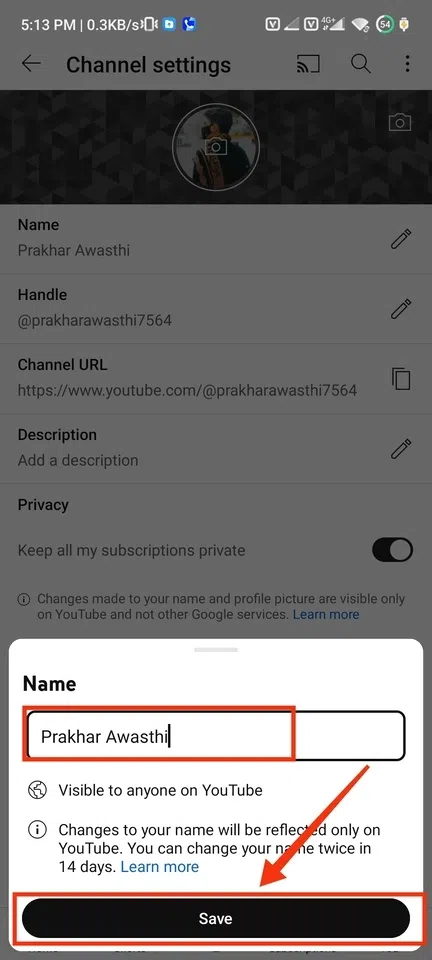
Enter name >> Click “Save”
Step 6: Mange UserHandle
Change your handle if you want to change and enter the name and click “Save”.
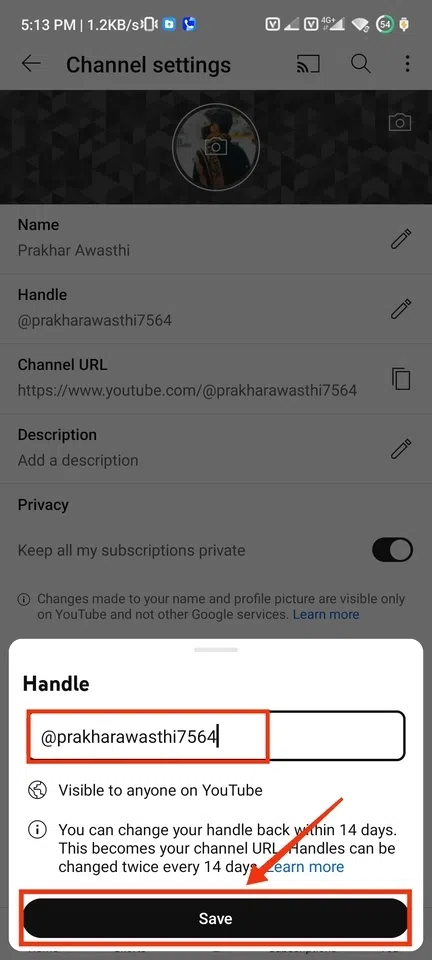
Enter User Handle >> click “Save”
Step 7: Add Description
Click on the “Pencil” Icon next to the Description box to add the description of your channel.
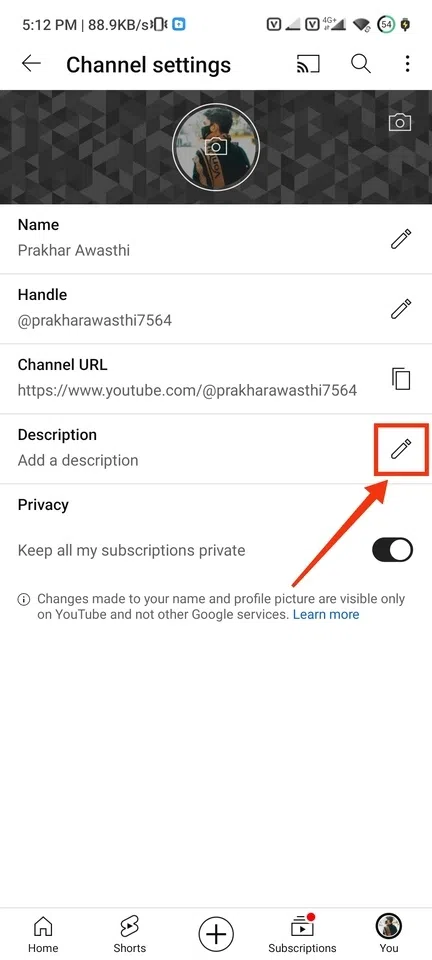
Click on the “Pencil” Icon
Step 8: Add Channel Description and Click on “Save”
Now add your desired description to be added and click on the “Save” button.
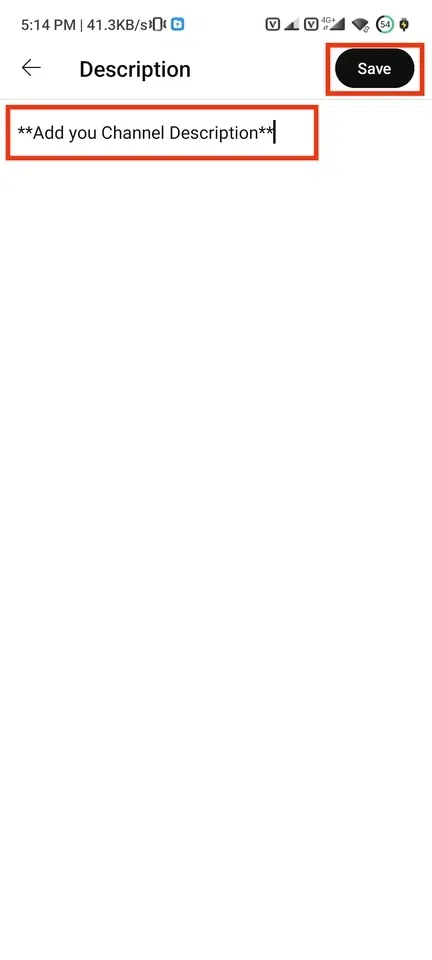
Add Description >> Click “Save”
Step 9: Go to Settings, and Select “General” Settings”
To manage more settings in your channel go to the settings and click on the “General” tab to edit general settings.
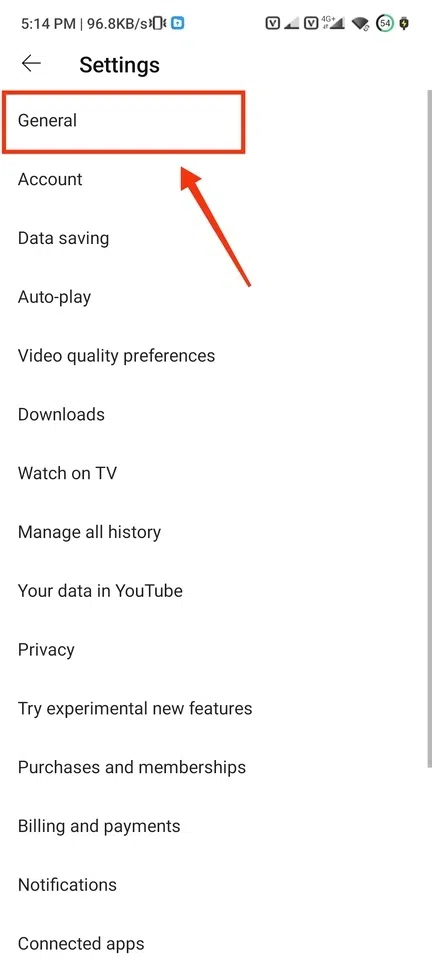
Select “General”
Step 10: Manage General Settings
Here you can manage the appearance of your YouTube, App Language, Location, and many other settings of YouTube.
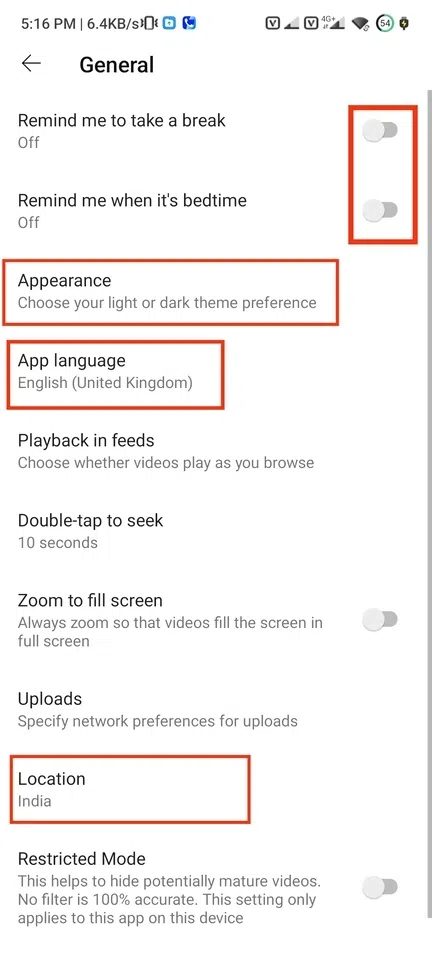
Manage General settings
Step 11: Select the Auto-Play tab
Now to manage the autoplay of your videos go to the Auto-Play tab in settings by clicking on it.
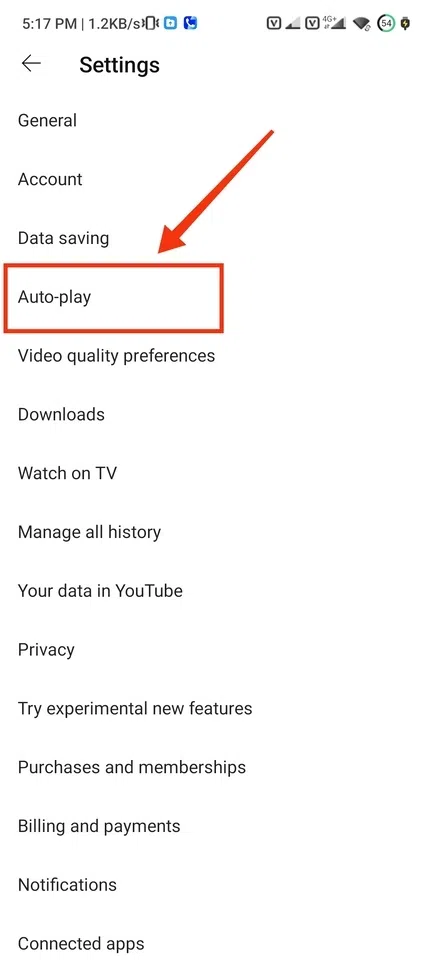
Select “Auto Play”
Step 12: Turn On Toggle
To turn on the autoplay of your videos turn on the toggle button present in the Tab.

Turn on Auto Play
Step 13: Select “Video Quality Preference”
Select the video Quality Preferences tab to select your preferred quality on videos.
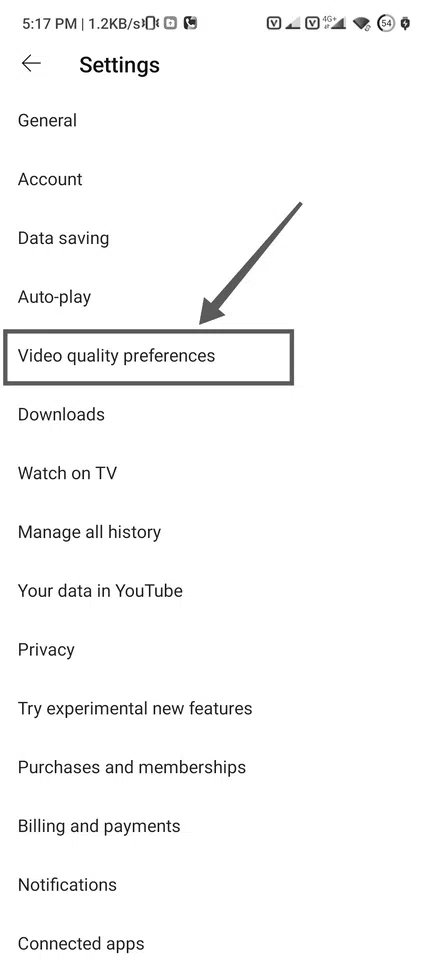
Select “Video Quality Preference”
Step 14: Select Quality
You can select the quality preferred on Data and Wifi and also you can select the quality type such as Auto, Higher Picture Quality, and Data Saver.
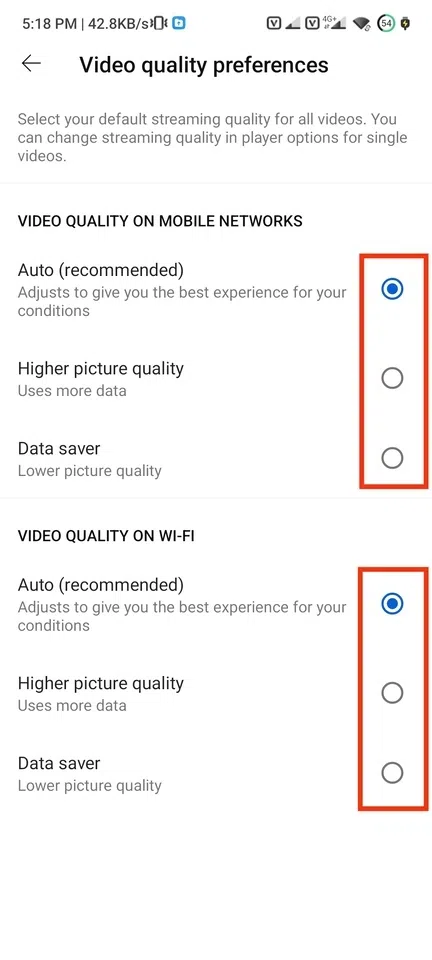
Manage Picture Quality Settings
Conclusion
Managing your YouTube Account Settings organizes your account in a manner, you can go through the Settings of YouTube to manage the account settings. All you have to do is open your Google YouTube and go to the YouTube Settings of your account there you can manage the Privacy and Advanced Settings. To customize your channel settings click on your channel name and click on the “Customize Channel” button to move further. After coming to the Channel Customization manage the basic settings of your channel such as Name, handle, description, etc, also you can manage the settings such as the Currency, Permissions, and other important settings.
FAQs on How To Manage Your YouTube Account Settings
How do I get to my YouTube settings?
To get into the YouTube Settings follow the steps given below:-
- Open YouTube
- Click on your Profile
- Select Settings Manage Settings
Where is account management on YouTube?
Account Management on YouTube is a process of managing your YouTube account by yourself or any other people.
What is the best way to manage your YouTube channel?
To manage the your YouTube Channel in best way is to define objects, Posting schedules, providing quality content, etc.
How do I change my YouTube settings on mobile?
Follow the steps to change the YouTube Settings on Mobile:-
- Open YouTube Mobile App
- Go to your Profile
- Access Settings
- Manage Settings
Share your thoughts in the comments
Please Login to comment...