How to Install Visual C++ in MacOS?
Last Updated :
16 Dec, 2021
Visual C++ is Software made by Microsoft Corporation. It is used to build desktop applications using the C and C++ languages. It was initially released in February 1993. In this article, we are going to learn how we can install Visual C++ in our Mac operating system.
Installing Visual C++on MacOS:
Follow the below steps to install macOS
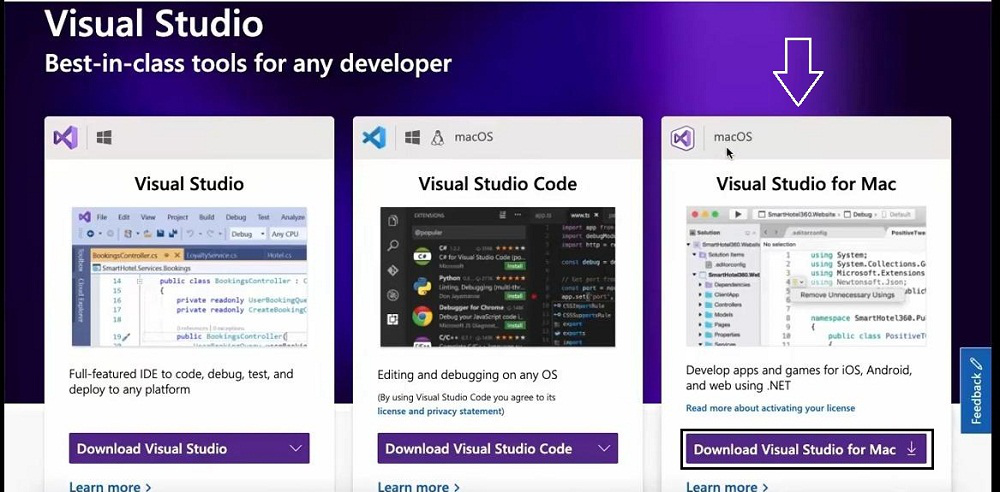
Step 1: Open browser, search for visual studio & click on the first link.

Step 2: Click on the Download Visual Studio for Mac option.
Step 3: Open the downloaded file.

Step 4: Click on the icon to start installing.
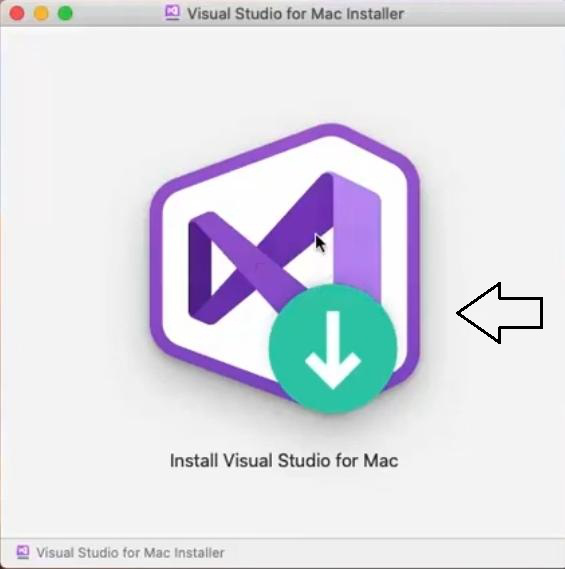
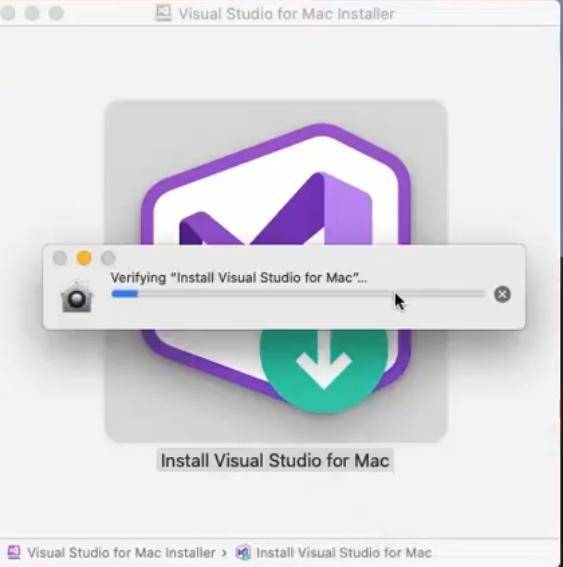
Wait for some time.
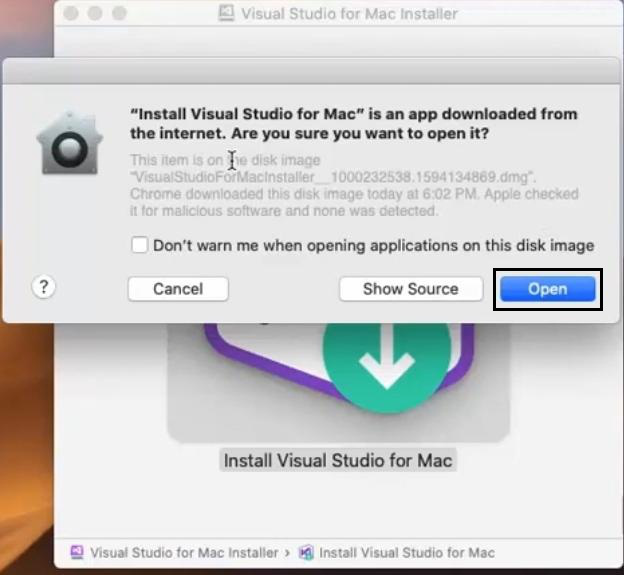
Step 5: Click on the Open button.
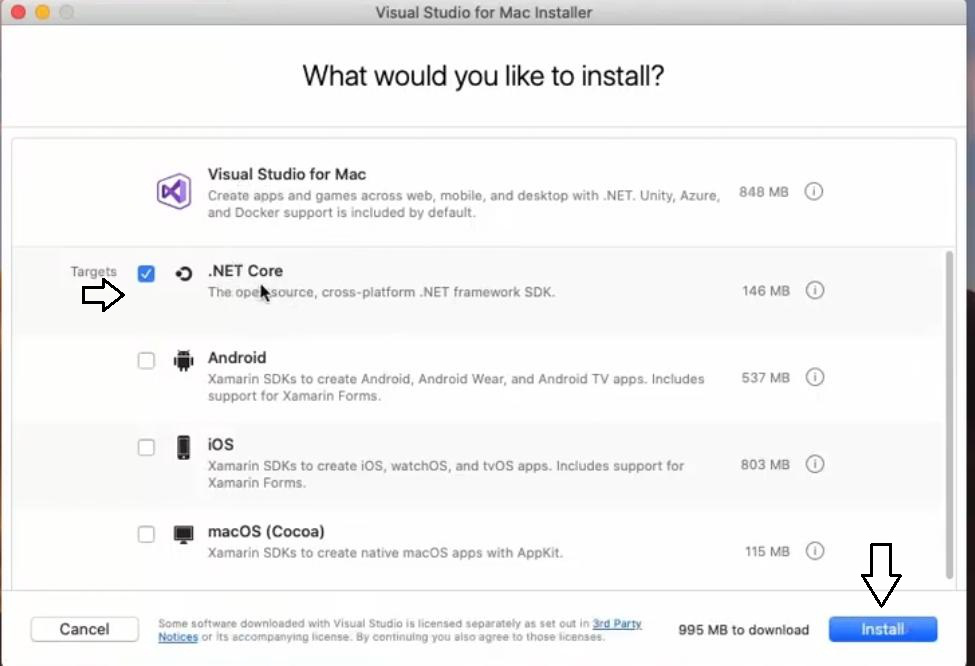
Step 6: Click on the check box & click Install.
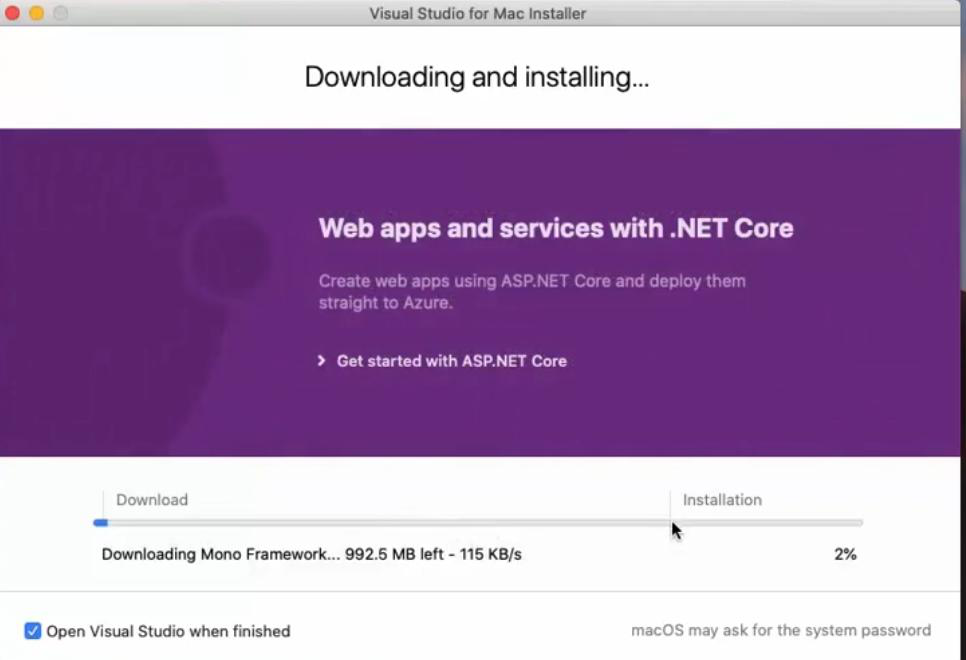
Wait for some time.
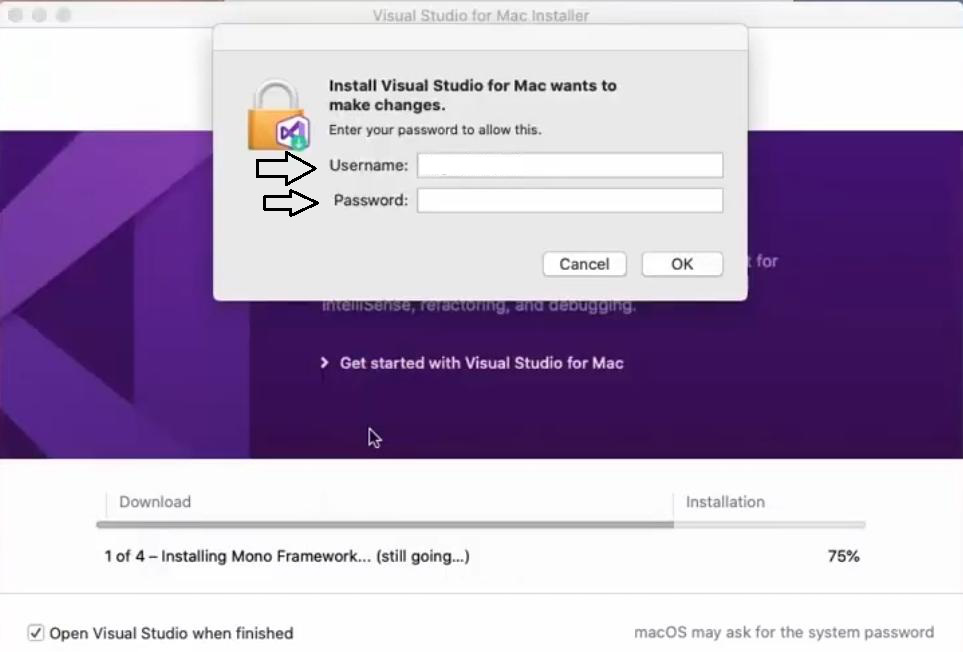
Step 7: Enter your Username & Password.
Step 8: Then your installation will be complete. Automatically application will start.

Hence, your installation is successful.
Share your thoughts in the comments
Please Login to comment...