How to Install Nmap on Windows?
Last Updated :
05 Jan, 2022
Nmap is computer software that is used to scan networks. It was developed by Gordon Lyon. It is written in C, C++, Python, and Lua. Its initial release was in 1997, and its stable release was in 2021. Its latest version is 7.92. It is free software used for security purposes of networks. It can be run on different operating systems like Windows, Mac, Linux, etc. It is used to protect computers by discovering hosts and services on a computer network by sending data packets and analyzing the responses. Some of the basic features of Nmap are:
- It discovers hosts on a network.
- It also scans open ports on the target hosts.
- It also finds the application name and the version number by interacting with network services on remote devices.
- It also finds the OS and hardware characteristics of the network devices.
- It also does scriptable interaction with the target with the help of NSE(Nmap Scripting Engine) and Lua programming languages.
- It is open-source software and is available for most operating systems.
Installing Nmap on Windows
Follow the below steps to install Nmap on Windows:
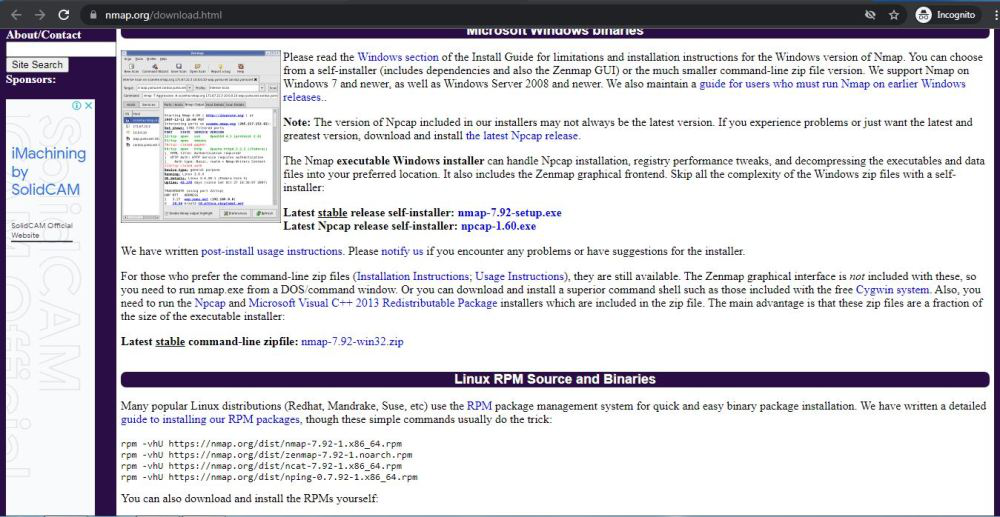
Step 1: Visit the official website using the URL https://nmap.org/download.html on any web browser the click on nmap-7.92-setup.exe. Downloading of this executable file will start soon. It is a 21.8 MB file so it will take some minutes.
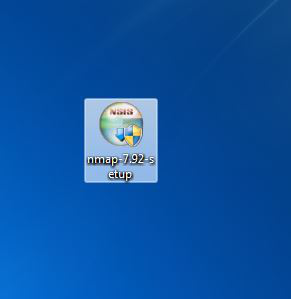
Step 2: Now check for the executable file in downloads in your system and run it.
Step 3: It will prompt confirmation to make changes to your system. Click on Yes.
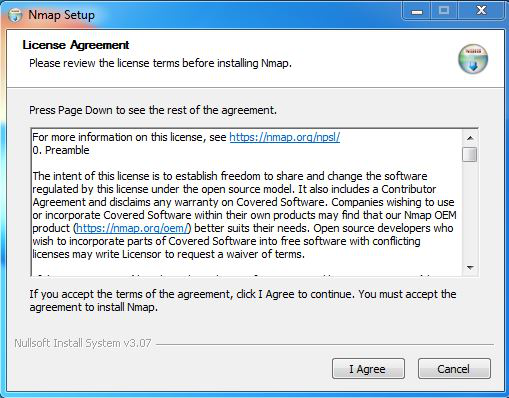
Step 4: The next screen will be of License Agreement, click on I Agree.
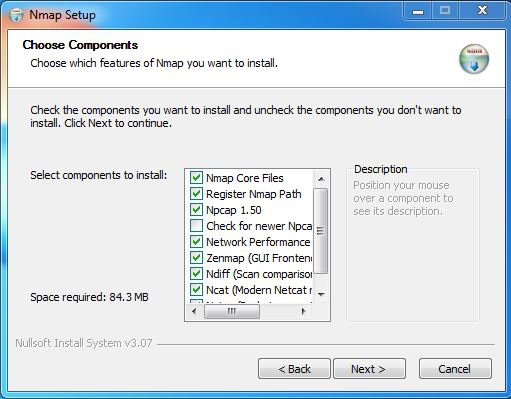
Step 5: Next screen is of choosing components, all components are already marked so don’t change anything just click on the Next button.
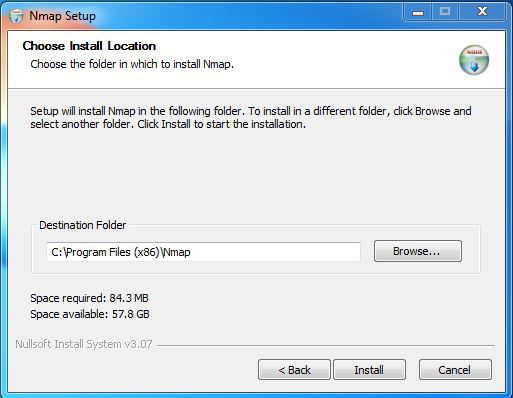
Step 6: In this step, we choose the installation location of Nmap. By default, it uses the C drive but you can change it into another drive that will have sufficient memory space for installation. It requires 84.3 MB of memory space.
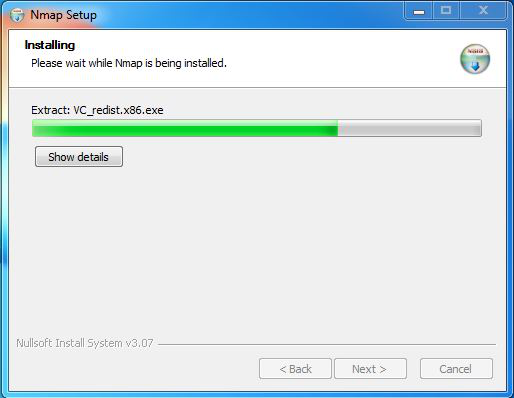
Step 7: After this installation process it will take a few minutes to complete the installation.
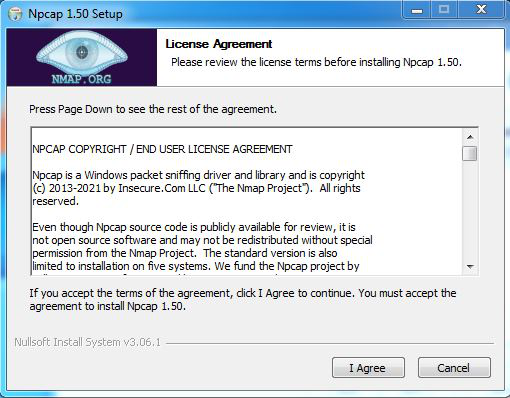
Step 8: Npcap installation will also occur with it, the screen of License Agreement will appear, click on I Agree.
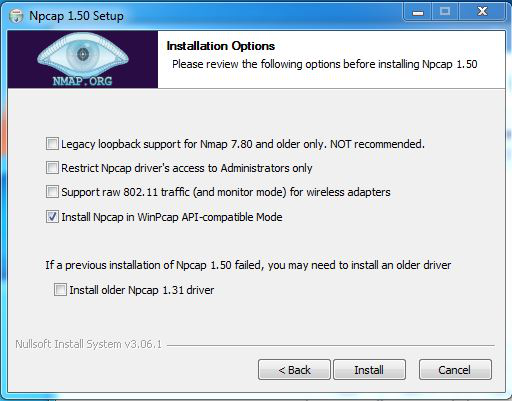
Step 9: Next screen is of installation options don’t change anything and click on the Install button.
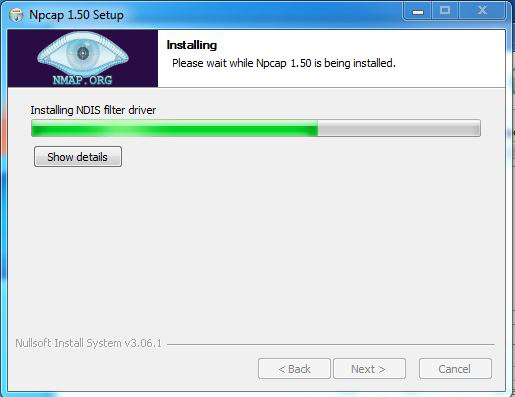
Step 10: After this installation process it will take a few minutes to complete the installation.
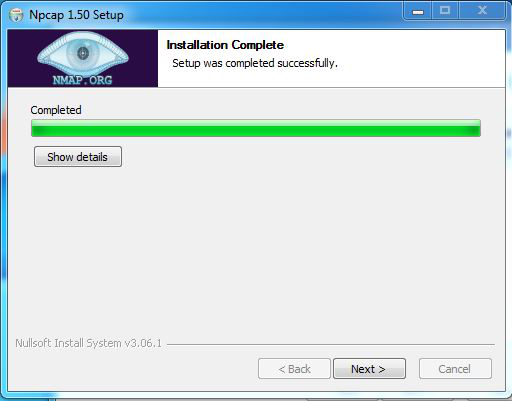
Step 11: After completion of installation click on the Next button.
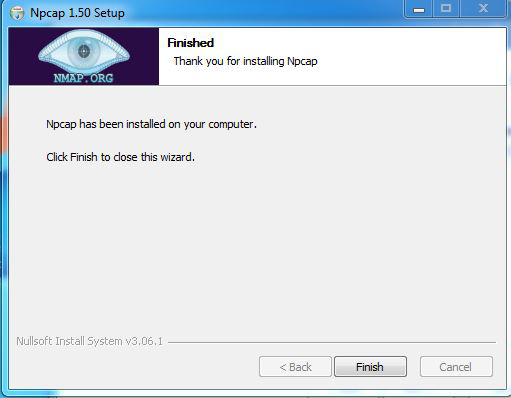
Step 12: Click on the Finish button to finish the installation of Npcap.
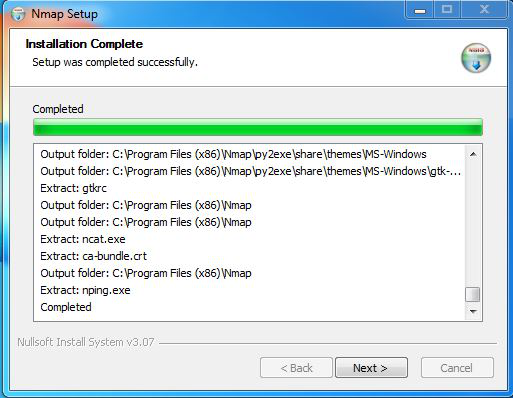
Step 13: After completion of the installation of Nmap click on Next button.
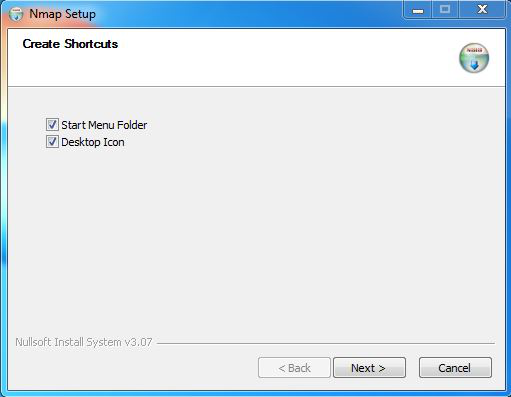
Step 14: Screen for creating shortcut will appear, click on Next button.
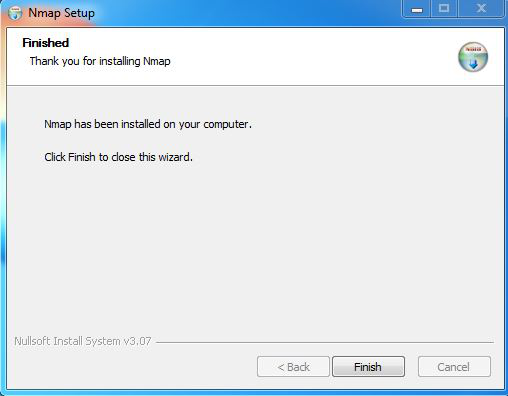
Step 15: Click on the Finish button to finish the installation of Nmap.
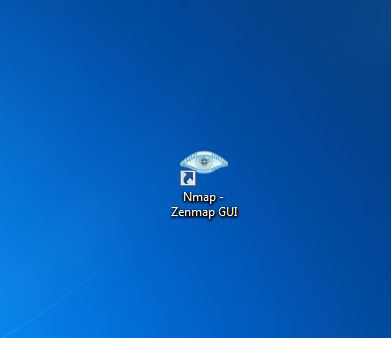
Step 16: Nmap is successfully installed on the system and an icon is created on the desktop.
Step 17: Run the software and see the interface.
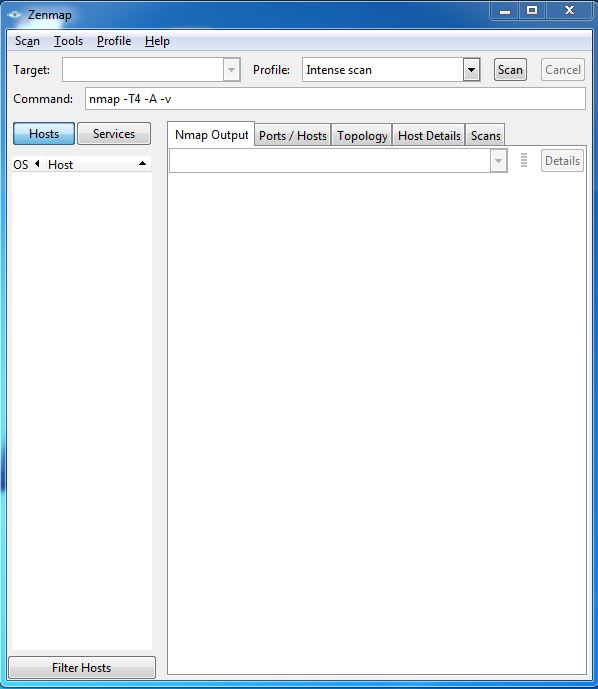
So this is how you have successfully installed Nmap on your windows system.
Share your thoughts in the comments
Please Login to comment...