How to Install Kali Linux on Windows?
Last Updated :
05 Jul, 2023
Kali Linux is an open-source Linux distribution based on Debian, designed for sophisticated penetration testing and security auditing. Kali Linux includes hundreds of tools for diverse information security activities such as penetration testing, security research, computer forensics, and reverse engineering. This multi-platform solution is accessible and free to information security experts and enthusiasts. You can install Kali Linux by replacing your existing operating system but utilizing it on a virtual machine is a preferable and safer choice. It can be run as a regular program on your Windows/Linux PC using Virtual Box.
VirtualBox is free software that allows you to virtualize the x86 computer architecture. It functions as a hypervisor, generating a virtual machine in which the user may run another operating system. Let’s talk about how you can install Kali Linux in a virtual box on windows.
Step-by-Step Instructions for Installing Kali Linux in a VirtualBox on windows.
Step 1: Download VirtualBox from Oracle’s official website
https://www.virtualbox.org/wiki/Downloads

Download VirtualBox
Simply double-click the downloaded installer to install VirtualBox.
Step 2: Download the ready-to-use virtual image of Kali Linux from Offensive Security’s download page
https://www.kali.org/get-kali/#kali-virtual-machines.

Downloading-virtual-image
Step 3: Start VirtualBox. You’ll see an Import button – click on it.

Importing-virtualbox
Step 4: Next, navigate to the file you just downloaded and select it for import. The name of the file should start with kali-Linux and finish with the `.ova` extension.

Navigating-file
Step 5: The settings for the virtual machine you are about to import will be shown now. You can customize them or leave them as it is.

Appliance-setting
Click on the import button.
Step 6: It will now be listed. So, simply press the Start button to launch it.

Clicking-to-launch
You may receive an error at first for USB port 2.0 controller support; to address this, deactivate it by going to settings -> USB -> Untick Enable USB Controller.
Step 7: In Kali Linux, the default username was root, and the default password was toor.
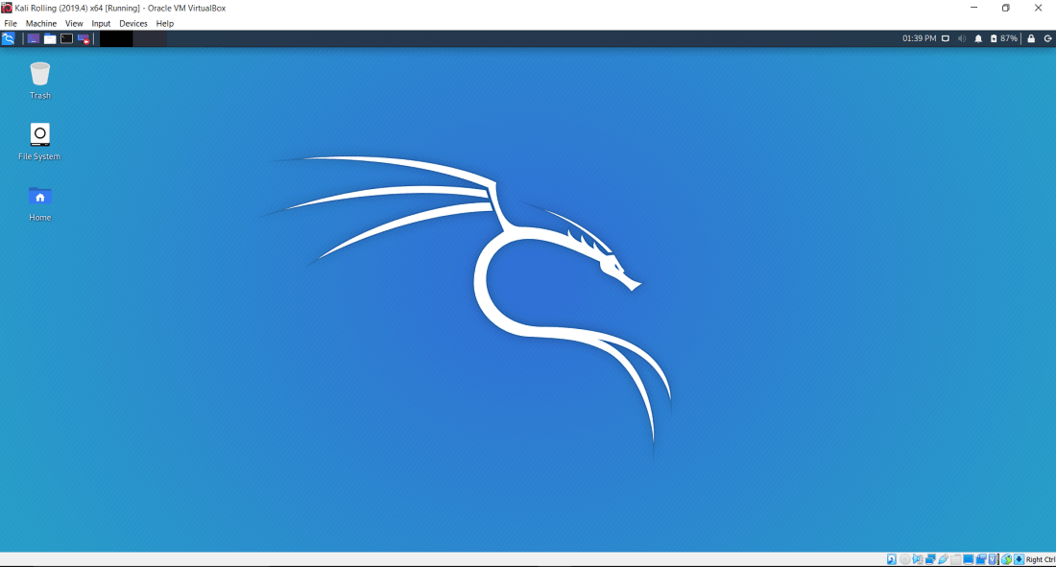
Kali-linux
Share your thoughts in the comments
Please Login to comment...