How to implement history.back() in AngularJS?
Last Updated :
09 Oct, 2023
Angular JS is a typescript-based web application framework. It is supported by the Angular team of Google and open-source developers. It is a component-based framework allowing the developers to reuse the components created. It is well-suited for large and complex applications because of its well-defined project structure, templates, etc. In this article, we will see how to use the history.back() method in AngularJS, along with understanding it with the help of a suitable example.
The history.back() Method is one of the most common operations while navigating through URLs where it allows the developers to programmatically go to the previous page. It is provided with inbuilt HTML.
Implementing the history.back() using $window service
Window service is none other than a global window object inside the wrapper. It provides the browser-specific functionality and hence using the same, we can implement the history.back().
Syntax
window.history.back();
We will create a directive and then create a function that calls the above method. We can then use the function in a button which on pressed navigates back. This is an easy process since we do need not to import any package or library. Hence it provides no overhead since the window object is accessible globally.
Configuring the Angular Application
Step 1: Create a new project
ng new history_back_gfg
Step 2: Add routing to project
ng generate module app-routing --flat --module=app
Step 3: Create a new component, called Home and About
ng generate component about
ng generate component home
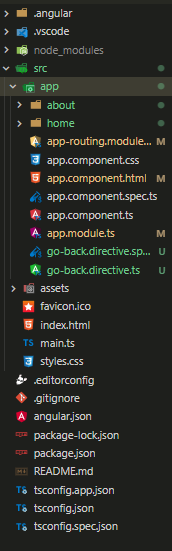
Project Structure:
Step 4: Modify the src>app>app.component.html as follows:
HTML
<div>
<h1 style="color: green;
text-align: center;">
Welcome to GeeksforGeeks
</h1>
<h3 style="text-align: center;">
How to implement history.back() in AngularJS?
</h3>
<router-outlet></router-outlet>
</div>
|
Step 5: Modify the src>app>home>home.component.html
Javascript
<div>
<h3>This is Home page</h3>
<a routerLink="/about">About</a>
</div>
|
Step 6: Modify the src>app>about>about.component.html
HTML
<div>
<h3>This is About page</h3>
<button appGoBack>Go Back</button>
</div>
|
Step 7: Modify src>app>app-routing.module.ts as follows:
Javascript
import { NgModule } from '@angular/core';
import { RouterModule, Routes }
from '@angular/router';
import { AppComponent } from './app.component';
import { AboutComponent }
from './about/about.component';
import { HomeComponent }
from './home/home.component';
const routes: Routes = [
{
path: '',
component: HomeComponent,
},
{
path: 'about',
component: AboutComponent,
}
];
@NgModule({
imports: [RouterModule.forRoot(routes)],
exports: [RouterModule]
})
export class AppRoutingModule { }
|
Step 8: Create a directive as follows for the back press:
ng generate directive go-back
Here, in the directive, we will override the HostListener onClick event so that the onClick of button navigates back. Here is the src>app>go-back.directive.ts
Javascript
import { Directive, HostListener }
from '@angular/core';
@Directive({
selector: '[appGoBack]'
})
export class GoBackDirective {
constructor() { }
@HostListener('click', ['$event'])
onClick(event: MouseEvent) {
event.preventDefault();
window.history.back();
}
}
|
Step 9: Run the application
ng serve --open
Output:
Share your thoughts in the comments
Please Login to comment...