How to Create IAM roles for Amazon EC2?
Last Updated :
15 Jan, 2024
In this article, we will cover how we can easily create an IAM role use it with an EC2 instance, and provide the required permissions with the S3 policies. These IAM Roles are the identities that we are creating in our account so that we can provide specific permissions to the users. So these Roles provide us the temporary credentials of security for our session.Consider the Scenario in which we want to grant access to our account to third parties that can perform operations such as audits of our resources or consider another scenario in which we want to access users who have identities prior outside the Aws like in our corporate Directory. So we can use the roles for access to users’ services or applications that don’t have access to AWS resources.
Why the IAM Roles Rule for EC2 and Beyond (vs. Root Users)?
IAM((Identity and Access Management) helps us to improve the security of the AWS(Amazon Web Services). IAM will help you to restrict the permissions of the users like which type of service they can access and what tasks they can perform instead of relying on the super-user (Root-user) for everything you can use the IAM user.
- You can grant the least privileges to the IAM using the IAM roles.
- IAM roles are used mainly to grant the minimum set of permissions required for a particular task.
- IAM roles can grant temporary and dynamic permission to the users. Which adds an extra layer to the security of AWS(Amazon Web Services).
- IAM role can be integrated with the other services that are present in the AWS(Amazon Web Services) they can be used to control the resource level permission in the Amazon Web Services.
- IAM user Provides detailed logging and monitoring capabilities where you can track every task performed by the IAM user and AWS Services.
Pre-built Policies for Web Servers, Databases, and More
AWS provides some pre-built IAM roles for the specific resources that are available in AWS such as Web Servers, Databases, and more as mentioned follows.
1. Web Servers
- AmazonEC2ReadOnlyAccess: If this is role is attached to any of the users or to the resource then user or the resource will have the Access to just read the EC2 instance rather than that they can’t perform any operation on EC2 mostly used for monitoring Purposes.
- AmazonEC2FullAccess: The user or the resource with this role can perform administrator-level operations on EC2 instances like read,write, and delete. Mostly used for the administrator-level actions.
2. Database
- AmazonRDSReadOnlyAccess: If this is role is attached to any of the user or to the resource then user or the resource will have the Access to just read the RDS Instance rather than that they can’t perform any operation on RDS instance mostly used for the monitoring Purposes.
- AmazonRDSFullAccess: The user or the resource with this role can perform administrator level operation on RDS instance like read,write and delete. Mostly used for the admistator level actions.
Creating IAM Entityalreadyexists
EntityAlreadyExists it is an error you may encounters this while your are trying to create an IAM entity such as user,group or role. following are the steps that are useful to resolve the error.
Step 1: Check for Existing Entity.
Use the following command in the AWS CLI whether the entity with the same name aleray exists.
aws iam list-users
aws iam list-groups
aws iam list-roles
- Choose a Unique Name
- Delete or Rename Existing Entity
- Check for Deletion in Progress
- Retry the Creation
- Review AWS Service Limits.
Crafting Custom IAM Roles for Your Unique AWS Needs
The following are the methods for using Roles:
- AWS Management Console
- Assume-Role CLI
- Assume-role-with-web-identity
- Console URL Construct with AssumeRoleWithSAML
Steps to Create an IAM role for the EC2 Instance
Step 1. First, we need to go to the IAM table Dashboard, and then we will go to the roles option and click on Create roles.
Step 2. Next under trusted entity type we will select AWS services and under Use case, we will select EC2 and click on next.
Step 3. Next under permission policies, we will search for S3 policies and will select S3readonly policy, and click on next.
Step 4. Next we will give our role a name and review all the changes and will click on next.
Now we need to add Permission
Step 5. Now our IAM roles are created and if we click on the role that we just created we will be welcomed to this screen. Here we can see the details of our role. We can see that our myS3Role has been created.
Step 6. Next, we will go to the EC2 dashboard and create an EC2 instance:
We need to create a new instance
Step 7. While creating the EC2 instance under configure instance we will select the IAM role that we just created and we will proceed with our EC2 instance creation:
Note: we have to select IAM role we created earlier inside Iam role tab
while creating EC2 in Add storage add 8 GB(GIB) and volume type General purpose SSD
During launching the instance download the key pair RSA file and launch the instance
Step 8. Next, we will connect to the EC2 instance that we just created
Secure Shell also known as SSH is a cryptographic network protocol that helps secure network services over an unsecured network. It securely helps users to log in to a server with SSH than using a password alone. SSH keys are nearly impossible to decipher by brute force alone unlike passwords
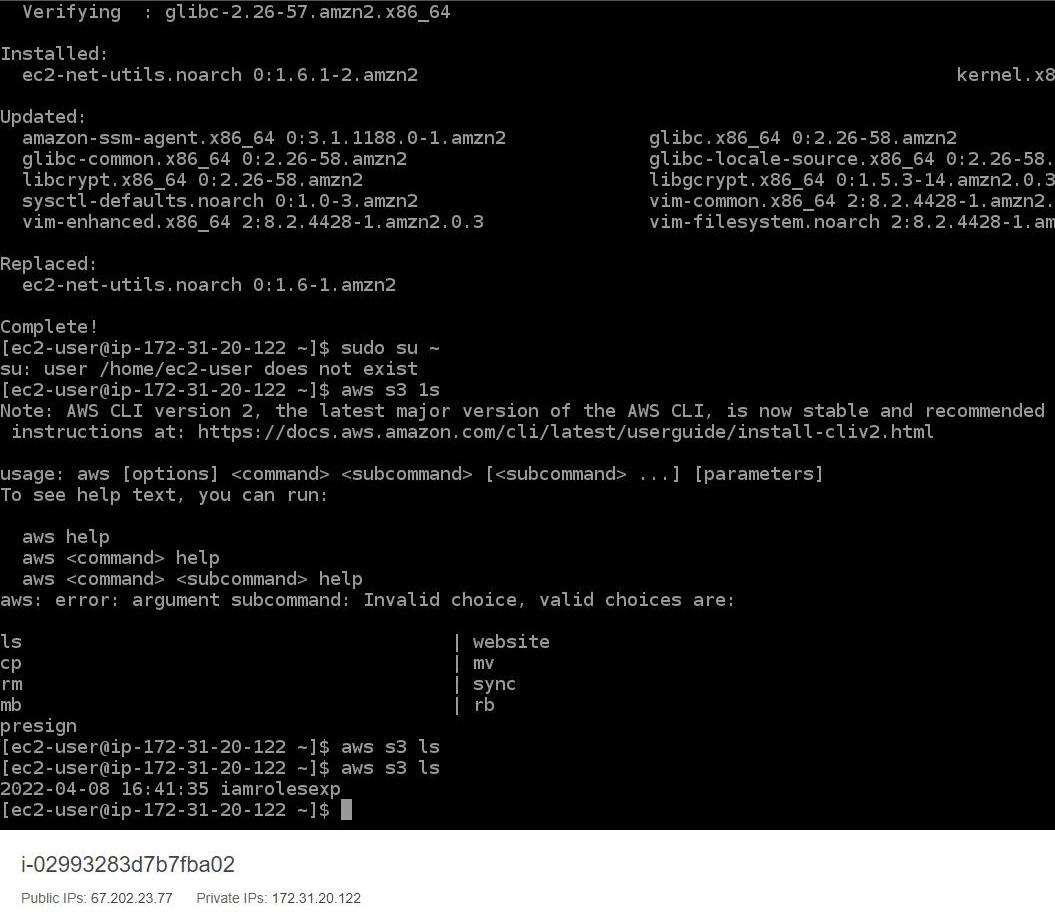
Step 9. Now we will use the command “aws s3 ls” which will then let us see all the S3 buckets we created because we have set the policies of the IAM role to S3readonly through this we can just read our S3 buckets:
Step 10. Now in order to avoid any charges we will delete our ec2 instance and our s3 bucket.
Managing and Rotating Roles for Dynamic Environments
The security need of the organization will variey from time to time so it is curicial to maintain the permission as the needs for doing it manually it will takes lots of efforts and time to overcome that we can use the dynamic IAM in AWS environment.
- Naming convention plays major role in dynamic IAM because it will consists of numerous roles. If the naming convention is maintained properly then it easier to identify the purpose and associated resources of each role
- Regular inspection is required to ensure that the roles are having the necessary permissions and not having excessive permissions which are not required.
- To organize the IAM roles requires proper tags maintenance which can be further used for tracing the permissions and to which they have been attached.
- You should rotate the credentials of IAM roles with the help of AWS Security Token Service (STS) to generate temporary credentials. This will reduce the risks like unauthorized access.
- Try to make sure that roles are having least privileges for that you should review regularly review and update regularly.
Frequently Asked Questions On IAM Roles-FAQs
How To Create IAM Role for AWS Lambda?
Following is the sample command which you can create AWS IAM role for AWS lambda using AWS CLI.
aws iam create-role --role-name GFGROLE --assume-role-policy-document file://trust-policy.json
Replace the GFGROLE with the desired role you want and create JSON file with a trust policy.
Creating IAM Role to Access S3 Bucket
Here’s an example AWS CLI command to create an IAM role for S3 access:
aws iam create-role --role-name S3RoleName --assume-role-policy-document file://trust-policy.json
Create trust policy with JSON file.
Create IAM Role for EKS Node Group
Here’s an example AWS CLI command to create an IAM role for an EKS node group:
aws iam create-role --role-name EKSNodeGroupRole --assume-role-policy-document file://trust-policy.json
Create trust policy with JSON file.
Share your thoughts in the comments
Please Login to comment...