How to create an npm library from React Components ?
Last Updated :
11 Mar, 2024
Creating an npm library containing React Components is very simple. In this tutorial, we’ll create a library containing a button component that changes color when clicked. Then we’ll demonstrate how to consume this library in a separate React application.
Approach to create an npm library from react components:
- Create a react app with desired components.
- Initialize npm in the app
- Configure Babel and Webpack to compile the components.
- Set up the npm scripts.
- Publish your package
- Install and use the package in other React Apps.
Steps to Create an npm library from react components:
Step 1: Setup Your React Components:
Create a new directory for your project and navigate into it.
mkdir my-react-library
cd my-react-library
Step 2: Create react app:
Create react app using the following command.
npx create-react-app .
Step 3: Create react components.
Create a new React component. Example: let’s create a simple Button component.
Javascript
import React, { useState } from 'react';
const Button = () => {
const [color, setColor] = useState('blue');
const changeColor = () => {
setColor(color === 'blue' ? 'red' : 'blue');
};
return (
<button style={{ backgroundColor: color }} onClick={changeColor}>
Click me
</button>
);
};
export default Button;
|
Step 4: Initialize npm Package:
Run npm init to initialize a new npm package.
npm init -y
Step 5: Prepare Your Components for Publishing:
Ensure your React components are properly organized within your project directory. The Button component should reside in the src directory.
Step 6: Install Necessary Packages:
Install necessary dependencies such as React and ReactDOM and save it in the package.
npm install react react-dom --save
Step 7: Configure Babel and Webpack:
Install necessary development dependencies such as Babel and Webpack along with their presets and loaders.
npm install @babel/core @babel/preset-env
@babel/preset-react babel-loader webpack webpack-cli --save-dev
Step 8: Create a webpack configuration file.
Javascript
const path = require('path');
module.exports = {
entry: './src/index.js',
output: {
path: path.resolve(__dirname, 'dist'),
filename: 'bundle.js',
library: 'my-react-library',
libraryTarget: 'umd',
},
module: {
rules: [
{
test: /\.js$/,
exclude: /node_modules/,
use: {
loader: 'babel-loader',
},
},
],
},
};
|
Step 9: Create a Babel configuration file:
Create a Babel configuration file (babel.config.js) in the root directory of your project.
// babel.config.js
module.exports = {
  presets: [
    '@babel/preset-env',
    '@babel/preset-react',
  ],
};
Folder Structure:

project structure
Step 9: Set Up npm Scripts:
Add build scripts to your package.json file.
"scripts": {
  "build": "webpack --mode production"
}
Step 10: Remove private from package.json
Remove “private”:true, from ‘package.json’.
{
  "name": "my-react-library",
  "version": "0.1.0",
  "dependencies": {
    "@testing-library/jest-dom": "^5.17.0",
    "@testing-library/react": "^13.4.0",
    "@testing-library/user-event": "^13.5.0",
    "react": "^18.2.0",
    "react-dom": "^18.2.0",
    "react-scripts": "5.0.1",
    "web-vitals": "^2.1.4"
},
Step 10: Publish Your Package:
Log in to npm using npm login, sign up if you don’t have account.
npm login
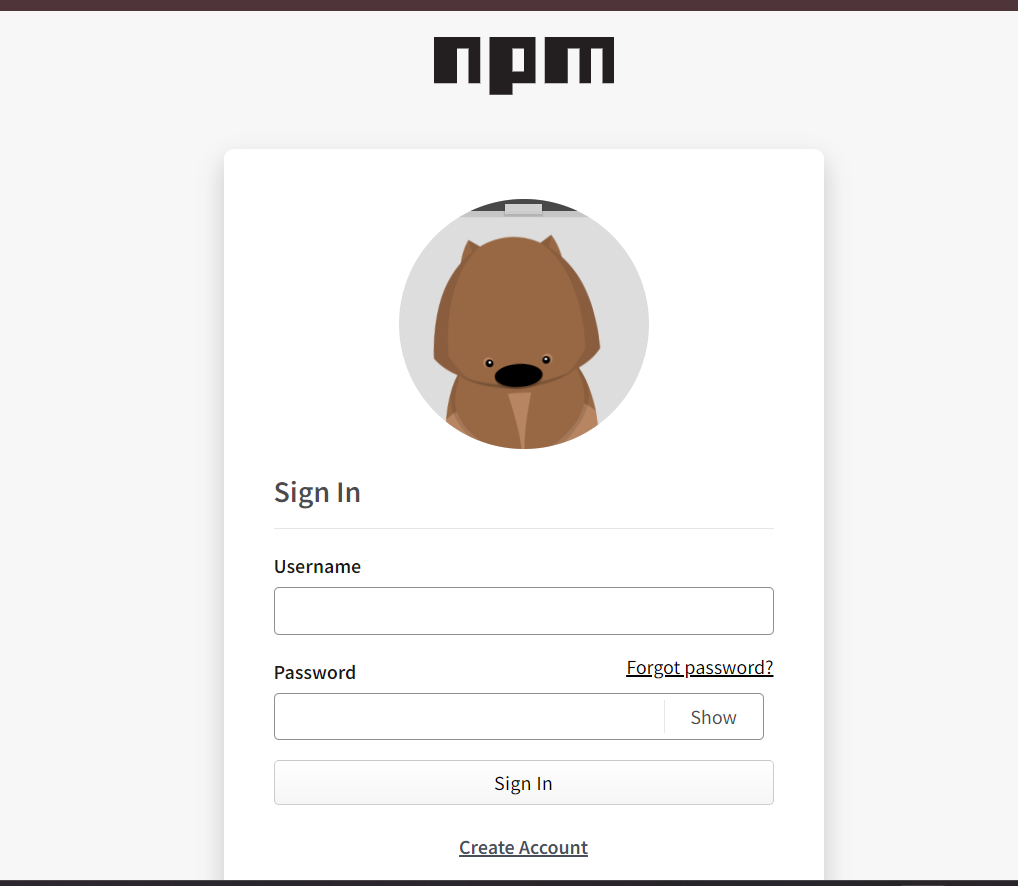
npm login page
Use npm publish to publish your package to the npm registry.
npm publish --access public
Using the npm library in your react app:
Step 1: Create React app:
npx create-react-app my-app
cd my-app
Step 2: Install Your Library
Install your npm library in your React app.
npm install my-react-library
you can find your react library in the node_modules after installation.
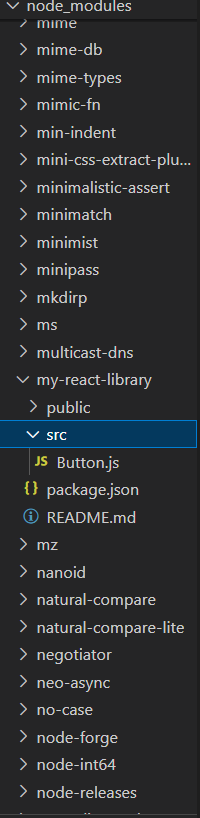
node_modules after installation of npm library
Step 3: Use your Library Component:
Javascript
import React from 'react';
import Button from 'react-button-library';
function App() {
return (
<div className="App">
<Button />
</div>
);
}
export default App;
|
Step 10: Run Your React App:
npm start
Output:
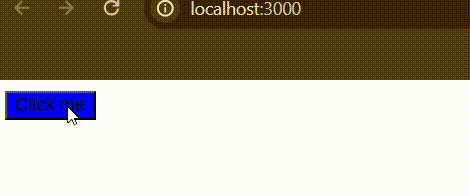
final output in app
Share your thoughts in the comments
Please Login to comment...