Axios npm – How to Install Axios npm in Terminal?
Last Updated :
17 Apr, 2024
Axios is a popular JavaScript library for making HTTP requests in web applications. It simplifies the process of sending asynchronous requests and handling responses. It is commonly used with Node.js and in browser-based projects and can be installed via NPM (Node Package Manager).
In this article, we will explore the step-by-step process of installing and using Axios with practical examples.
Prerequisites
Steps to install and use Axios in the terminal with npm:
Step 1: Open the VSCode IDE and launch the terminal by using the “Ctrl + `” shortcut.
Step 2: Now, we will create the new folder by using the below command in the VScode terminal.
mkdir axios-use
cd  axios-use
Step 3: After creating the folder, initialize the NPM using the below command. Using this the package.json file will be created.
npm init -y
Step 4: Now, we will install the Axios package for our project using the below command.
npm install axios
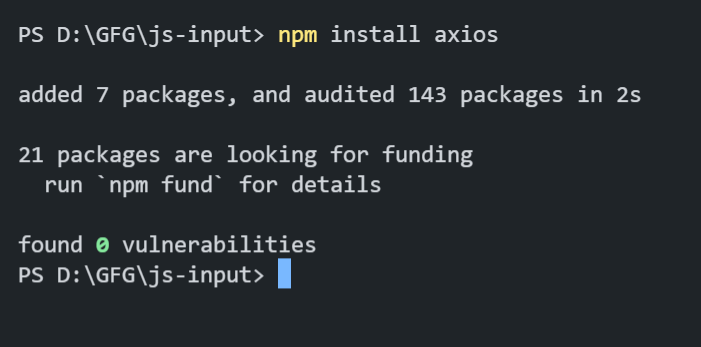
Step 5: To verify the installation, we can check the updated dependencies in package.json file:
"dependencies": {
    "axios": "^1.6.7",
}
Folder Structure:

Example: Write the following code in the app.js created as shown in folder structure.
Javascript
const axios = require('axios');
console.log('Making a GET request to JSONPlaceholder API...\n');
.then(response => {
const user = response.data;
console.log('User Information:');
console.log(`Name: ${user.name}`);
console.log(`Email: ${user.email}`);
console.log(`Address: ${user.address.city}, ${user.address.street}`);
})
.catch(error => {
console.error('Error:', error.message);
});
|
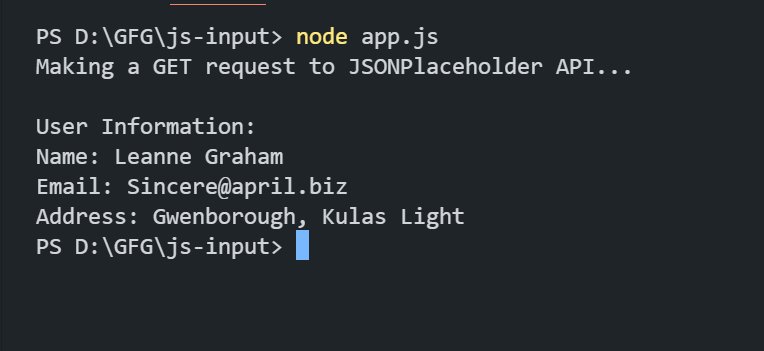
To run the application, we need to start the server by using the below command.
node app.js
Output:
Share your thoughts in the comments
Please Login to comment...