How to Connect to MongoDB Atlas Using Shell?
Last Updated :
12 Dec, 2023
MongoDB is a NoSQL database. It helps to manage large amounts of complex and unstructured data. It is a document-oriented database which means it stores the data in a document manner, unlike tabular format. MongoDB is a highly scalable and widely used NoSQL database.
MongoDB Atlas
MongoDB Atlas is a fully managed multi-cloud database. It handles all the complexity of deploying and managing on the cloud service providers like AWS, Google Cloud Platform, and Microsoft Azure. Atlas is a good way to deploy, run, and scale MongoDB in the cloud. MongoDB Atlas also has a free tier, so we don’t need to pay anything to use the free plan.
MongoDB Shell
MongoDB Mongo shell is a JavaScript interface. It allows us to easily interact with MongoDB instances through the command line. It can be used to manipulate data stored in a database. We also can perform the queries in MongoDB from the shell.
Steps to connect MongoDB Atlas using Shell
We need to follow the following steps to create a connection with MongoDB Atlas using Shell
- Install MongoDB on your Local Computer.
- Creating a Cluster in MongoDB Atlas.
- Establish the Connection to MongoDB Atlas Using Shell.
- Perform Queries in MongoDB Atlas Using Shell.
Install MongoDB on your local computer
After installing MongoDB. Now open any terminal and write the following command and check whether it is installed properly in your system or not.
mongod
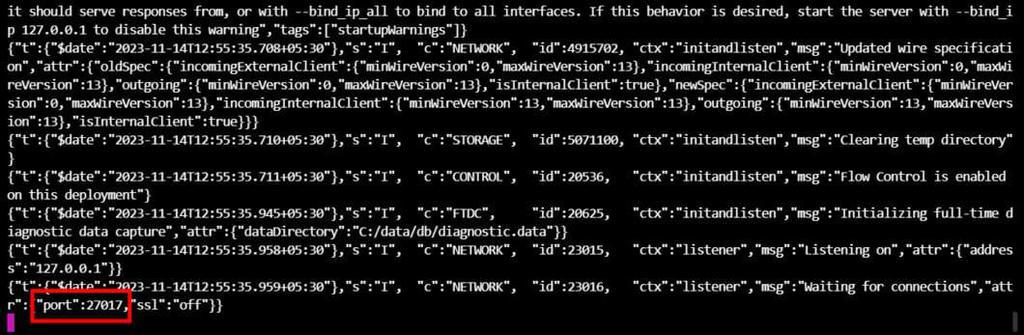
Starting MongoDB server on port: 27017
It starts the MongoDB server on the port 27017. Now, keep this MongoDB Mongo window and open a new tab to run the Mongo shell that will connect to the MongoDB. Write the following command.
mongo

Connecting the Mongo Shell to the local MongoDB Server
Now, our Mongo shell is connected to the local MongoDB Server. Our goal is to connect our Mongo shell to MongoDB Atlas. Let’s create a cluster in MongoDB Atlas and then connect it.
Creating a Cluster in MongoDB Atlas
Step 1: Go to the MongoDB Atlas website and sign up for an account, You can also directly sign up with Google.
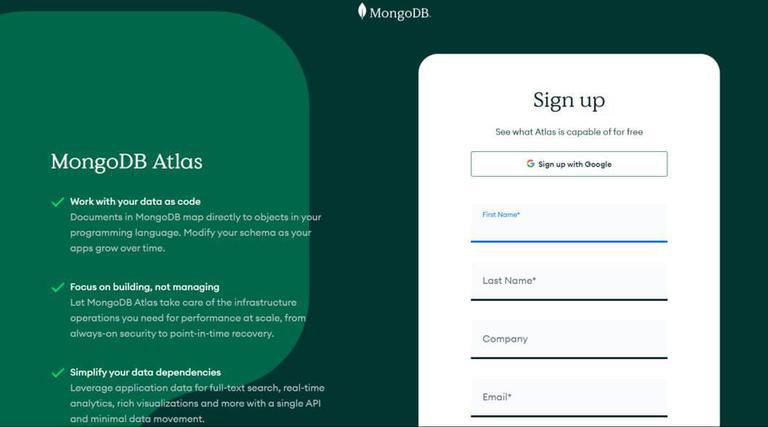
SignUp/Login to MongoDB Atlas Account
Step 2: Now, go to the database option and click on the “Build a Database” button.
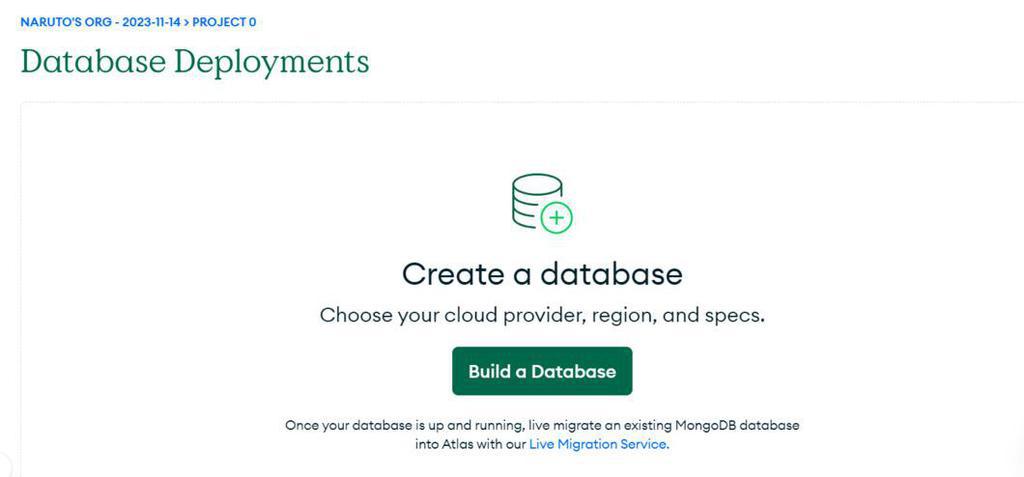
Creating a Database
Step3: Choose the Free Cluster (M0). Select the cloud provider AWS, Google Cloud or Microsoft Azure for free hosting and then select the region in which it should be hosted. Rename the cluster if you want. At the end, click on the “Create” button to set up the free cluster.
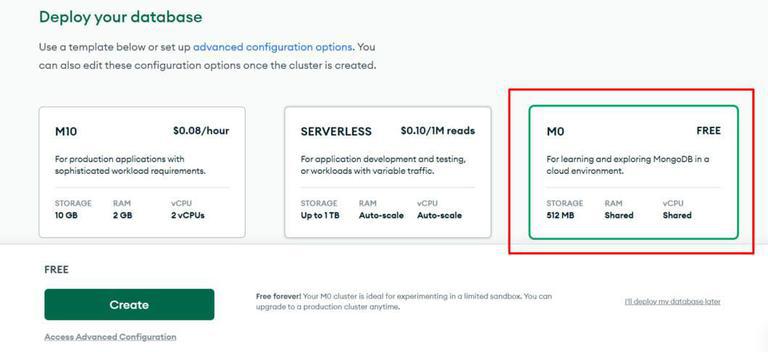
Creating a Free M0 Cluster in MongoDB Atlas
sdedewd

Configuring Cseededovider & Selecting the Hosting Region
Step 4: Enter a username and password to create a user and network access to allow access anywhere. That will be the username and password through which the user can access the database to whom to give access.
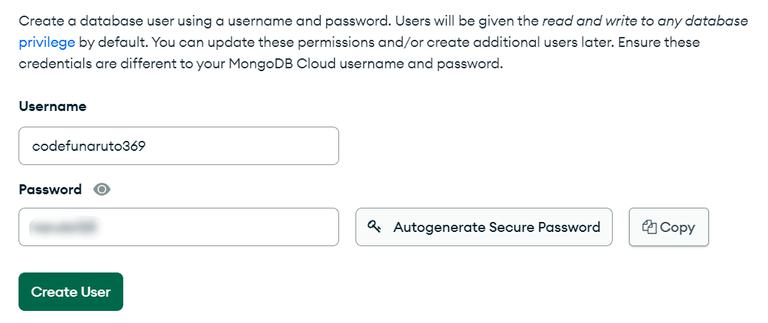
Creating an user for the Database
Establishing a Connection to the created Cluster from Shell
Step 1: Click on “Connect” and then select “Connect with the MongoDB Shell“. Then go to ” I have the MongoDB Shell installed ” option. Select the Mongosh version from there.

Connecting to MongoDB using Shell
Step 2: Copy the connection string and run the command in your terminal, Then you can enter the password that you set earlier with the username and password.

Connection established with the MongoDB cluster via Mongo Shell
You are successfully connected with the MongoDB Atlas using Mongo shell. You are ready to write queries in the Mongo Shell and that will be reflected in the MongoDB Atlas cluster.
Writing Queries in Mongo Shell
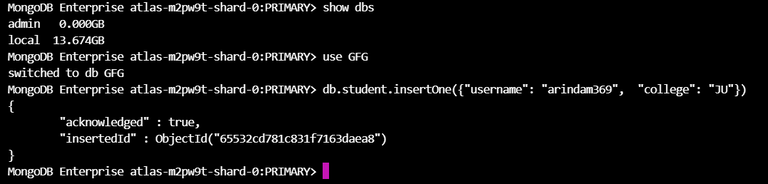
show dbs
Explanation: It shows all the databases created.
use GFG
Explanation: It will create and switch to the “GFG” database.
db. student.insertOne({"username": "arindam369", "college": "JU"})
Explanation: It will create a collection “student” in the “GFG” database and insert a new JSON document in the “student” collection.
Queries
Output:
After executing the queries in the Mongo Shell, open the Collections in the MongoDB Atlas Cluster. We get the output given below.
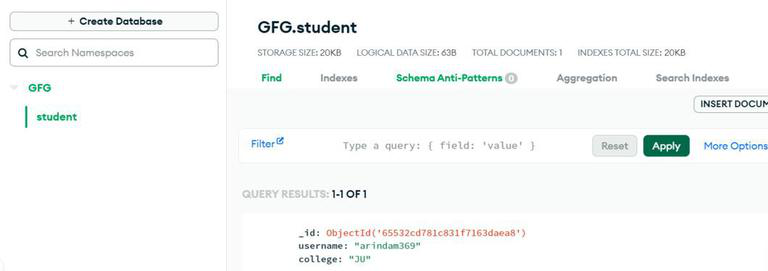
After executing queries in the mongo shell, result in MongoDB Atlas
Conclusion
MongoDB Atlas is simplifies the tasks of deploying and scaling MongoDB in the cloud and it helps us to create the cluster of MongoDB. On the other hand, MongoDB Shell is helping us to explore data stored in MongoDB directly from our terminal. With shell, we can easily modify,and delete data from our Atlas Cluster. So, with these two applications, we can use MongoDB very efficiently in a beginner-friendly way.
Share your thoughts in the comments
Please Login to comment...