Connect MongoDB Atlas Cluster to MongoDB Compass
Last Updated :
18 Apr, 2024
MongoDB Compass is a free GUI for MongoDB. You might want to connect MongoDB Atlas Cluster to MongoDB Compass to take benefit of the GUI model for database administration.
This guide explains how to connect MongoDB Atlas Cluster to MongoDB Compass. The connection process involves obtaining a connection string from MongoDB Atlas, configuring MongoDB Compass settings, and establishing a connection for efficient database management.
Let’s look at the steps involved in this process.
Steps to Connect MongoDB Atlas Cluster to MongoDB Compass
Follow the steps mentioned below to connect the MongoDB Atlas cluster to the MongoDB Compass:
Step 1: Install MongoDB Compass
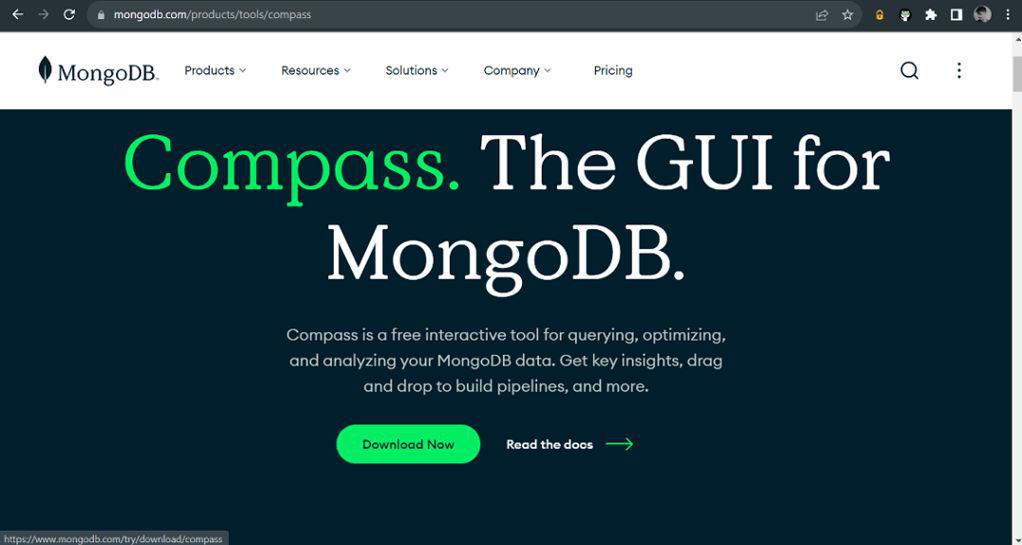
The very first step is to install the MongoDB compass into your system.
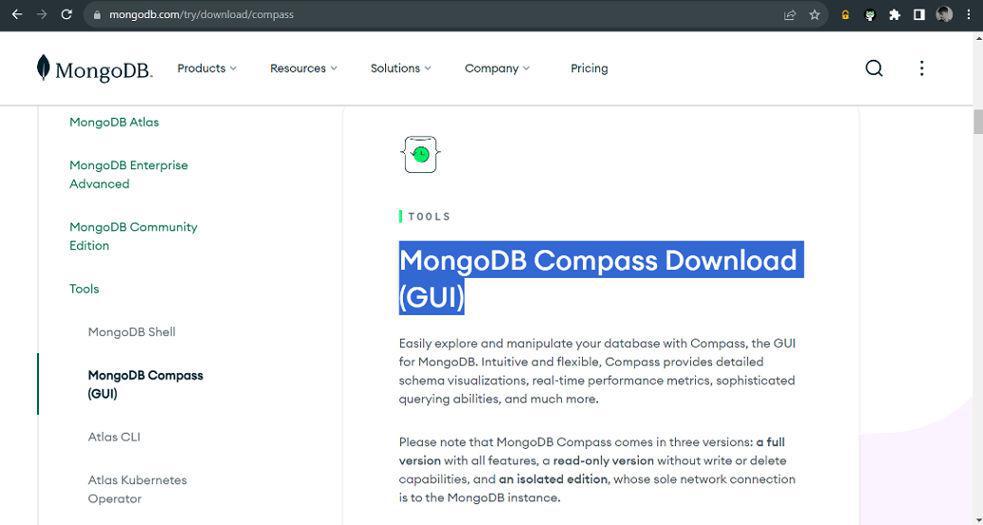
Go to the official site of MongoDB compass and click the download now button.
MongoDB compass Interface
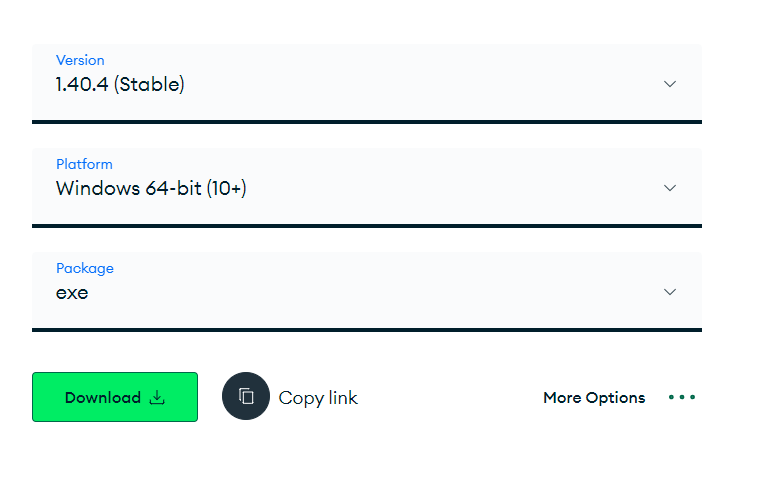
Go to the MongoDB Compass Download (GUI) section and select the version, operating system, and click the download button. The exe file will be downloaded automatically.
MongoDB GUI version download section
MongoDB version and package
Once downloaded then install the MongoDB compass. Search and execute the downloaded exe and the MongoDB compass will be installed automatically.
Step 2: Login/Signup to MongoDB Atlas Account
Go to the official MongoDB Atlas site and create a new account if you have otherwise logged in to your account.
Click the try free button. You will reach the signup/login page if not logged into your account.
MongoDB Atlas dashboard

Atlas SignUp
After creating a new account, log in to your account and you will be redirected to the Atlas dashboard.

MongoDB Atlas database dashboard
Step 3: Creating the MongoDB Atlas Cluster
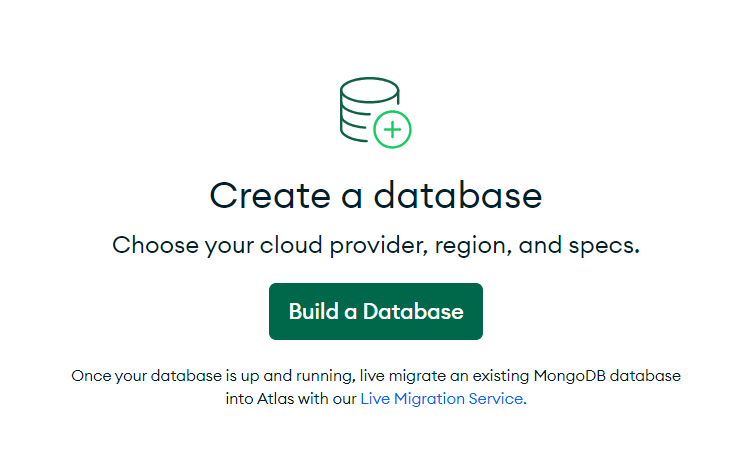
Select the database option from the left sidebar and you will see the option below “Create a database“. If you already have a database created then you will see details of the cluster in which the dataset is created.
Assuming we don’t have a database so first we have to create a cluster and inside the cluster, we will have our databases.
Atlas cluster is nothing but reserving some space on cloud services like AWS and Google Cloud to store the information of the datasets that we will create. The cluster configuration is according to the user’s access location and frequent usage or that the paid services are provided.
As a beginner, we will use the free services. Let’s create a cluster by clicking the option “create a database“.
MongoDB Atlas cluster creation
The list of services, regions, and providers (AWS, Google Cloud, Azure) will be displayed. If a large number of users access your database then you can go either higher computing or storage services but for now, we will use free service.
Select the M0 free and then click on Create to create a free cluster. Next step you have to complete the Captcha. After that you will be redirected to the database dashboard and the new cluster will be created.

cluster configuration settings
Next, go to the security section in the left sidebar and there you will find the option to create a user for the database you will create. This user will have read and write operations and the permissions also can be changed. Ensure the username and password are not the same as the Atlas account password.

database username/password setting
Step 4: Copy the Cluster Connection String
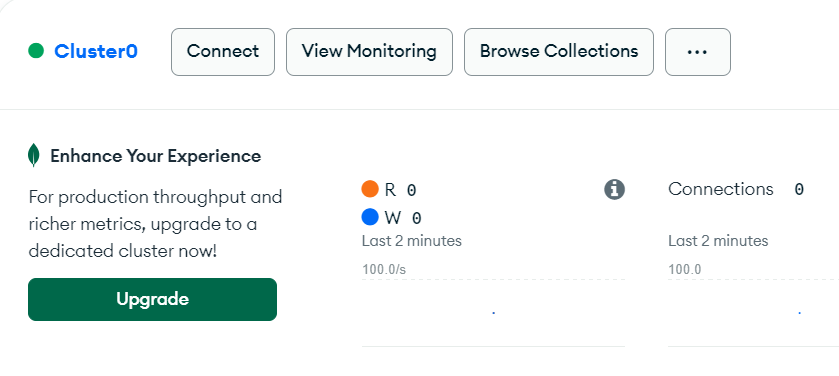
Again go to the database section and you will find the details about the cluster that you have created. Now we will connect this with the MongoDB compass.
Click the connect button, the right side of the cluster name Cluster0.
Cluster Details
Next, a window will open. Click on the Drivers option.
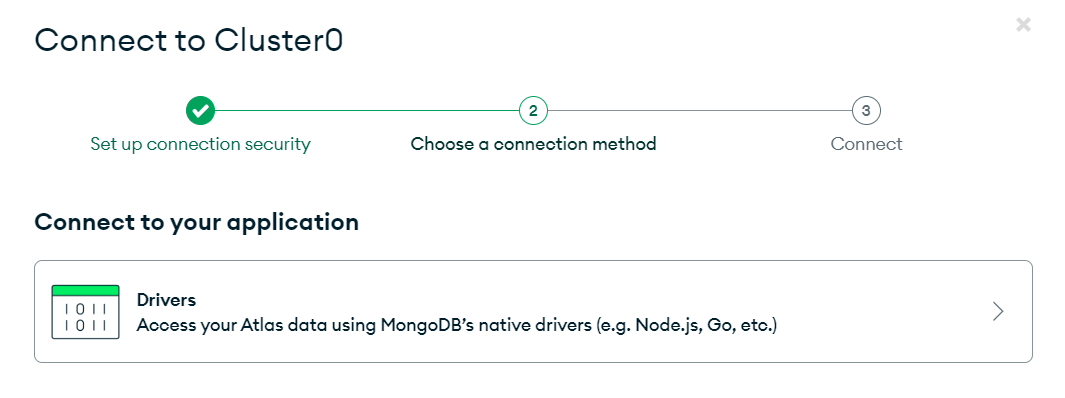
Cluster connection, connect option details
Choose the appropriate driver (point 1) and copy the connection string (point 3).

Connection string
Step 5: Open MongoDB Compass
Start the MongoDB Compass and you will see the dashboard like the below.

MongoDB Compass connection dashboard
Step 6: Connect to Your Cluster
Next, paste the copied connection string into the new connection String field, replace the password with the actual database user password that you have created in step 3, and then click connect.
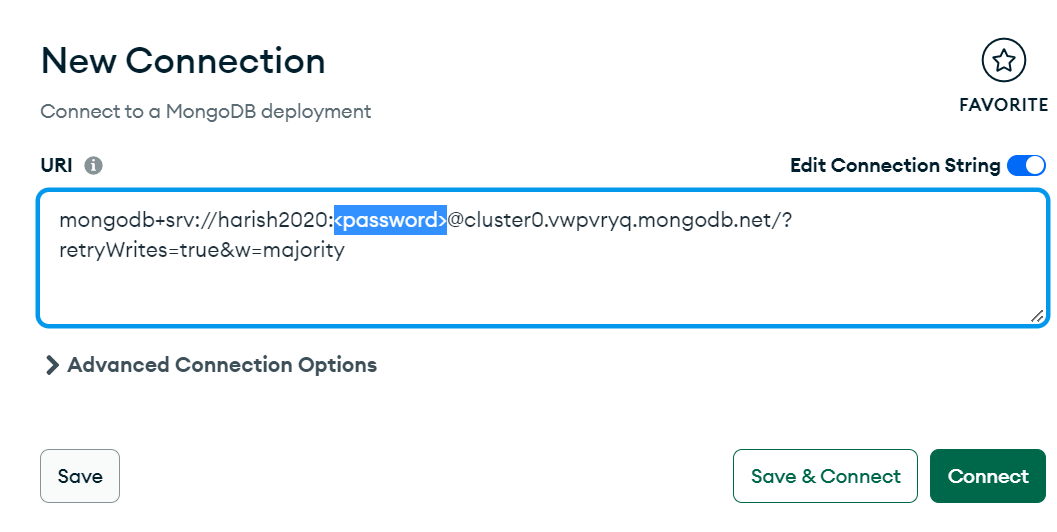
password modification
After that, you will be connected to your MongoDB Atlas. You can create or modify a database through MongoDB Compass Dashboard.

MongoDB compass dashbopard after Atlas connection
Conclusion
In conclusion, utilizing MongoDB Compass and integrating it with the MongoDB Atlas dashboard will simplify database interaction. Without the need for complicated command-line procedures, users can create, update, and query data in databases with ease when using a graphical user interface (GUI).
Having MongoDB Compass connected to the MongoDB Atlas dashboard improves database administration in general.
Share your thoughts in the comments
Please Login to comment...