How To Configure Flask API To Your Domain Name On AWS EC2?
Last Updated :
07 Mar, 2024
In this article, We are going to create a Flask API on an EC2 Instant and we will learn how to configure it with a domain name using Gunicorn and nginx(NGINX). Flask is a web microframework, it’s a Python module that lets you develop web applications easily. A domain name is a string of text that maps to an alphanumeric IP address, used to access a website from client software. In plain English, a domain name is the text that a user types into a browser window to reach a particular website.
Configuring Flask API To Your Domain Name On AWS EC2: A Step-By-Step Guide
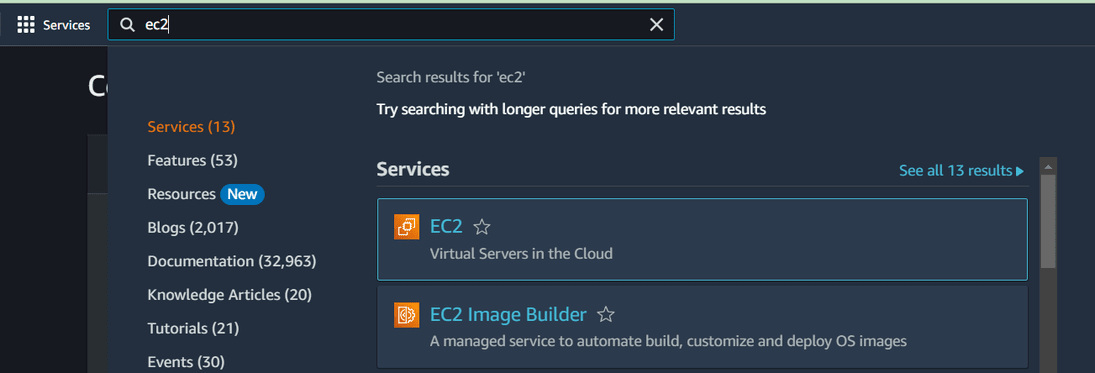
Step 1: Sign in to your AWS Console and search EC2, click on it.
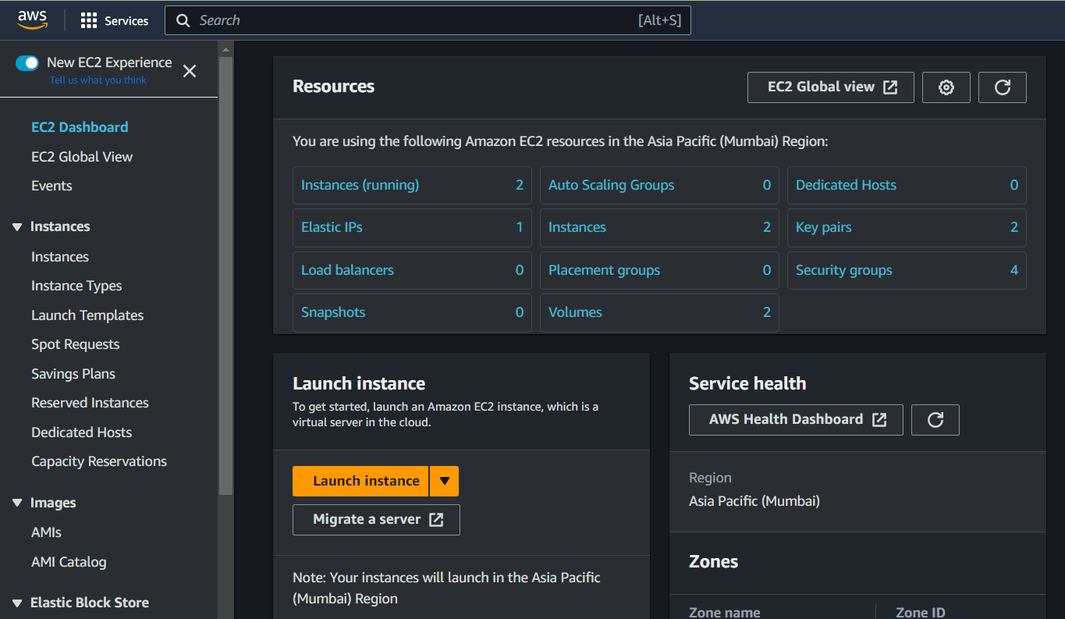
Step 2: Navigate to EC2 Dashboard and then go to instances section.
- Create an EC2 instance service on clicking on “Launch Instance”
- After filling the details of instance like instance Name for example ‘MyINCLinux’.
- Select Amazon Linux OS as AMI in particular select Amazon Linux 2 AMI(HVM) – Kernel 5.10, SSD Volume Type’ in Amazon Machine Image (AMI) Section, then select t2.micro in Instance type section.
- In Key pair section select if you have .pem else create key pair enter name and click on create key pair button and make sure to key pair file(.pem) is downloaded .
- Then in network setting section click on edit and check create security group and add inbound rules like ssh, http, https, custom TCP and enter port range 8080 and in source type select anywhere.
- Click on ‘launch instance’ button. Now our EC2 Instance created.
Step 3: Check the status of the created Instance.
- Now click on instance instance add on the instances list now wait for instance status check is 2/2 checks passed.

Step 4: Connect to the instance by clicking on instance id and click on connect button to connect instance.
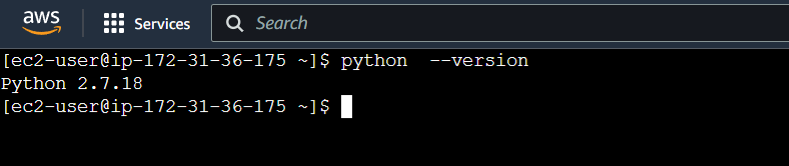
Step 5: Create API using Flask framework and open your console of linu. Firstly check python version with the following command:
python --version
- Make a folder for store Flask API related file to make folder with the following command:
mkdir API

Make the created director as a current folder by running the following command:
cd API

Step 6: Now set Flask API environment , it’s a best practices to create a virtual environment for flask app and it isolated dependencies . to create virtual environment with the following command:
python3 -m venv venv
Activate virtual environment with the below command:
source venv/bin/activate

Step 7: Now install Flask package using pip (python package manager) with the following command:
pip install Flask

Step 8: Now create app.py file for write Flask code logic for application . here is command for this touch filename.py with the below command:
touch app.py

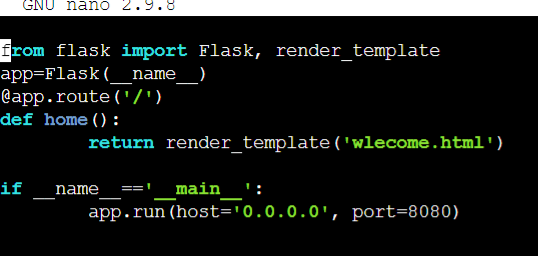
The following command make empty file with name app.py. Write a code in it open it in text editor and write below code:
nano app.py
- Save this file press ctrl+o and hit enter and close the text editor press ctrl+x.
Step 9: Now make a subdirectory named “templates” in main directory with below command:
mkdir templates && cd templates

- Now create HTML file named welcome.html file with the following command:
touch welcome.html
- This following command create empty file
nano welcome.html

- Now this command open welcome.html file text editor in this you write your html code for welcome page.

Step 10: Quit to templates folder with below command and Now API is ready to run
cd ..
Step 6: Run The API with the following command:
python3 app.py
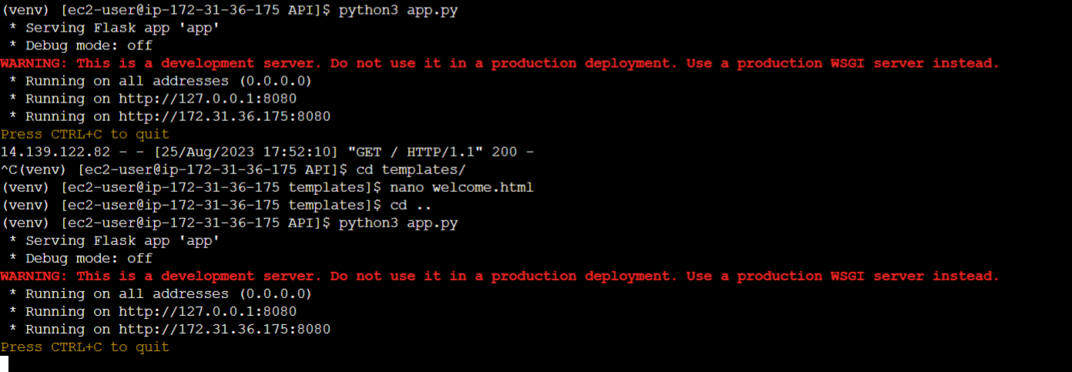
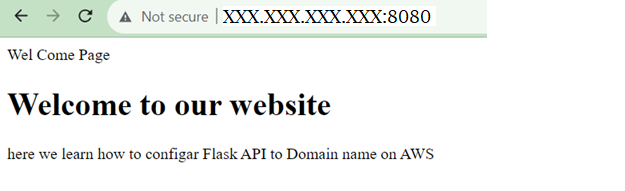
- To see the output we need first our instance ip for that click on instance id and copy Public IPv4 address

- And open new tab and past it with port 8080.
- You see above we use port 8080 for run our API but http service run on 80 no. port so now we have to do port forwarding to http(80) port.
Step 11: Run API without port using gunicorn.
- Gunicorn is a Python Web Server Gateway Interface (WSGI) HTTP server.
- The Gunicorn server is broadly compatible with a number of web frameworks.
- Gunicorn serves as a middle layer between the web server (e.g., Nginx or Apache) and your Python web application, helping to manage incoming HTTP requests and handling them efficiently.
- So now install gunicorn in virtual environment but before that upgrade python version because guncorn need python version 23.2.1
python3 -m pip install --upgrade pip
Now install gunicorn in virtual environment using the following command:
pip install gunicorn

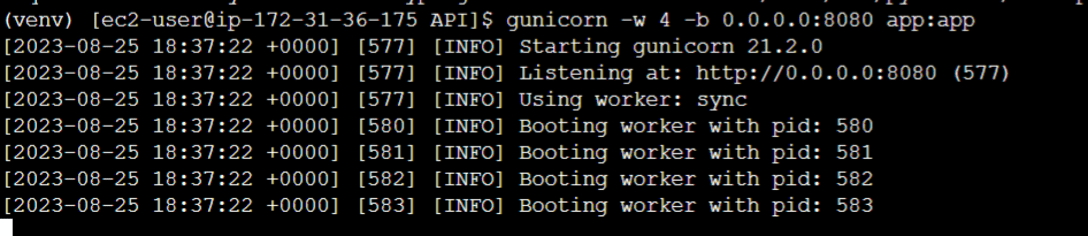
- Now start API with gunicorn so first navigate API to gunicorn using command gunicorn -w 4 -b 0.0.0.0:8080 filename:app.
- In this command -w for worker process, -b for bind incoming requests to specifies interface or port, and at last file name :app in this I give 4 worker process and bind all available interface on port 8080 with following command:
gunicorn -w 4 -b 0.0.0.0:8080 app:app

Step 12: Configure EnginX (NGINX)
- NGINX is open source software for web serving, reverse proxying, caching, load balancing, media streaming, and more. Its HTTP server capabilities, NGINX can also function as a proxy server for email (IMAP, POP3, and SMTP) and a reverse proxy and load balancer for HTTP, TCP, and UDP servers.
- So first install nginx the below command:
sudo amazon-linux-extras install nginx1

- After this Create a new Nginx server block configuration make .conf file at location /etc/nginx/conf.d/your_domain_name.conf with the following command:
sudo nano /etc/nginx/conf.d/ctrlaltelite.conf
- Above command open text editor file write in this file below code

- In code say if any request received from 80 port we forward that request to localhost ip and 8080 port .
- And restart the nginx server using the below command:
sudo systemctl restart nginx
- And again configure with guncorn using following command:
gunicorn -w 4 -b 0.0.0.0:8080 app:app
- Now search only EC2 Instance ip for run API

- We configure ip with guncorn so now not need give port 8080 it automatically forward it to 8080 port
Step 13: Configure domain name with Route 53
- Here I have one domain name like www.ctrlaltelite.online. So now create host zone in AWS services Route 53
- Amazon Route 53 is a highly available and scalable Domain Name System (DNS) web service. You can use Route 53 to perform three main functions in any combination: domain registration, DNS routing, and health checking.
- So for create host zone search in amazon console route 53 and click on it, than click on host zone in left corner and click on create host zone button.

Step 14: Fill details like domain name and description select public hosted zone and click on create host zone. It add in our hosted zone list.

Step 15: Now click on hosted zone name there are already two record are created and add to two more record there to create record click on create record and add details like name, select type ‘A’ and in value column add domain name ip address click on create record.
- And in second record fill name, select type ‘CNAME’ and in value column add first record name and click on create record.

Step 16: Now we have to add type NS record traffic to our domain provider here I use bigrock as domain provider so I login to bigrock and click on name servers

- Add all value of record type NS to in this. So now we configure our Domain name to AWS.
Step 17: Configure our Flask API to domain name
- Navigate to linux command line interface and open ctrlaltelite.conf file and add server name .
sudo nano /etc/nginx/conf.d/ctrlaltelite.conf

Step 18: Restart enginX(NGINX) & Configure with gunicorn
- Restart the nginx server with provided command:
sudo systemctl restart nginx
- Again configure with guncorn with below command:
gunicorn -w 4 -b 0.0.0.0:8080 app:app
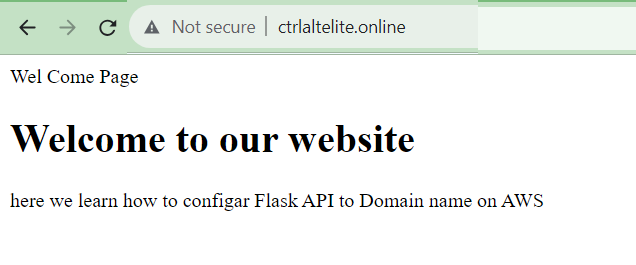
Step 19: Run API by Domain Name
- Open new tab and search your domain name and run it.
Configuring Flask API And AWS EC2 – FAQs
What Is AWS EC2, And How Does It Relate To Hosting My Flask API?
Amazon Elastic Compute Cloud (EC2) is a web service offered by AWS that provides resizable compute capacity in the cloud. You can use EC2 instances to host your Flask API, making it accessible over the internet.
How Do I Acquire A Domain Name For My Flask API Hosted On AWS EC2?
You can register a domain name through domain registrars like GoDaddy, Namecheap, or AWS Route 53. Once registered, you’ll configure the DNS settings to point to your EC2 instance’s IP address.
What Is DNS, And Why Do I Need To Configure It For My Domain Name?
DNS (Domain Name System) is like the internet’s phonebook. It translates human-friendly domain names (e.g., example.com) into IP addresses that computers use to identify each other on the internet. Configuring DNS allows your domain name to resolve to your EC2 instance’s IP address.
What Steps Are Involved In Associating My Domain Name With My EC2 instance’s IP Address?
You need to create DNS records (usually an “A” record) in your domain registrar’s dashboard. This record should point to your EC2 instance’s public IP address. The exact steps depend on your registrar, but the process typically involves specifying the IP address in your domain’s DNS settings.
Share your thoughts in the comments
Please Login to comment...