How To Add A CA Root Certificate Inside A Docker Image ?
Last Updated :
26 Mar, 2024
The CA Root Certificate is a digital certificate that is used to only trust software and applications. Using this inside the Docker images establishes trust between the running applications inside the containers and the external host system. It facilitates secure communication by verifying the authentication with SSL/TLS certificates provided by external services. In this article, we will go through in detail and guide how to add a CA root certificate inside a Docker image.
Understanding Of Primary Terminologies
- CA Root Certificate: A digital certificate that provides a trust model and allows authentication services.
- Docker: Docker is a containerized platform tool that manages the life cycle of containers. It packages the dependencies of an application into a single entity.
- Docker Image: Docker images are read-only templates that provide instructions for creating a container with the application dependencies.
- Dockerfile: It is a text or document file that contains the assembly of commands that are needed for an application with its packages and dependencies that help in making a Docker image.
Adding CA Root Certificate Inside A Docker Image: A Step-By-Step Guide
Step 1: Log in to an AWS Account
- Navigate to your AWS account and provide your username.

- Provide the Password with respective to your Username.
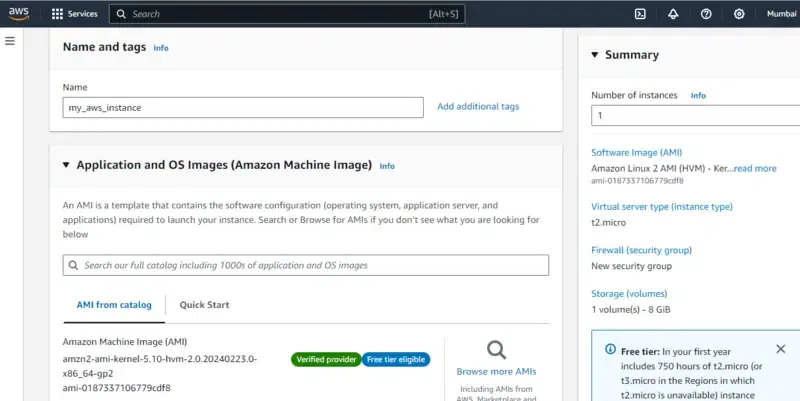
Step 2: Create An Instance
- Create an instance by clicking on create Instance

Step 3: Choosing AMI
- Choose the AMI with name Amazon Linux 2 which is the latest version of Amazon Linux distribution and provide number of instances as 1 and instance name as “my_aws_instance”.
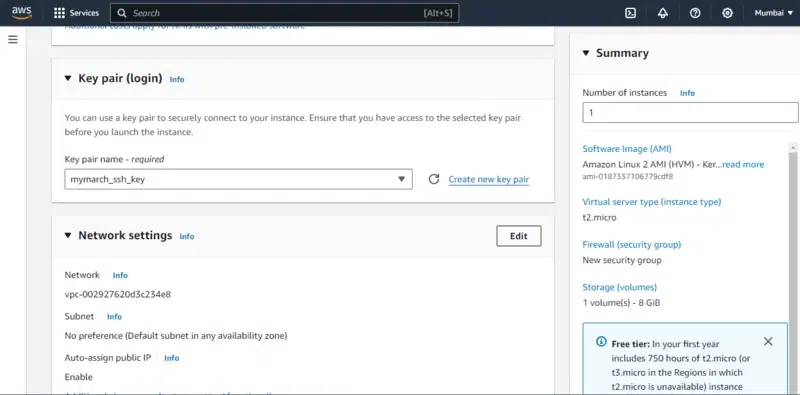
Step 4: Choosing Key Pair
- Choose the existing the key pair, It helps in connecting the instance remotely from the local console with ssh protocol. Or else you can use choose without key pair option.
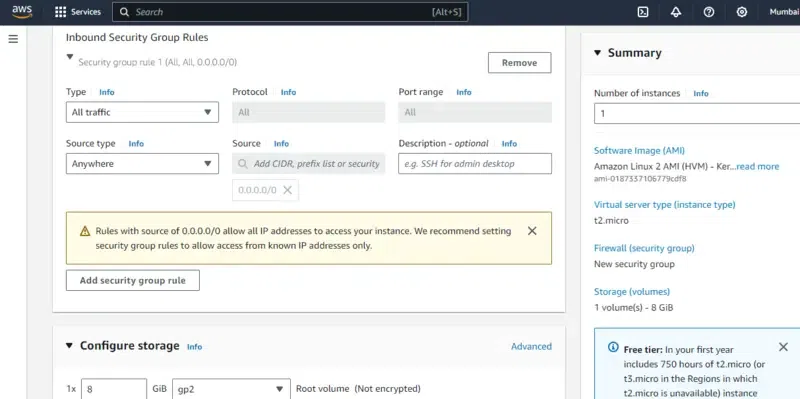
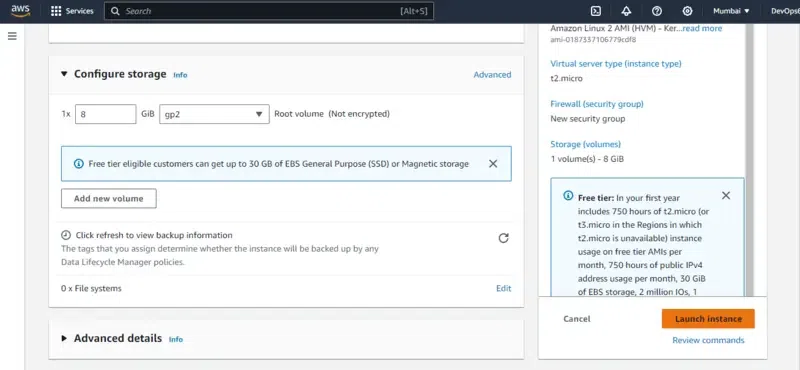
Step 5: Configuring Security Groups
- Configure the network security groups by clicking on edit option and provide the option values as shown in the below screenshot.
Step 6: Launching Instance
- After reviewing the definitions and configuration of the instance click on Launch Instance button.
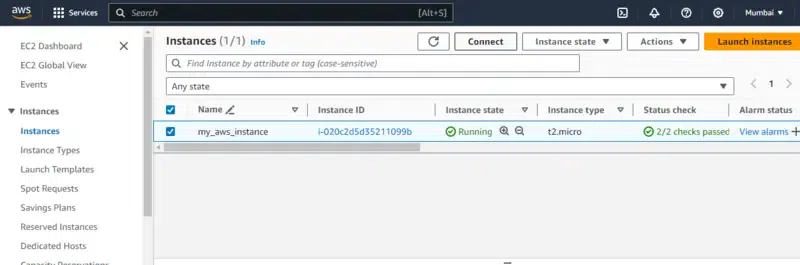
Step 7: Connect Instance
- After creating the instance with name “my_aws_instance” , it will take some time to come for running state. After that Connect to the instance by clicking on connect button as shown in below screenshot.
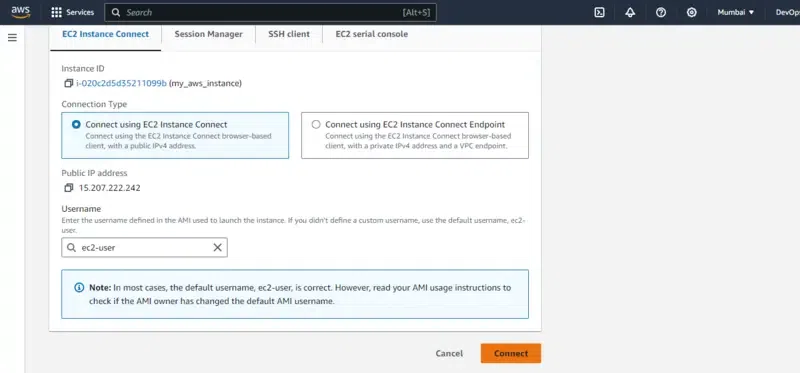
Step 8: Navigate EC2 Console
- Click on the instance, navigate inside to it and go through EC2 Instance Connect section and click on connect to use EC2 Console.
Step 9: Switch To Root User
After landing on the EC2 Console, Run the following command to switch to root user.
sudo su -

Step 10: Install Docker
Now, install the docker software with running the following command:
yum install docker
and enable the docker service with the following command:
systemctl enable docker --now

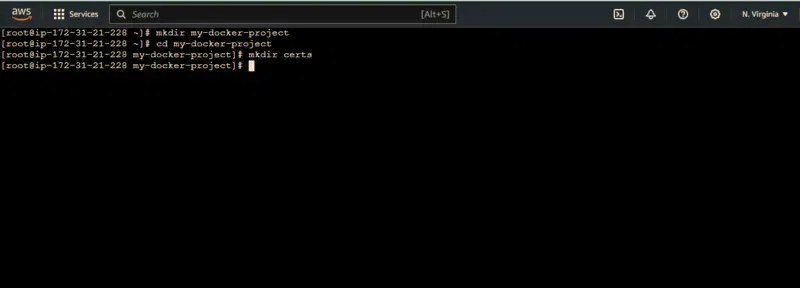
Step 11: Create a Directory Structure
- Open your terminal or command prompt.
- Create a directory for your Docker project if you haven’t already:
mkdir my-docker-project
cd my-docker-project
Within your project directory, create a folder to store your certificate files:
mkdir certs
Step 12: Create the CA Root Certificate
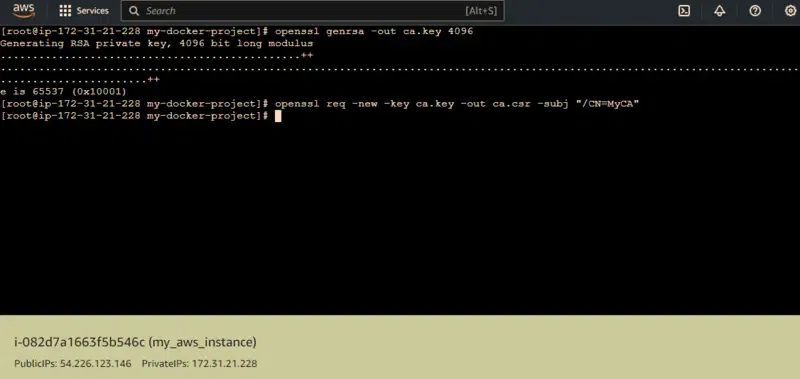
- Generate a Private Key for the CA with the following command, It generates a 4096-bit RSA private key and saves it as ca.key file.
openssl genrsa -out ca.key 4096
- Create a Certificate Signing Request (CSR) for the CA with below command:
openssl req -new -key ca.key -out ca.csr -subj "/CN=MyCA"
- Here, MyCA is the common name (CN) for your CA. Modify it as needed.
- Self-Sign the CA Certificate with the following command:
openssl x509 -req -days 3650 -in ca.csr -signkey ca.key -out ca.crt
- This command generates a self-signed certificate (ca.crt) valid for 10 years (3650 days) using the private key (ca.key) and the CSR (ca.csr).
- Now, Verify the Certificate:
openssl x509 -noout -text -in ca.crt
- This command verifies the details of the generated certificate.

- Now, Move the Certificate to the Certs Directory with the following command:
mv ca.crt certs/root-ca.pem
- This command moves the generated CA root certificate to the certs directory within your Docker project.
- Now, you can proceed to Step 3 in the Docker setup, using the generated CA root certificate (root-ca.pem) in your Docker image.
Step 13: Write A Dockerfile
Create a Dockerfile in the root of your project directory:
touch Dockerfile
- Configure the Dockerfile with the following code using the base image as “alpine:latest“
 FROM alpine:latest
# Copy the CA root certificate into the image
COPY certs/root-ca.pem /usr/local/share/ca-certificates/root-ca.crt
# Update CA certificates in the image
RUN update-ca-certificates

Step 14: Build the Docker Image
- In your EC2 Console, navigate to your project directory if you’re not already there and then Build your Docker image using the Dockerfile with the following command:
docker build -t my-docker-image .
- Replace my-docker-image with a suitable name for your Docker image.

Step 15: Verify the Image
- Once the build process completes, verify that the CA root certificate is successfully added to the Docker image:
docker run --rm -it my-docker-image
- This command should output a message indicating that the CA certificates have been updated successfully.

Step 16: Usage
- Use the built Docker image in your Docker containers or services as needed.
- Any applications or services running within containers based on this image will now trust the CA specified in the root certificate.
CA Root Certificate Inside Docker Image – FAQ’s
Can I update the CA root certificate inside a Docker container?
No. Docker containers are generally comes with immutable nature,.The changes made inside a running container are not perminant. It’s perferred to update the CA root certificate at the time of Docker image build process.
How can I ensure that my application inside a Docker container trusts the added CA root certificate?
On adding the CA root certificate to the Docker image at the time of build process and configuring your application to use the system’s trusted CA store. Your application will automatically trust certificates signed by the added CA.
Is it secure to include a CA root certificate inside a Docker image?
On Including a CA root certificate in a Docker image is mostly safe as long as the certificate is handled securely at the time of build process and that image is itself securely stored and distributed.
Can I remove or revoke a CA root certificate from a Docker image after it has been added?
Once the docker images are build that will act as immutable. So it’s not possible to directly remove or revoke a CA root certificate from a Docker image. Instead, you would need to rebuild the image without including the certificate.
Share your thoughts in the comments
Please Login to comment...