Groups in Figma
Last Updated :
22 Mar, 2024
Designing can be a complex process but with the help of Figma, we can actually keep our designs organized and easy to manage. One of the key features that Figma offers is the ability to group objects together. In this article, we will learn about what groups are and how they can simplify our design workflow.
What are Groups in Figma?
Groups in Figma are a way to organize and manage multiple objects together. Not only in Figma in many editing apps we have the feature called Groups which basically means grouping the objects so that they are said to be a single unit. In simple terms, we can say that “It is just like putting things in a folder to keep them organized”. We can perform many operations on groups same as the operations that are available for the single object in Figma. A few of the operations are moving, resizing, etc. This can save us time and effort especially when we are working with complex designs and don’t know when the objects will be disturbed.
Where do we Use Figma Groups?
We can use groups in Figma whenever we have multiple elements that we want to treat as a single unit. It is especially handy when we have complex designs with many components or when we want to apply transformations or edits to multiple objects at once. Groups help us keep things organized and make it easier to work with different parts of our design. Let us think that there is a case in which we have to expand our page in Figma then generally what happens is that all the elements get disturbed. In this kind of situation, we can use Figma groups.
How to Create a Group in Figma?
Initially we have three different shapes and let’s see how to group them.
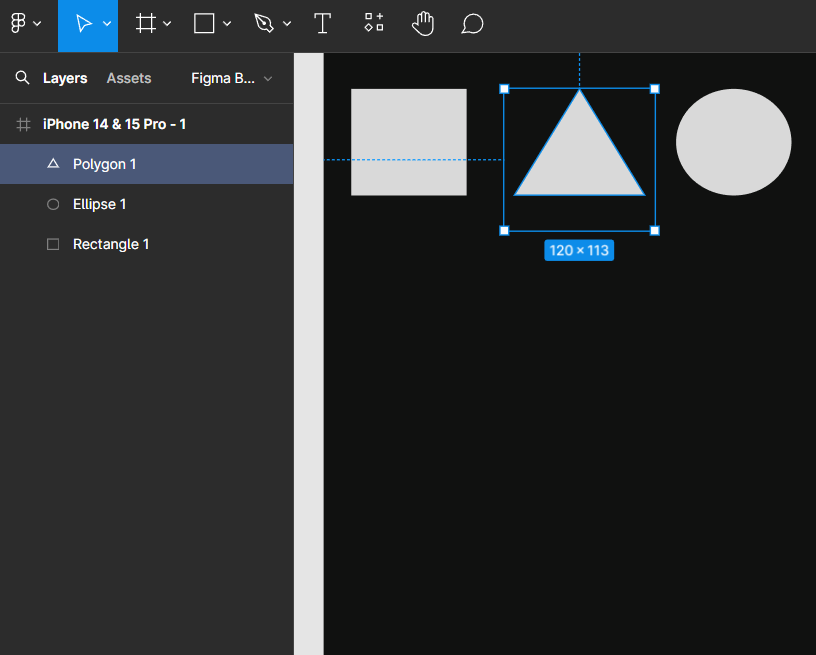
Three diffrent and individual shapes
Creating a group in Figma is simple. We must follow the following steps to create a group.
Step-1: Select the objects which we want to group. We can do this by clicking and dragging our cursor to select multiple objects or by holding the shift key and clicking on individual objects.
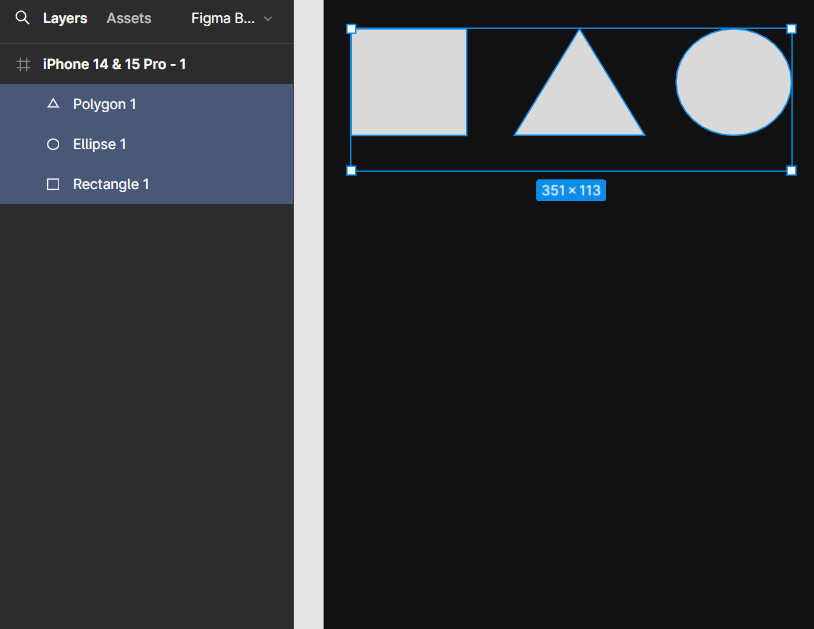
Selecting diffrent shapes
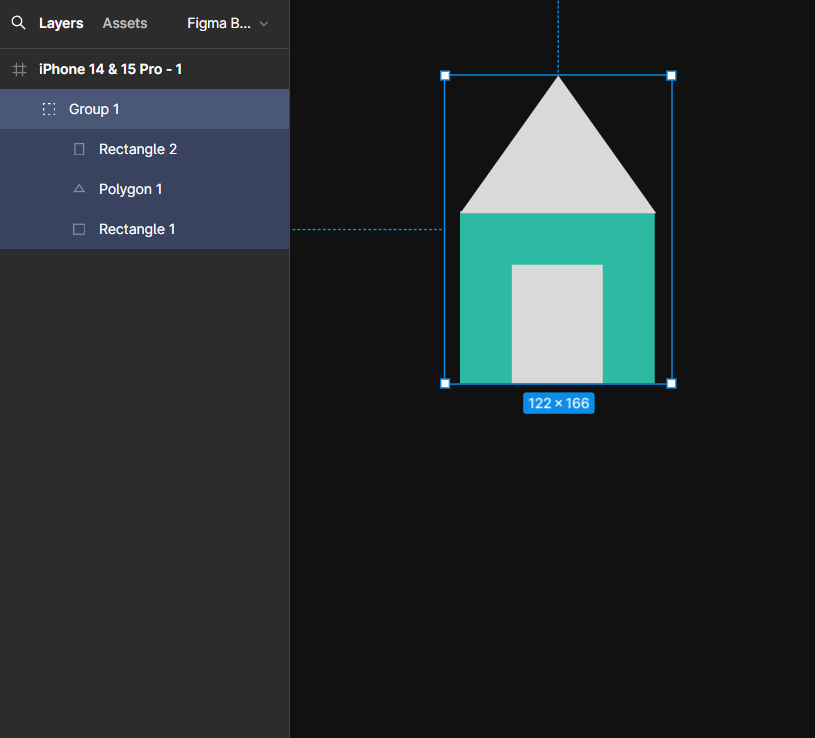
Step-2: Once we have selected our objects right click and choose group from the context menu or use the following shortcut key ( Cmd/Ctrl + G). Now our objects will be grouped and we can also name them as shapes.

We have created the group called “Shapes”
Properties of Groups in Figma
1. Selection: When we select a group we can manipulate the entire group as a single unit making it easier to move, resize or apply transformations to multiple elements at once.
Selection
2. Editing: We can edit the individual elements within a group by double-clicking on the group to enter the editing mode. This allows us to make changes to specific elements while we can also keep the group in position.
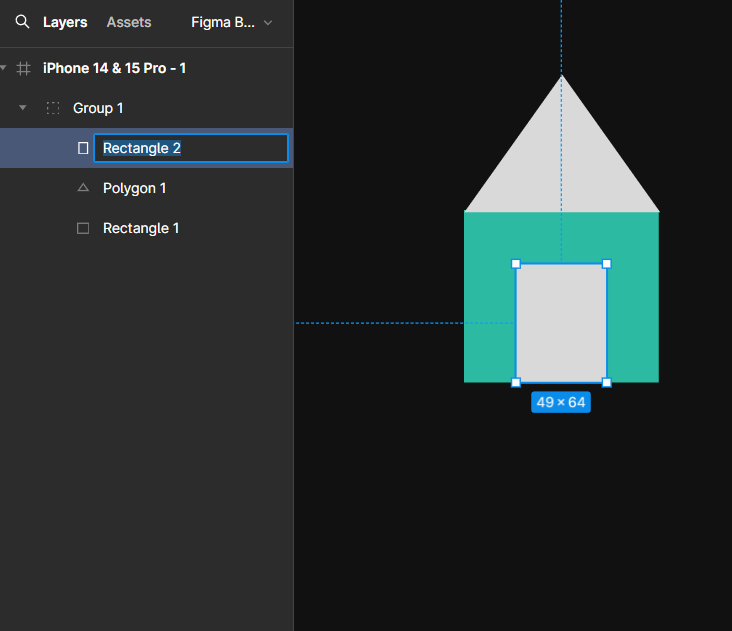
Double clicking on an Object to make Editing
- After we double click on an object We can observe the options through which we can make changes on the right hand side which looks like this.
Edit Options
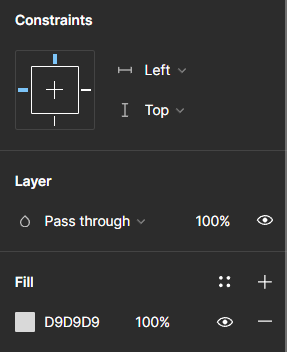
3. Layering: Groups have their own layer in the layer panel allowing us to easily manage and rearrange the order of groups in our design.
- We can observe the layers on the left’s hand side which look like the following.
Layers
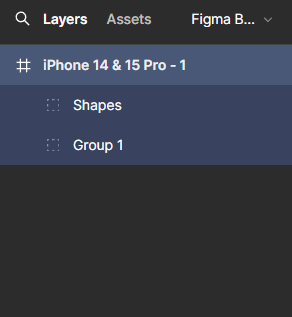
- Based on the arrangement of a layers we can see whether the current object is placed above the previous object or below the previous object. Let us understand it in a better way with an example.
- Let us consider the yellow colour grouped objects as the current object which is named as “Group1” in the layers section and the white colour group objects as the previous object which is named as “Shapes”. If you want to place the “Group 1” above the “Shapes” then you must drag the “Group 1” to the upper side of the “Shapes” then you can see the result.
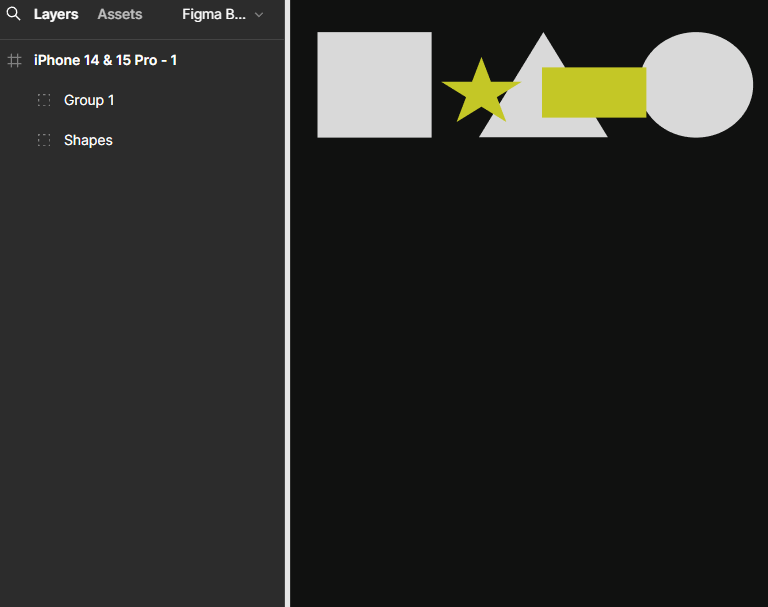
Placing “Group1” above “Shapes”
- In the same way if you want to place the “Shapes” above the “Group 1” then you must drag the “Shapes” to the upper side of the “Group 1” then you can see the result.
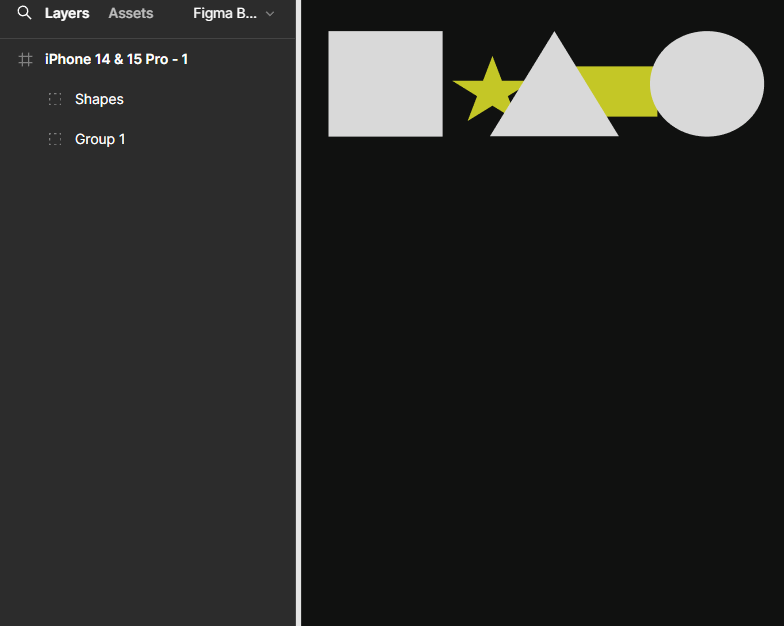
Placing “Shapes” above “Group 1”
4. Nesting: Wickedness groups within other groups to create more complex hierarchies and organise our design in a structured manner which gives it a nice visual appearance. In simple terms we can say that it is a process of grouping layers or objects with a parent layer or object.
Benefits of Using Groups
Groups offer us several benefits that can really help our design process. Here are some advantages :
1. Organisation:
By grouping objects we can keep our design elements organised and easily accessible. We can also name the groups so that it will be easier for us to identify that what are all the elements which are available in a particular group. This can be really useful to avoid confusion.
2. Efficiency:
Instead of applying changes to each object individually we can make adjustments to entire group at once. This can save our time and ensure the consistency across our design. When we deal with a large projects it is really hard for us to go through each and every element and make changes. If we group them then it is going to be really easy for us to make changes entirely at once.
3. Flexibility:
Groups can be nested within other groups allowing us to create hierarchical structures. This gives us a greater control over our design elements and make it easy to manage complex layouts. In simple terms we can say that we can use multiple groups and reduce the complexity of design. While creating multiple groups we can name them according to our requirement and placing.
4. Collaboration:
When working with a team groups make it easier to share and collaborate on designs. We can move resize or modify groups without affecting the individual objects within them. We can make collaborations in figma in the following ways:
- Sharing of design file: We can collaborate with others in Figma and share our Figma design file with them. We can do this by clicking on the “Share” button in the top right corner of a Figma interface.
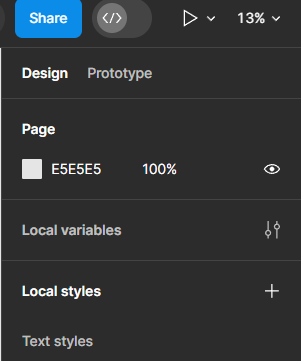
Share Option
- Comments and feedback: Figma has a feature in which we can leave comments and provide feedback on specific elements or the area of design. We can do this by selecting an object or a layer and leaving a comment in the right hand sidebar. Also we can use the shortcut key just by pressing “C”. We can also add replies to the comment.
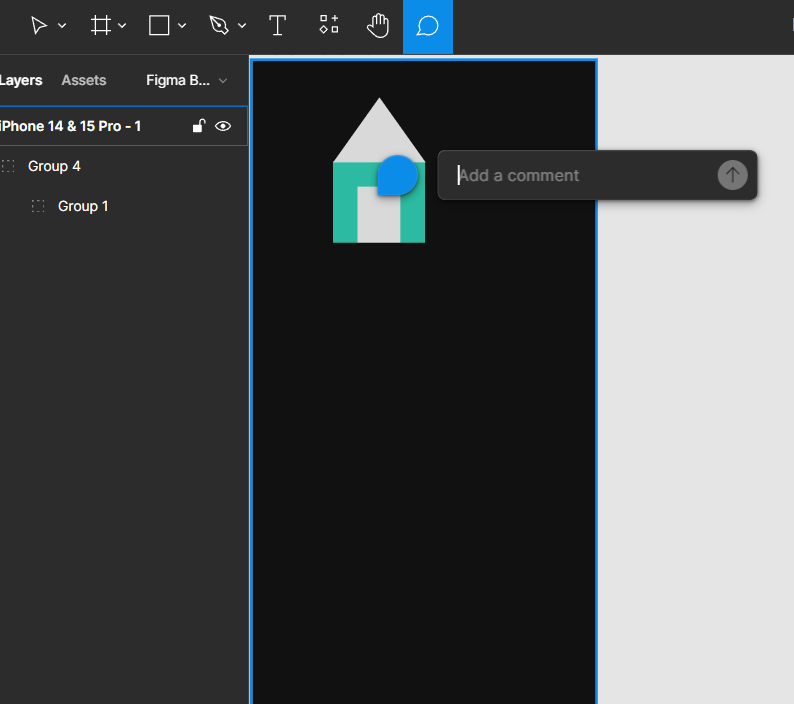
Adding Comment
- Version history: Figma keeps track of all the changes made to the design file allowing us to rollback to previous versions if needed. This is going to be really useful property while we try to collaborate with others as it provides a safety in case of any unwanted changes are made.
Conclusion
Groups in Figma is a powerful tool for organising and simplifying our design work. By grouping related objects together we can save time, stay organised and collaborate more effectively. This will really help us to reduce the complexity in the design which is having multiple elements in it. So whenever we use figma or any other editing app we should make a note in our mind that we should make use of “Groups” which gives us an advantage. Group feature is not only available in Figma but it is also available in other editing softwares and applications like Canva. It is really essential for designers to master the use of groups to maintain a good workflow and enhance collaboration. Give it a go in your next sigma project and see how it simplifies the complexities with the elements of Figma.
Share your thoughts in the comments
Please Login to comment...