Create Soap Collection to Start Testing Soap WebServices in Postman
Last Updated :
25 Jan, 2024
Embark on SOAP web service testing in Postman by creating a SOAP Collection — a great toolkit enabling developers to methodically test SOAP-based APIs. This advanced approach not only enhances your testing proficiency but also optimizes the SOAP testing workflow, providing a seamless and efficient experience. Explore the steps to test a SOAP Web Service Collection in Postman, empowering developers to learn and comprehend the intricacies of SOAP web services with precision and ease.
Prerequisites
- Download and install Postman.
- Basic Knowledge of API
Steps to Create a Soap Collection to Start Testing Soap WebServices in Postman
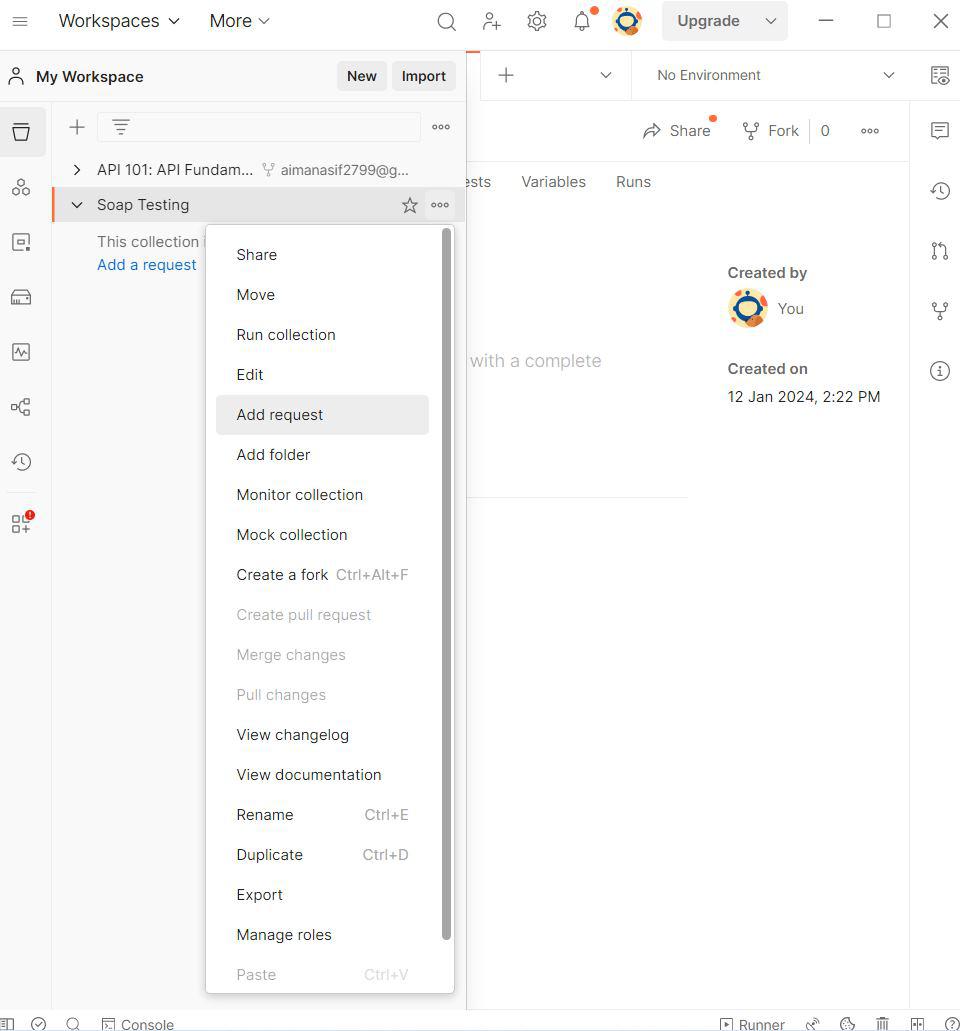
Step 1: Create Collection
To begin organizing your SOAP requests, launch Postman and navigate to the “Collections” tab. Next, click on “New Collection” to create a new collection and assign it a name, such as ” SOAP Testing “.

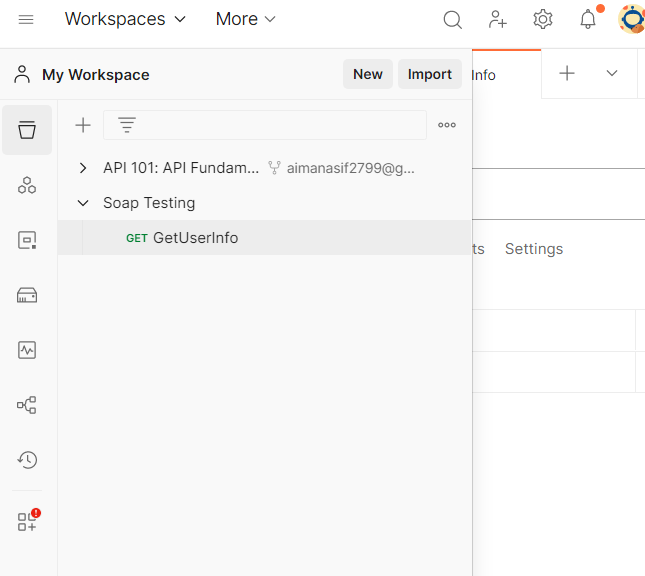
Step 2: Create a Request inside the Collection
Inside the newly created “SOAP Testing” collection, click on “Add Request” to initiate the creation of a new SOAP request. This step allows you to specify the details and parameters for a specific SOAP operation within the designated collection.
Provide a descriptive name, like “GetUserInfo,” to your SOAP request within the collection. Naming requests enhances organization and ease of identification when managing multiple requests. This practice ensures a systematic and intuitive approach to handling SOAP operations within your Postman collection.
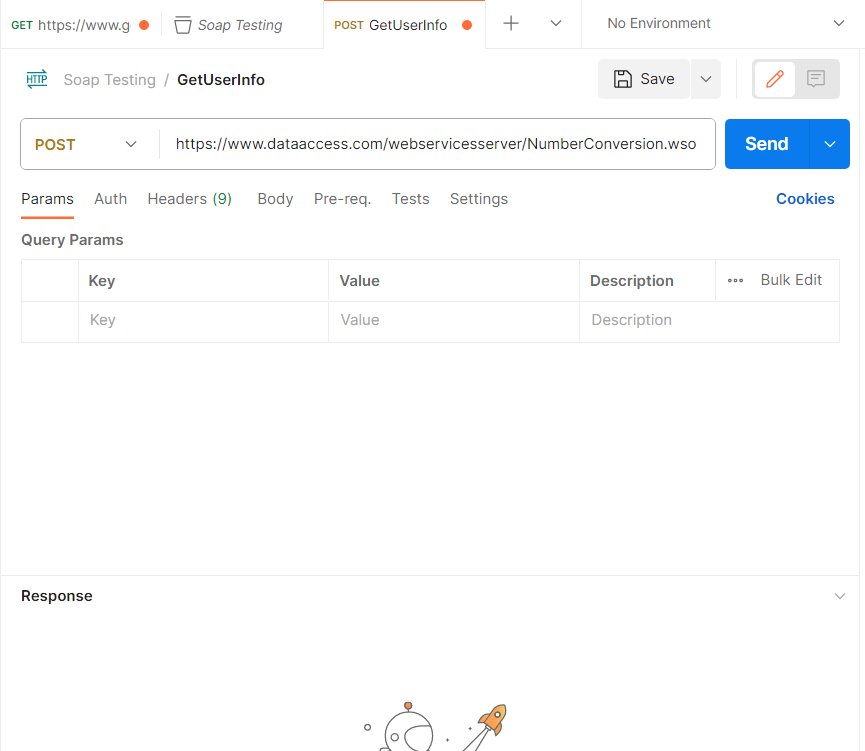
Step 3: Configure Request Settings
Set up your SOAP request in Postman professionally by choosing ‘POST‘ as the request type in settings, aligning with the standard for SOAP operations.
https://www.dataaccess.com/webservicesserver/NumberConversion.wso
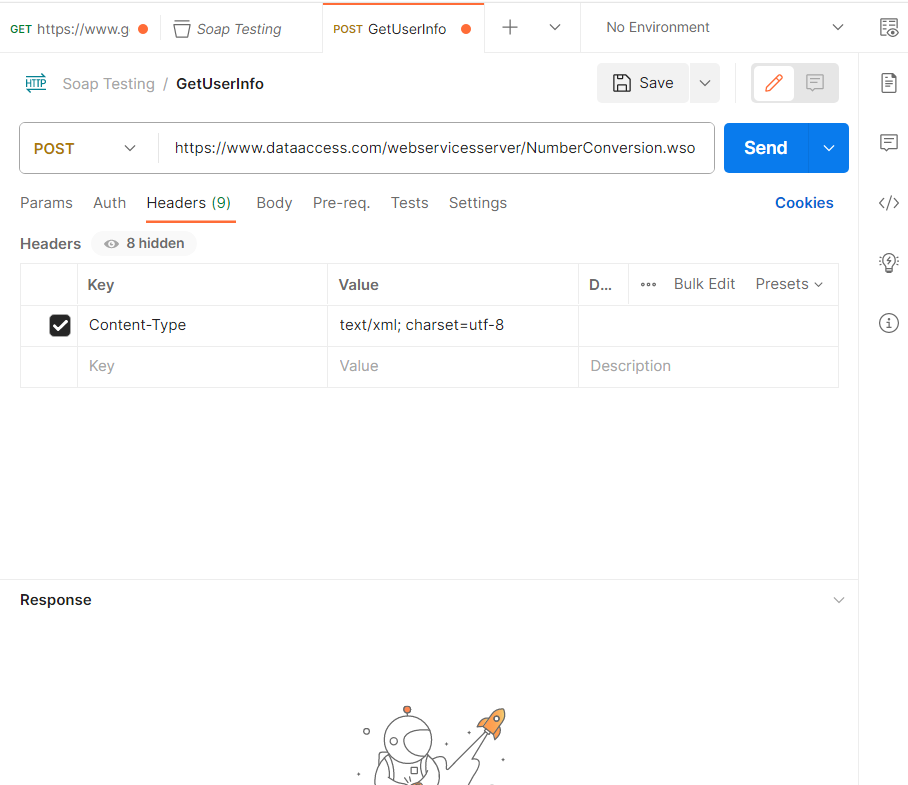
Step 4: Set Request Headers
This step ensures that your request is formatted correctly and the headers are added correctly, adhering to the XML structure commonly used in SOAP communications. Configuring the appropriate headers is vital for successful interaction with the SOAP service.
|
`Content-Type`
|
|
`text/xml; charset=utf-8`
|
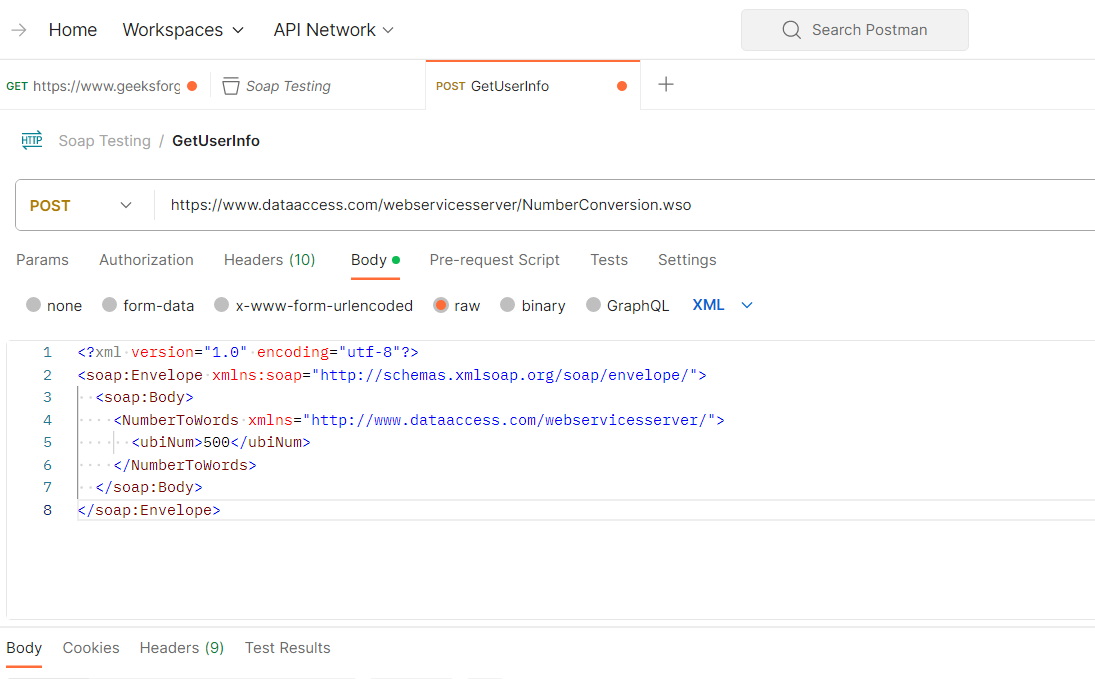
Step 5: Build the SOAP Request Body
Switch to the “Body” tab. Select the raw option, Select XML from the dropdown, and Enter your SOAP request XML in the request frame.
XML
<?xml version="1.0" encoding="utf-8"?>
<soap:Body>
<ubiNum>500</ubiNum>
</NumberToWords>
</soap:Body>
</soap:Envelope>
|
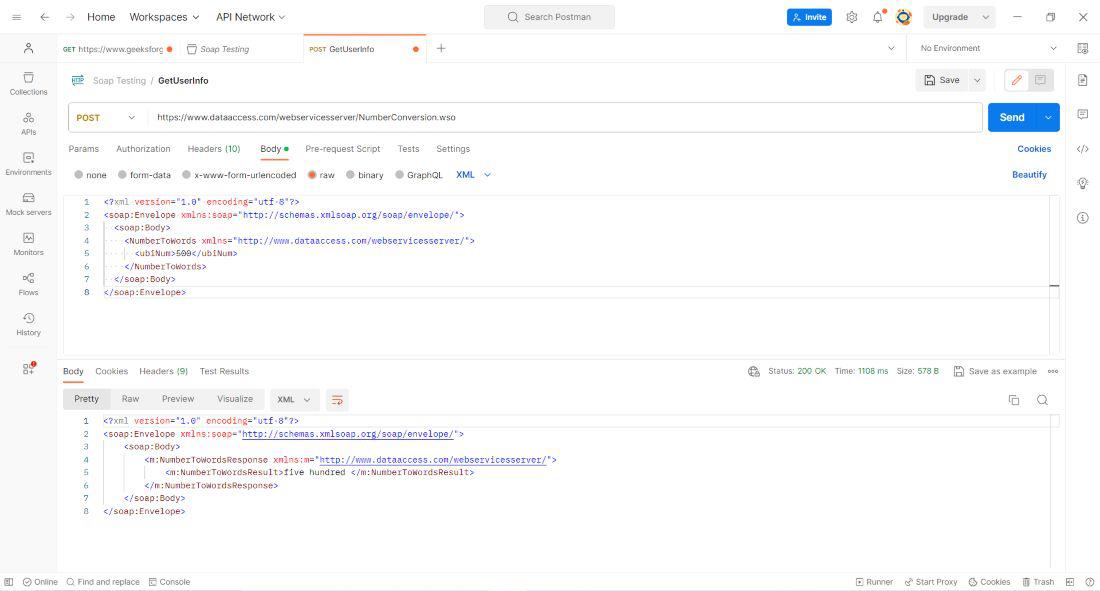
Step 6: Save and Send Request
Save your configured SOAP request in Postman by clicking on “Save “, ensuring it’s stored for future use. Execute the request promptly by clicking on ” Send“, initiating communication with the SOAP service, and displaying the response.
Step 7: Handling Response
Inspect the SOAP response in the “Body” tab of Postman to confirm its alignment with the anticipated SOAP response. The “Body” tab provides detailed insights into the server’s response, assisting in the validation and testing of your SOAP request.
Step 8: Create Additional Requests
For additional SOAP testing, replicate the process by creating new requests within the same collection. Follow steps 2 to 7 for each distinct SOAP request, allowing you to comprehensively test various scenarios.
Step 9: Add test in request
Navigate to the “Test” tab within Postman, then insert the provided code. This code, typically written in JavaScript, allows you to automate and validate specific aspects of the SOAP response. Integrating custom tests in the “Test” tab enhances the thoroughness of your SOAP request evaluations.
Javascript
pm.test("Status code is 200", function () {
pm.response.to.have.status(200);
});
|
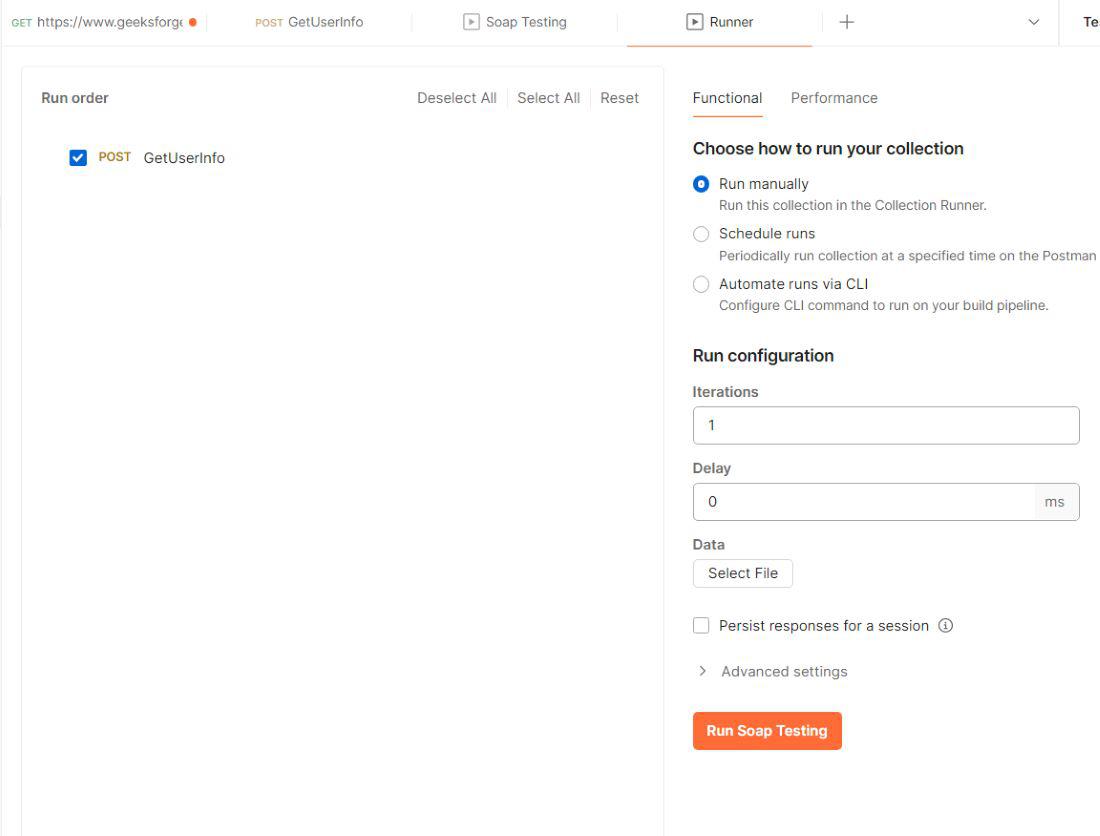
Step 10: Run Collection
Access the desired collection within Postman by clicking on it in the left sidebar. Initiate the execution of the entire collection by selecting the “Run Collection” button, triggering the sequential testing of all SOAP requests within the collection. This streamlined process allows for comprehensive testing and validation of multiple SOAP operations.

Select the relevant environment before proceeding. Subsequently, click on “Run <collection_name>” to execute the entire collection, ensuring a systematic and testing approach. This step guarantees that your SOAP requests undergo comprehensive testing in Postman, considering the specified environment variables for different scenarios.
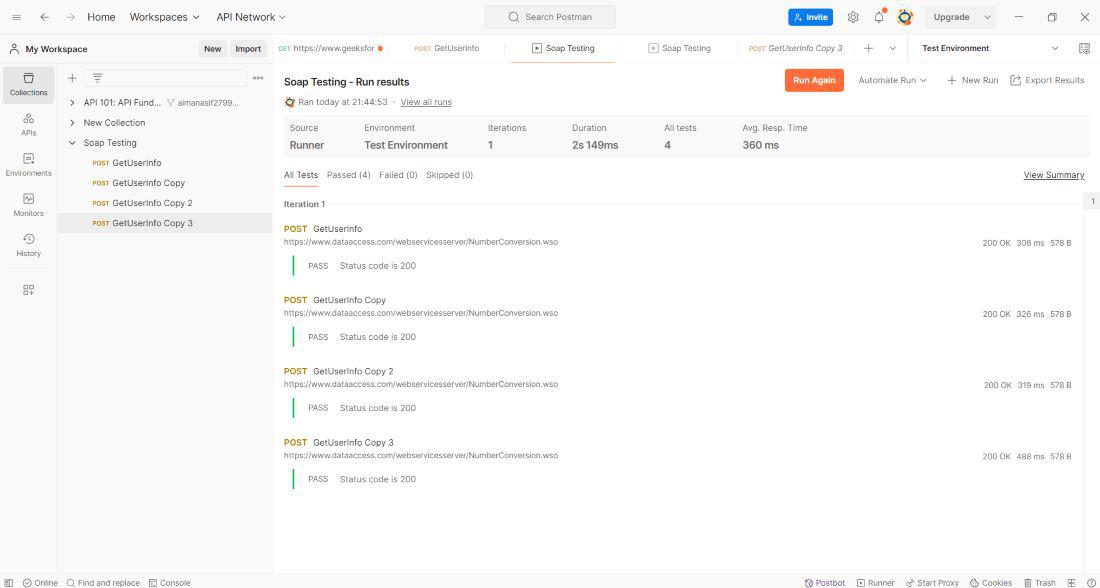
Step 11: Review the Results
Postman will systematically run each request within the collection, ensuring a sequential execution of your SOAP tests. The outcome, including the status of each request, detailed response information, and any test results, will be presented in the “Runner” tab. This comprehensive overview facilitates the assessment of the entire collection, aiding in the identification of successes or issues in your SOAP testing process.
Conclusion
In conclusion, having established and tested a SOAP request setup in Postman, you can enhance its capabilities significantly. Employ variables, scripts, and environments to handle evolving API information, ensuring a more seamless testing process. Integrate pre-request and post-request scripts to adeptly manage authentication, generate dynamic data, and tailor your SOAP requests to specific requirements. This approach allows for adaptable testing in various scenarios, rendering your SOAP API testing in Postman both flexible and highly effective.
Share your thoughts in the comments
Please Login to comment...