Create a JIRA Account on the Free Version
Last Updated :
04 Apr, 2024
Jira is commonly known for issue/bug tracking and also for helping the organization implement projects using Agile Methodology. This tool first took attention in the year 2002 at that time it was used majorly for issue tracking later in 2012 Atlassian accelerated the business of JIRA by offering more functions in it.
Why a Free Account?
There are two major reasons for Free Accounts:
1. From Companies Perspective
Many other tools provide the requirements to the user. Companies used to provide Free and basic versions of their tools so that the new user can try their platform and if the customer get used to it then they will pay for it.
2. From User Perspective
If you are a beginner who wants to try and test different software present in the market. you can try those in free tools, you can check their user friendliness and also you can choose which tool is best suitable for you.
JIRA Account Setup
To set up an account in JIRA you only need an Email ID.
Step 1: Open any Web browser, for this case, we are using Chrome.
Step 2: Go to Google.com
Step 3: Type ‘Jira’ in the search box and hit the Enter.

Step 4: Click on the First Link provided by JIRA Atlassian.

Alternatively, you can directly Click here.
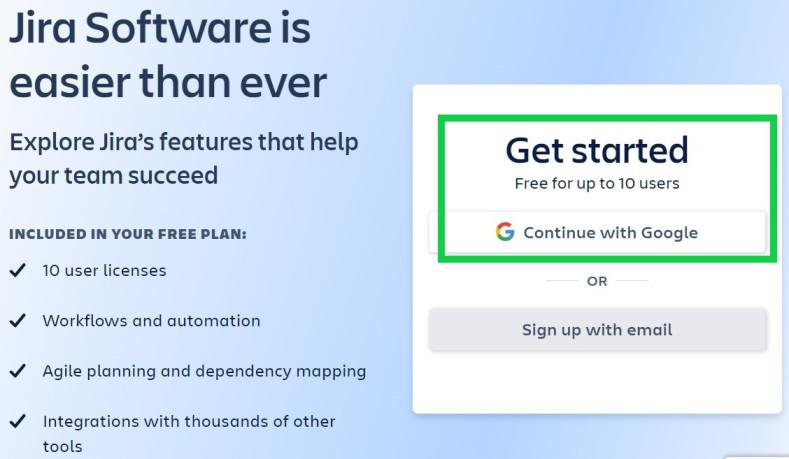
Step 5: You can find Get Started, click on ‘Continue with Google’.
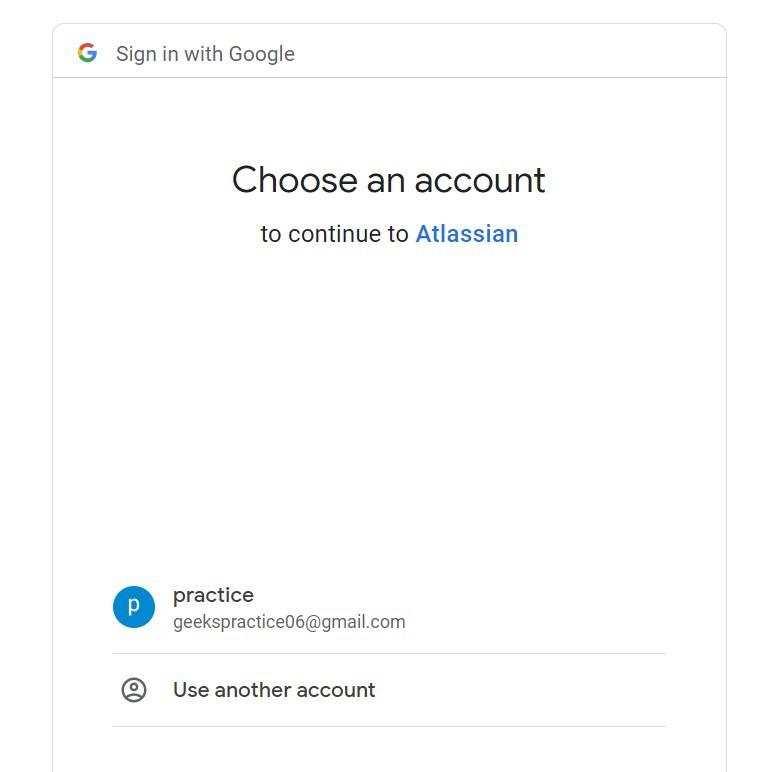
Step 5: Choose an Account which you want to use.
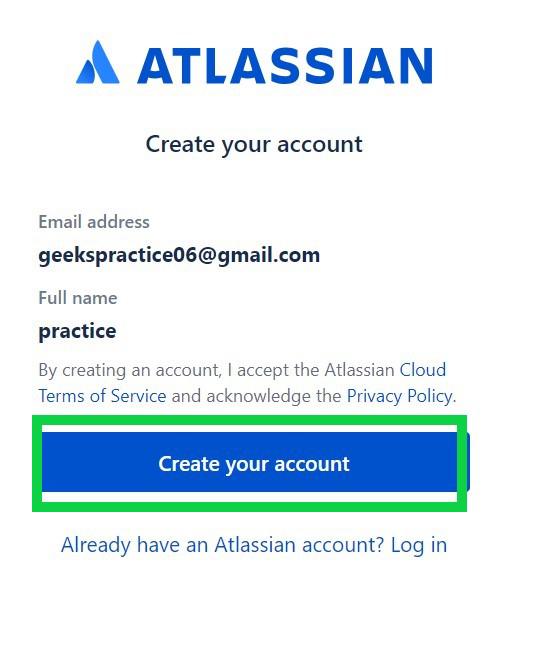
Step 6: Click on Create Your Account.
Step 7: Enter any valid name in the ‘your site’ section make sure every letter must be in lower case and click on ‘Agree’.
.jpg)
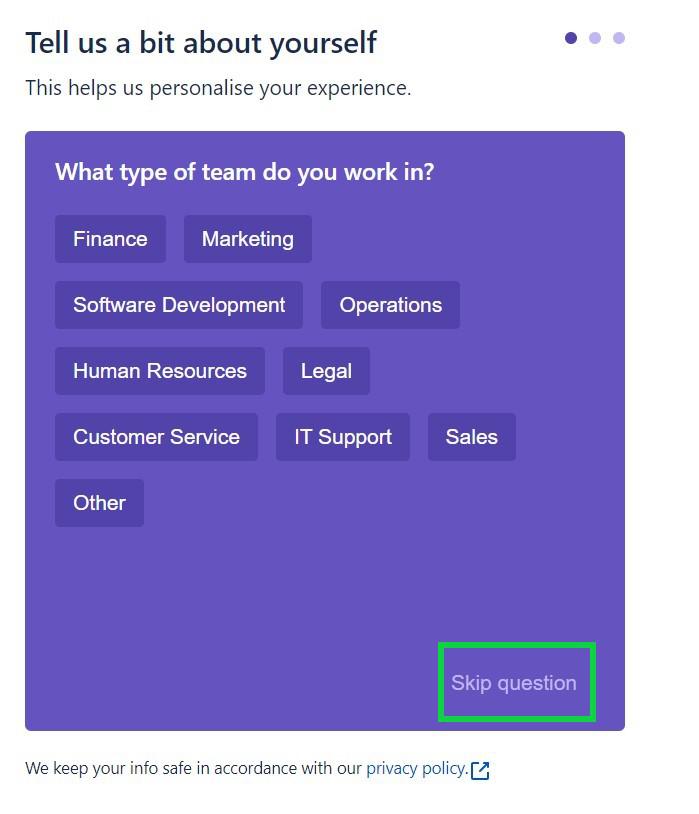
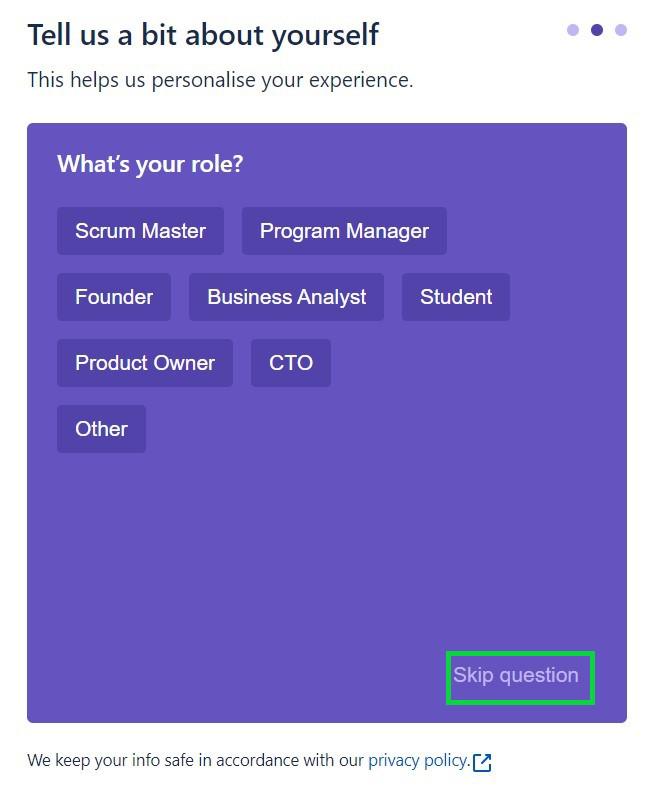
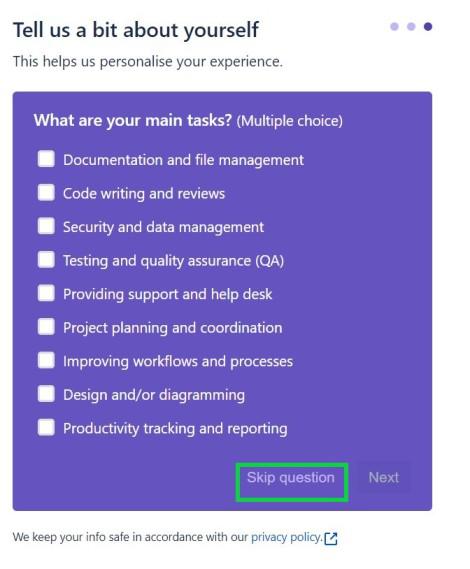
Step 8: You can answer some of the questions according to your needs. Note it is not necessary to answer these questions as you can do all these after your account setup. So, for our case, we are choosing ‘Skip this question’.
Step 9: Now you will have the option to choose between Kanban, Scrum, and Business. You can choose any of the templates but for our tutorial we choose Scrum.
.jpg)
Step 10: Wait for a While and your Jira Account is successfully created.

Conclusion
By following the above steps, we can easily create an account for the Jira free version which will be helpful for the beginner person to start knowing about Jira that is a project management tool. Also, with some future updates, the steps of making a new account can be changed, but the process will be same.
Share your thoughts in the comments
Please Login to comment...