Azure Table And Queue Storage
Last Updated :
30 Jan, 2024
Azure Table and Queue Storage are part of Azure Storage Service which helps to store the data in various forms. In this article, let us understand these two storage services along with their usage.
Azure Queue Storage
- Azure Queue Storage is a part of the Azure Storage Service of the Microsoft Azure platform. A Single Queue can be up to 500TB, potentially storing millions of messages.
- The Azure Queue Storage service is a part of the Azure Storage account which can handle up to 20,000 messages per second and it is highly scalable.
- Under the Azure Storage account, we can have multiple Azure Queues as follows.
- Each Queue acts as a container. we can handle incoming messages, returns, etc separately using different queues. Each Queue can handle up to 2,000 messages per second.
- Each Queue contains data(messages). This data can be of any format up to the size of 64KB. The default time to live for each message is 7 days, but we can also create non-expiring messages.
Authorization Methods for Azure Queue Storage Services
The Authorization methods for Azure Queue Storage Services are similar to the authorization methods for Azure Service accounts.
- Account Key: We can create an Account key that acts like a password for securing our storage services from unknown users.
- Shared Access Signature: The SAS helps to handle our storage account a level more by allowing us to control which IP or protocol it can connect to.
- Azure Active Directory: Using this method, we can handle our storage service in the best way by giving different roles to the users like Storage Queue Data Contributor, Storage Queue Data Reader, Storage Queue Data Message Processor, etc.
Creating Azure Queue Storage Service:
Let us understand the step-by-step approach to creating an Azure Queue Storage.
Step-1: Login to your Azure portal with your active subscription.
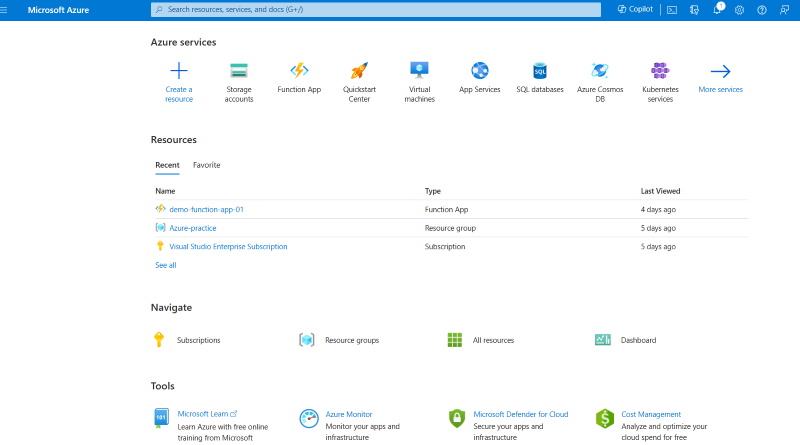
Step 2: Creating a Storage Account.
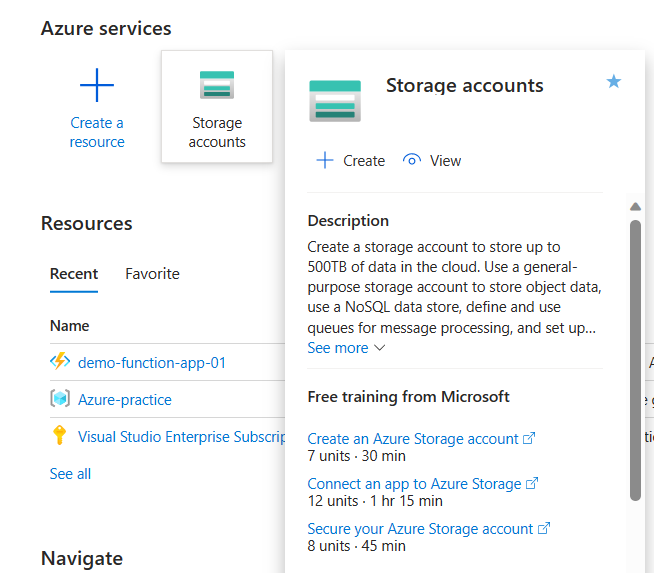
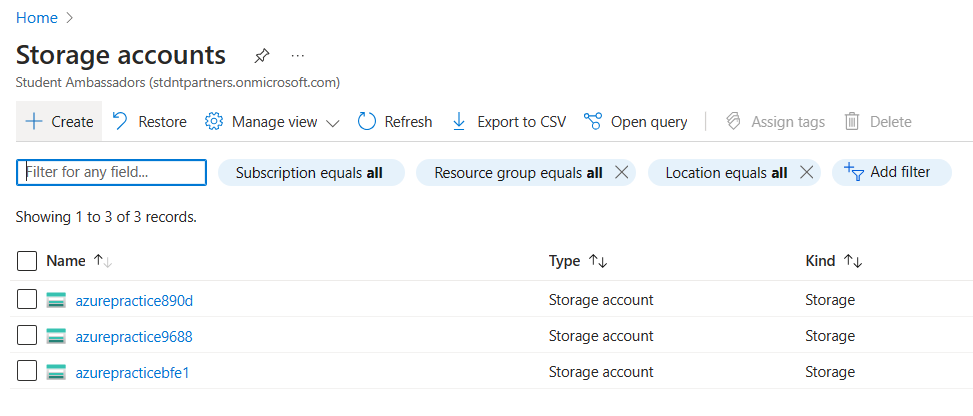
- Navigate to the Storage account option under the Azure Services on your home page and click ‘+’.
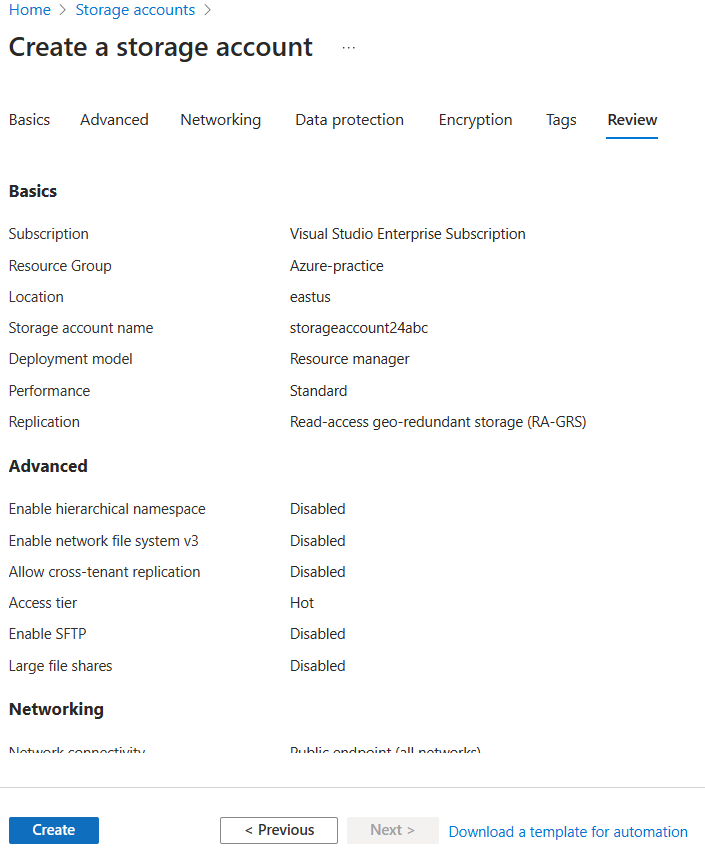
- Use the existing resource group or create a new resource group and name your storage account.
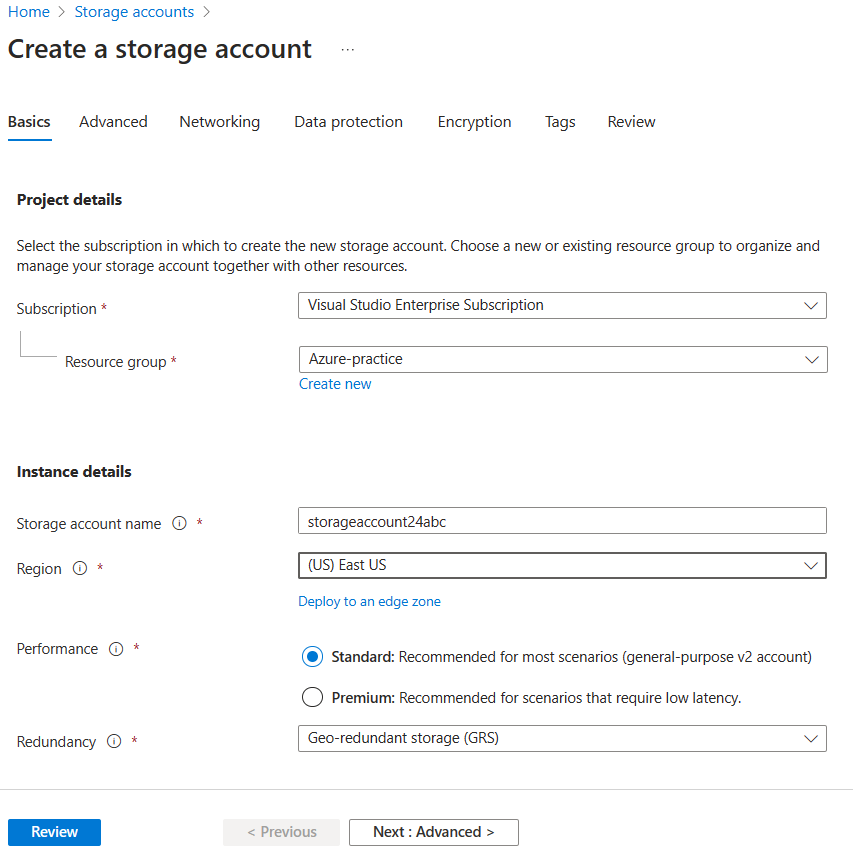
- Leave the remaining details as default for now or you may change the details according to your requirement. and click ‘create’.
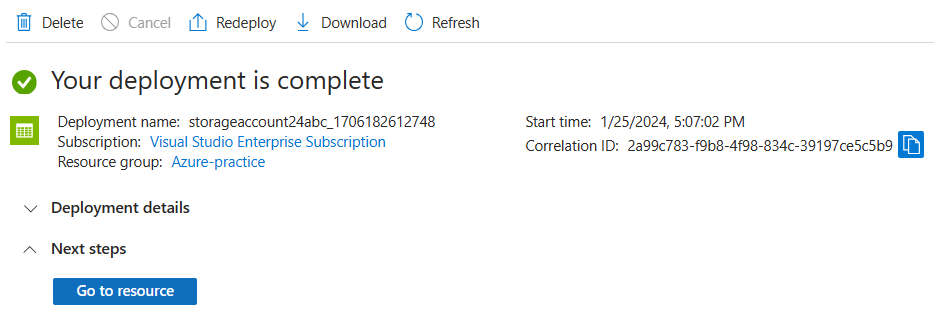
- Now, the storage account will be deployed in 1-2 minutes. Once the storage account is deployed, click the “Go to resource” button.
Step 3: Creating a Queue storage service.
- Once, you click the Go to Resource button, a list of available storage services that you can create will be displayed.
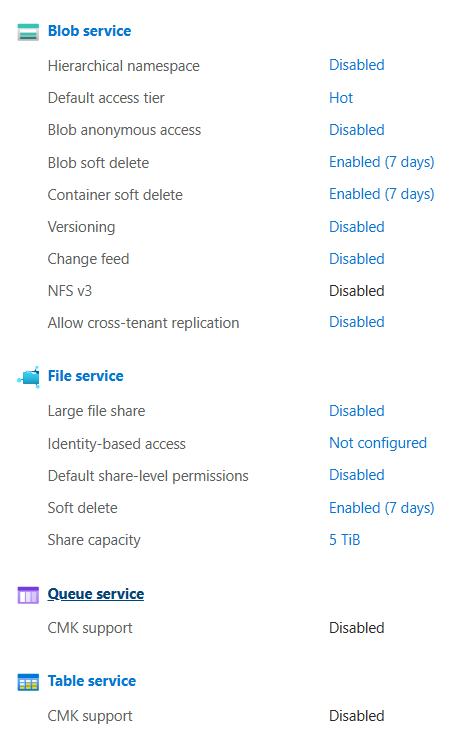
- In that, click on the Queue service. Now click the create button to create a new Queue storage service name the queue and click ok.
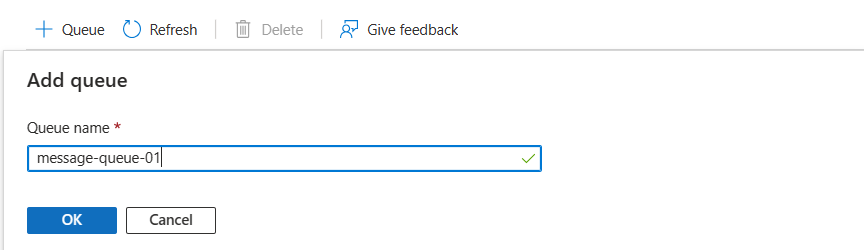
- Now, your Queue storage service is ready. You can store your message. you can also have multiple messaging queues for different purposes.

Step 4: Trying out various operations of queues. click on the name of the newly created queue.

Add Message:
- Click on the Add Message button to create a new message.
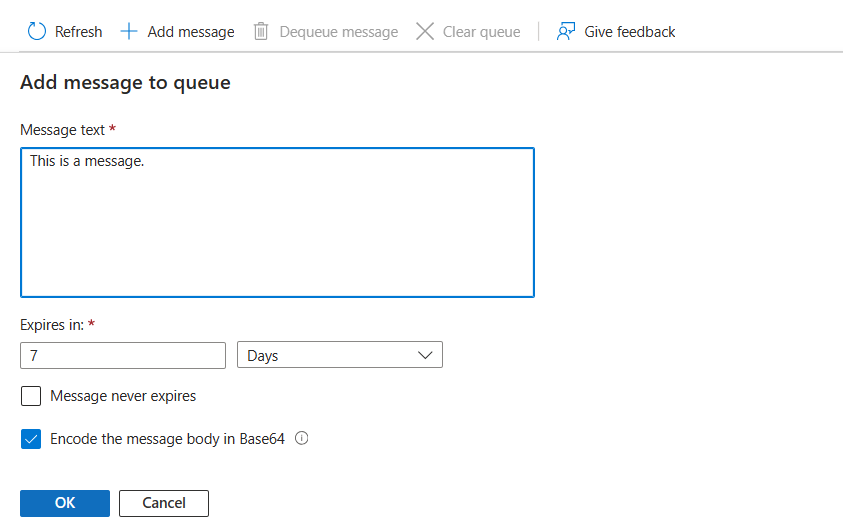
- Add the Message text. and select the duration time of the message. You can also create a message that never expires.
- Your created message will be displayed on the Queue allowing other options enabled. You can create multiple messages.

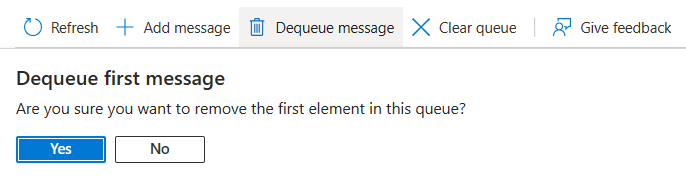
Dequeue message:
- As the Queue follows first-in-first-out principle, same will be applied here. You can see that the message with text “This is a message” is enqueued first. while performing the dequeue operation, that message will be removed from the queue.

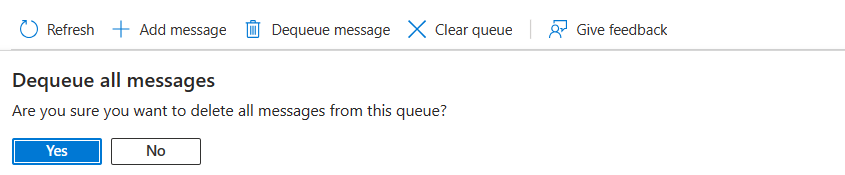
Clear queue:
- The clear queue operation dequeques all the messages from the Queue.

Azure Table Storage
- Azure table storage is a service that stores non-relational structured data (also known as NoSQL data) in the cloud, providing a key/attribute store with a schemaless design.
- Because, Table storage is schemaless, it’s easy to adapt your data as the needs of your application evolves.
- Accessing the table storage data is fast and cost-effective for many types of applications and is typically lower in cost that traditional SQL for similar volumes of data.
- within the storage account, we can create multiple tables and each table can store up to 2,000 rows per second.
- Each table consists entities, which are set of properties, we can add up to 255 properties per table.
- Each properties is a key-value pair and there are majorly three system properties. They are:
- PartitionKey: This property is used to determine the partition in which the entity is being stored.
- RowKey: This property is used to uniquely identify the row in a table combined with PartitionKey
- TimeStamp: This property is used to identify the date and time at which the entity is lastly modified.
Authorization methods for Azure Table Storage Services:
- The Authorization methods for Azure Table Storage Service is quite similar to Azure service account and Azure Queue Storage Service.
Creating Azure Table Storage Service
Let us understand the step-by-step approach to create an Azure Table Storage.
Step 1: Login to your Azure portal with your active subscription and create your service account as shown above.
Step 2: Creating Azure Table Storage Service. Click on your storage account and navigate to Table service option

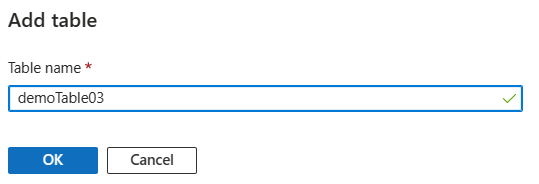
- Click on the Table button to create a new Table Storage. Name your Table.
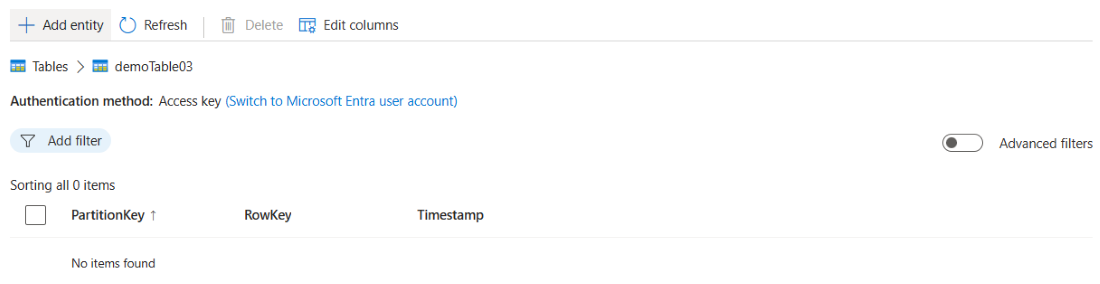
- Navigate to your Table and start creating your entities.

Step-3: Insert into your Table by creating entities. Click on the Add Entity button to insert rows into your table
- Mention your PartitionKey and RowKey. There are mandatory properties in your table. TimeStamp is automatically added to your entities.
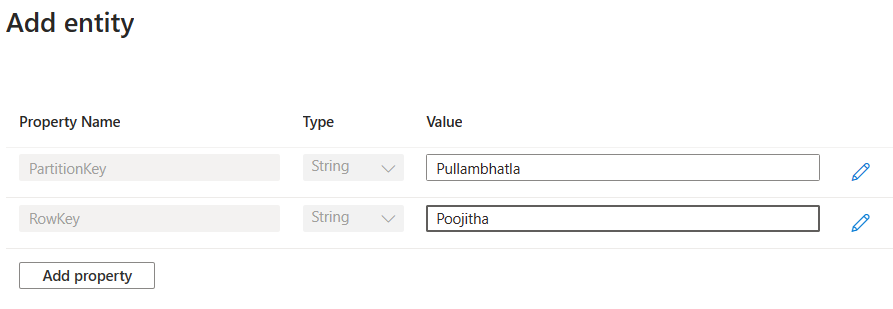
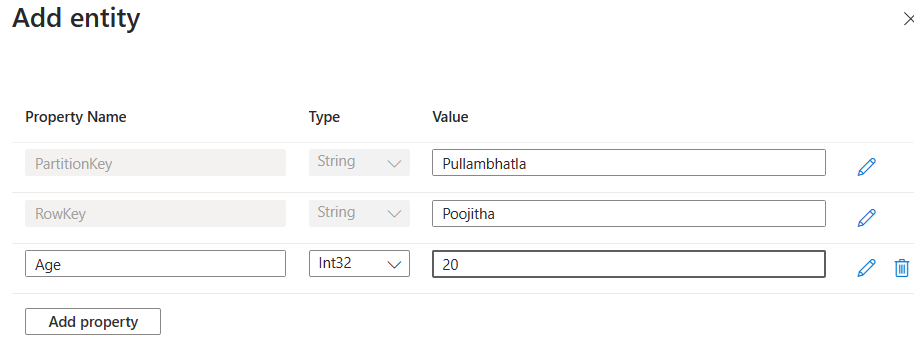
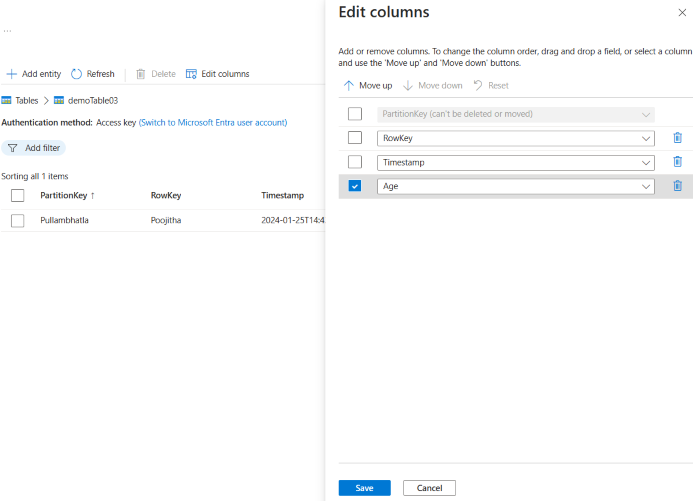
- You can also add more properties by clicking Add property button.
- You can also edit your table schema by clicking Edit button.
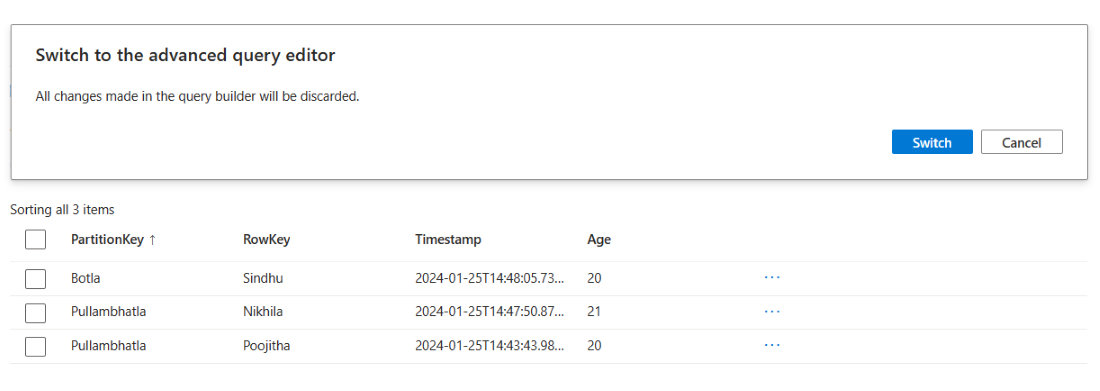
Step-4: Writing Queries in the editor. Toggle the Advanced filters option in order to enable quering your data. Switch to the Query editor.
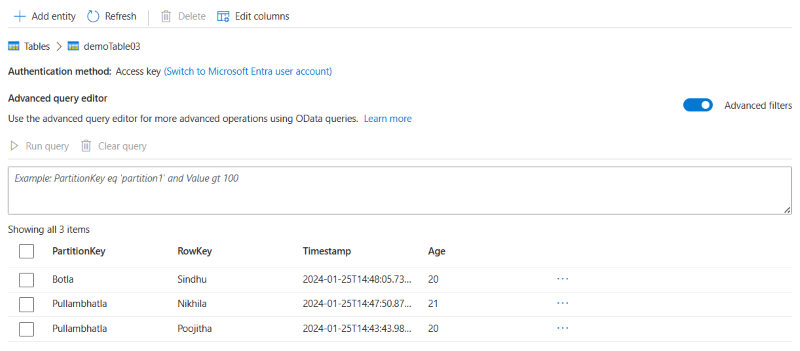
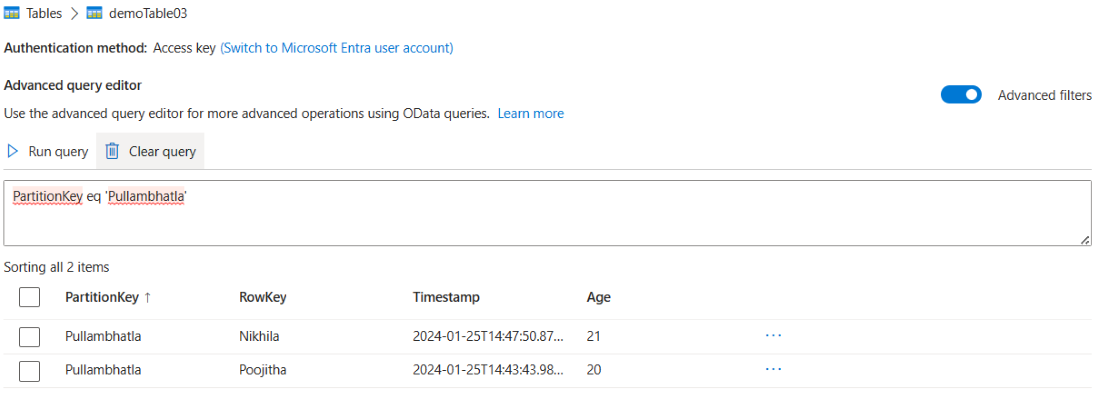
- write your query in NoSQL syntax and click Run query button and Clear query to clear the Query.
Note: This is a simple demonstration of using the Azure Table and Azure Queues. We can also integrate with other services of Azure to use these storage services with real-time examples.
Azure Table and Queue Storage – FAQ’S
How are Messages Stored in Azure Queue Storage?
The messages are stored in the form of Queues following First-In-First-Out principle. We can store messages each of maximum 64KB.
How is Scalability Achieved in Azure Table Storage?
Azure Table storage can handle large amount of data. To achieve scalability, the data is partitioned across multiple servers to provide high-availability with low-latency eventually high-scalability.
What Types of Data Can be Stored in Azure Table Storage?
In Azure Table storage, we can store data in the form of entities. Each entity has some properties which are in the form of key-value pair. These properties can be of any type as following:
- String
- Boolean
- DateTime
- Double
- Guid
- Int32
- Int64
- Binary
What is the Primary Purpose of Azure Table Storage?
Azure Table Storage is designed for storing large amounts of non-relational, semi-structured data in the cloud. It offers a flexible schema, making it suitable for various applications.
Share your thoughts in the comments
Please Login to comment...