What is umask and how to set umask of Apache user in linux
Last Updated :
26 Dec, 2023
In the Linux environment, the user mask or umask plays the most important role in specifying default permission for newly created files and directories. Umast filters or subtracts permission bits from the default permissions, ensuring it is a more secure and controlled environment. In Apache, configuring the umask is important for managing the security and accessibility of files and directories created by the user. In this article, we will see the concept of umask and the detailed practical steps to set umask for Apache users in a Linux (Ubuntu) environment.
What is umask?
In Linux, the User Mask, commonly known as umask, is a setting that determines the default permission settings for newly created files and directories. It acts as a filter, subtracting permission bits from the maximum permissions allowed. The umask value is subtracted from 666 (for files) and 777 (for directories), resulting in the default permissions. For example, if the umask is set to 022, it subtracts 022 from 666, yielding default file permissions of 644, which means read and write permissions for the owner and read-only for others. Understanding and configuring umask is important for maintaining security and control over file and directory permissions in a Linux environment.
How to set the umask of Apache User in Linux?
In this section, we will a practical demonstration (step by step) for setting up the umask of Apache users in Linux. We will be using the Ubuntu OS for the demonstration. Follow the steps along with the commands to perform the umask of the Apache user.
Step 1: Open the Terminal
Firstly, we need to launch the terminal on our Linux system, we can launch by using the Application Menu or by using the Keyboard Shortcut as “CTRL + ALT + T“.

Open the Terminal
Step 2: Identify Apache User
After opening the terminal, we need to identify the user who is running the Apache service. Mostly, it is either www-data or apache. We can verify by checking the Apache configuration. So execute the below command to get the Apache user information.
grep "^export" /etc/apache2/envvars
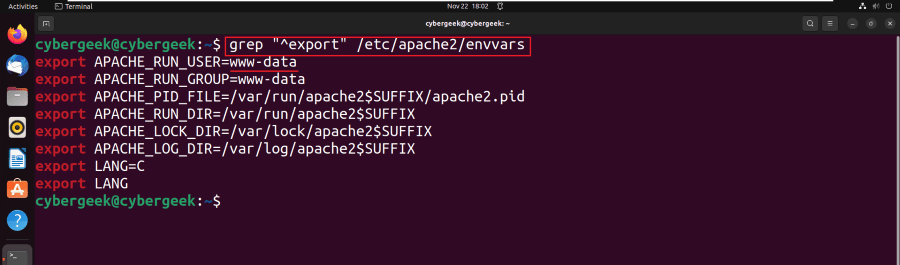
Identify Apache User
Step 3: Open Apache Environment File
Now, we need to open the Apache Environment File which is in the location of /etc/apache2/envvars. We can open it using the nano editor. So execute the below command to open it.
sudo nano /etc/apache2/envvars

Open the Apache Environment File
Step 4: Set umask for www-data
Now, we need to add the below line to set the umask for the www-data user.
umask 002

Set umask for www-data
- umask: The umask command in Linux sets the default file permission mask for newly created files and directories.
- 002: The first digit (0) indicates no change to the owner’s permission. The second digit (0) allows the group write permission. The third digit (2) denies writing permission for others (users not in the owner or group category).
Step 5: Save the File
Save the changes to the configuration file. In Nano, you can do this by pressing Ctrl+O, then press Enter, and finally, press Ctrl+X to exit.

Save the File
Step 6: Restart Apache Server
Apply the changes by restarting the Apache service. The below command restarts the Apache service to apply the new configuration with root privileges.
sudo systemctl restart nginx
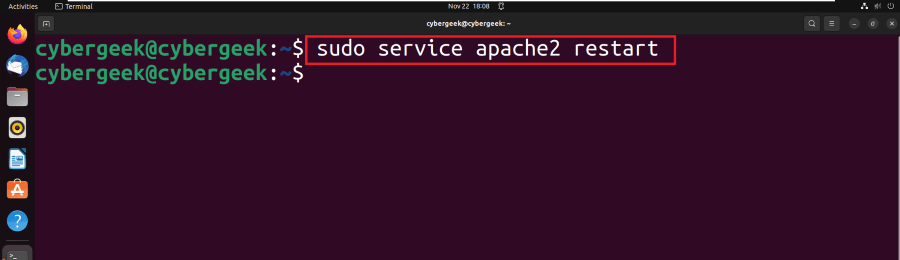
Restart Apache Server
Step 7: Create Test File
Now, create a test file in the directory served by Apache. This is mostly in the /var/www/html directory. So we will create the test file using the touch command.
sudo touch /var/www/html/test_file.txt

Create Test File
Step 8: Verify File Permissions
Execute the below command to check the file permissions.
ls -l /var/www/html/test_file.txt

Verify File Permissions
The umask for the Apache user (www-data) is implicitly set to 002, allowing read and write access for the owner (www-data) and read-only access for the group (www-data) and others.
Conclusion
In conclusion, the umask in Linux is a crucial tool for controlling default file permissions. It works by subtracting specified permissions from the maximum permissions, ensuring a secure default state for newly created files. Specifically for the Apache user (www-data), managing the umask is essential to tailor permissions according to security requirements. Setting the umask to 002 for the Apache user allows read and write access for the user while restricting write access for the group and others, striking a balance between functionality and security in web server environments. Careful configuration of umask ensures that files created by Apache adhere to the principle of least privilege, enhancing overall system security
Share your thoughts in the comments
Please Login to comment...